How to Crochet a Basket – DIY Plant Sleeve
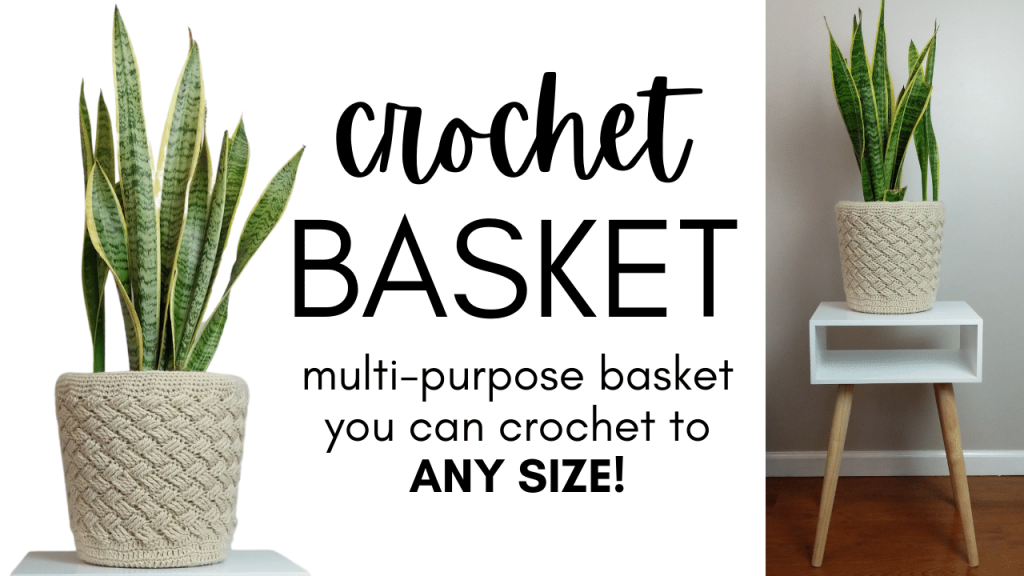
How to crochet a basket? In this crochet tutorial, I show you how to create a beautiful basket using a simple to follow basket weave stitch. This versatile basket can be crocheted to any size using this pattern combined with the precursor video. I personally adore this basket as a plant pot sleeve and plan on making additional baskets for some of my other plant pots!
Precursor Video:

Crochet Basket Video Tutorial:

Terms:
MC = Magic Circle or Magic Loop
CH = Chain
DC = Double Crochet
SL st = Slip stitch
TR = Triple Crochet
Basket Weave Crochet Pattern:
Crochet Hook: H/8/5.00MM
Yarn: 4 Medium, 380 yds (Big Twist Value brand, Color: Cream)
*NOTE: this pattern has a precursor video: https://youtu.be/q5l-AHSf56I
Crochet a flat circle for 10 rows using the precursor video (you should have 120 stitches in your last row). You can crochet the flat circle to ANY SIZE that you want, as long as it follows the precursor video (this video was designed to have the correct number of stitches in every row.
Row 1: Current st where you placed the SL st is the 1st st of the row. *Skip the 1st 3 st, placing 1 TR in the following 3 stitches. Working backwards, starting with the 1st skipped st, place 1 TR in each of the skipped stitches, making sure you are working this set of TR stitches IN FRONT of the previous 3 TR stitches.* Repeat * around the row, and you should have a total of 20 sets of opposing basket weave stitches. SL st in the 1st 3 TR stitches of this row to end the row.
Row 2: *Skip the 1st 3 st, placing 1 TR in the following 3 stitches. Working backwards, starting with the 1st skipped st, place 1 TR in each of the skipped stitches, making sure you are working this set of TR stitches BEHIND the previous 3 TR stitches.* Repeat * around the row, and you should have a total of 20 sets of opposing basket weave stitches. The last set of basket weave stitches should be placed in the 3 SL st from the previous row. SL st in the 1st 3 TR stitches of this row to end the row.
Row 3: *Skip the 1st 3 st, placing 1 TR in the following 3 stitches. Working backwards, starting with the 1st skipped st, place 1 TR in each of the skipped stitches, making sure you are working this set of TR stitches IN FRONT of the previous 3 TR stitches.* Repeat * around the row, and you should have a total of 20 sets of opposing basket weave stitches. The last set of basket weave stitches should be placed in the 3 SL st from the previous row. SL st in the 1st 3 TR stitches of this row to end the row.
Rows 4 – 12: Repeat Rows 2 & 3.
Row 13: SL st in the 1st TR st, then CH 1 and place 1 SC back in the 1st TR st. Place 1 SC in each of the remaining st in the row, skipping the SL st at the end. SL st into the 1st SC st to join (120 total SC st).
Rows 14-17: CH 1 and place 1 SC back in the current st. Place 1 SC in each of the remaining st in the row, skipping the SL st at the end. SL st into the 1st SC st to join (120 total SC st).
Cut and tie off yarn, hiding the tail down the inside of the basket.
Other Crochet Basket Tutorials:


Leave a Reply