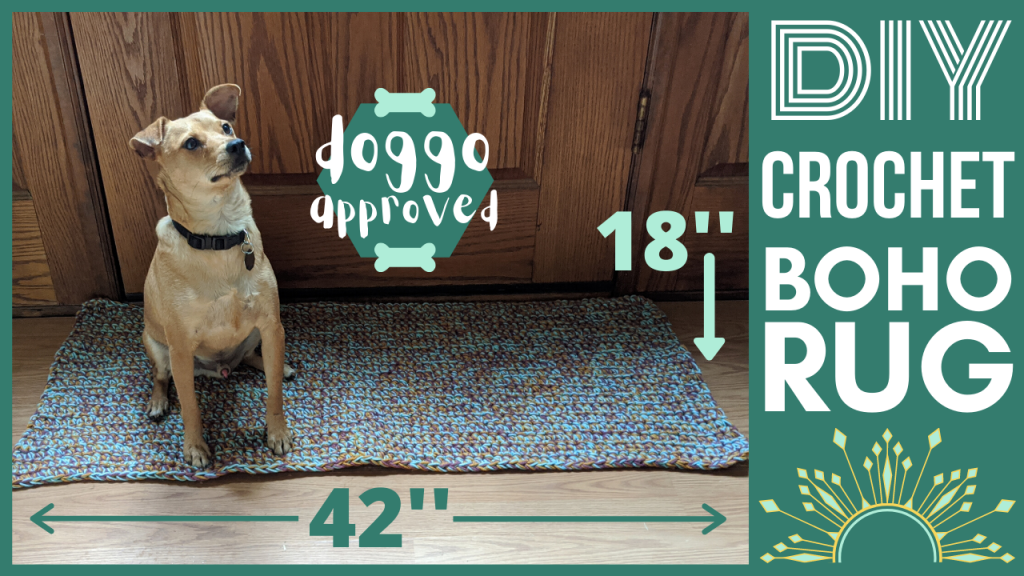
How to Crochet a Rug – Cheap DIY Boho Rug
Are you interested in making your own rug? In this tutorial, I show you how to make a boho doormat, boho bath mat, or other all-purpose bohemian rug that is very simple and easy to make. This project could easily be worked with scrap yarn balls that you have lying around, as it doesn’t matter if you combine yarn strands of different size, weight, brand, or type. This is great if you have left over yarn from previous projects, or you have purchased yarn from a thrift store and don’t have the specifics on it.
How to Crochet a Rug (Video Tutorial):

My dog, Charlie, absolutely loved this rug. One thing to note is that the rug can be slippery on wood floors, so if you make this for someone, make sure you include a rubber liner underneath to keep everyone safe!
If you are new to crochet or need a refresher on some of the stitches used in this pattern, don’t forget to check out my
Stitch Tutorials Here:
BOHO Rug Crochet Pattern:
Crochet Hook: N\15\10MM
Yarn: 4 Medium, Big Twist brand (~380 yds/skein – need 3 skeins)
Note: this pattern is worked with all three skeins at the same time. Inorder to do this, line the three strands of yarn up together and crochet with them simultaneously like you would one strand.
With your desired rug measurements in mind, CH until you reach your desired rug length. Remove 5 – 10 of your chains (this is to account for the CH being smaller than the overall project – be patient as this might take a bit of trial and error). For my project, I chained 79.
Row 1: CH 79 (or desired length), turn work.
Row 2: 1 SC in each st in your row (skipping the turning CH – 78 total st at end of row).
Row 3: Repeat Row 2 until you reach your desired width (for me I just repeated until I ran out of yarn).
Cut and tie off your yarn at the end of the last row by adding your turning CH and then pulling the tail through to tie off your yarn. Weave tail back through the stitches you just created. Weave starting tail through the row.
You have now completed your rug!
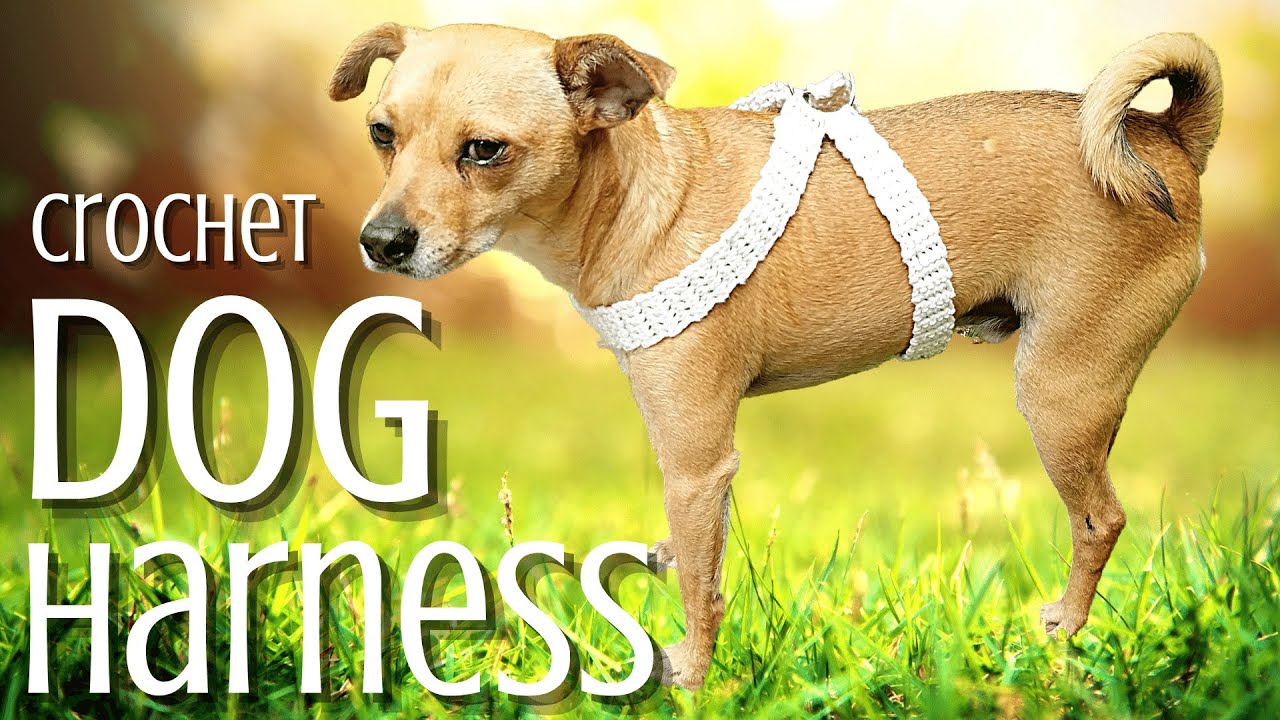
If you like this video, please check out my other household items crochet tutorials here:

Claudia Hart
January 17, 2022 at 8:07 pmI am almost finished with my bathroom rug. Thanks for the idea. It has been easy. Do I have to do anything at the end like blocking or do I just stretch it into shape?
Julie
March 28, 2022 at 4:43 pmI didn’t do anything to mine, but I I imagine blocking would be a great idea!