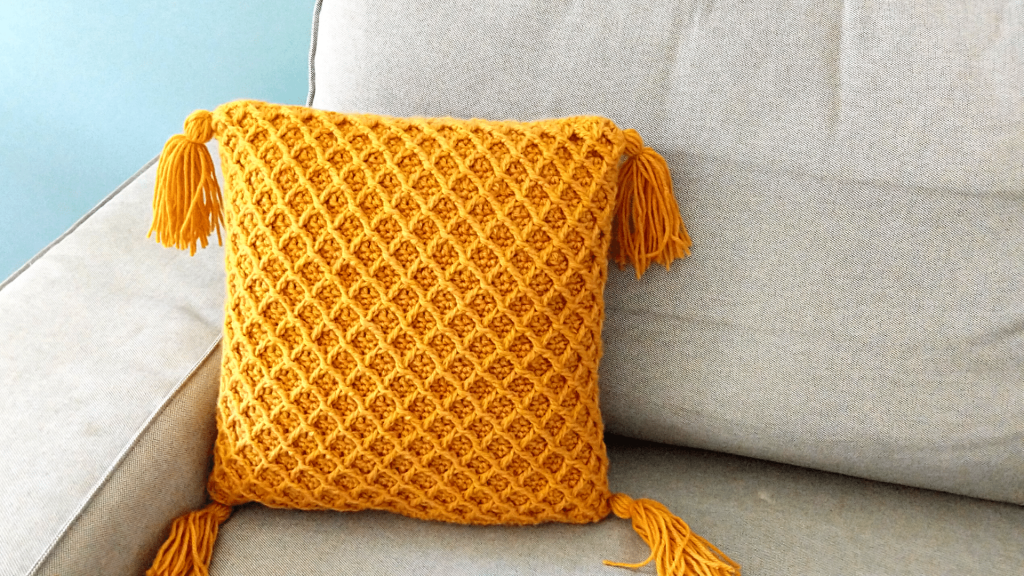
How to Crochet Throw Pillow Slip Cover
How to crochet a throw pillow slipcover? In this crochet tutorial, I show you how to crochet a throw pillow that is very cute and is perfect for any couch, sofa, or chair! This throw pillow is removeable, so you can easily change it out for the different seasons, holidays, etc.
How to Crochet a Throw Pillow Slip Cover Video Tutorial:

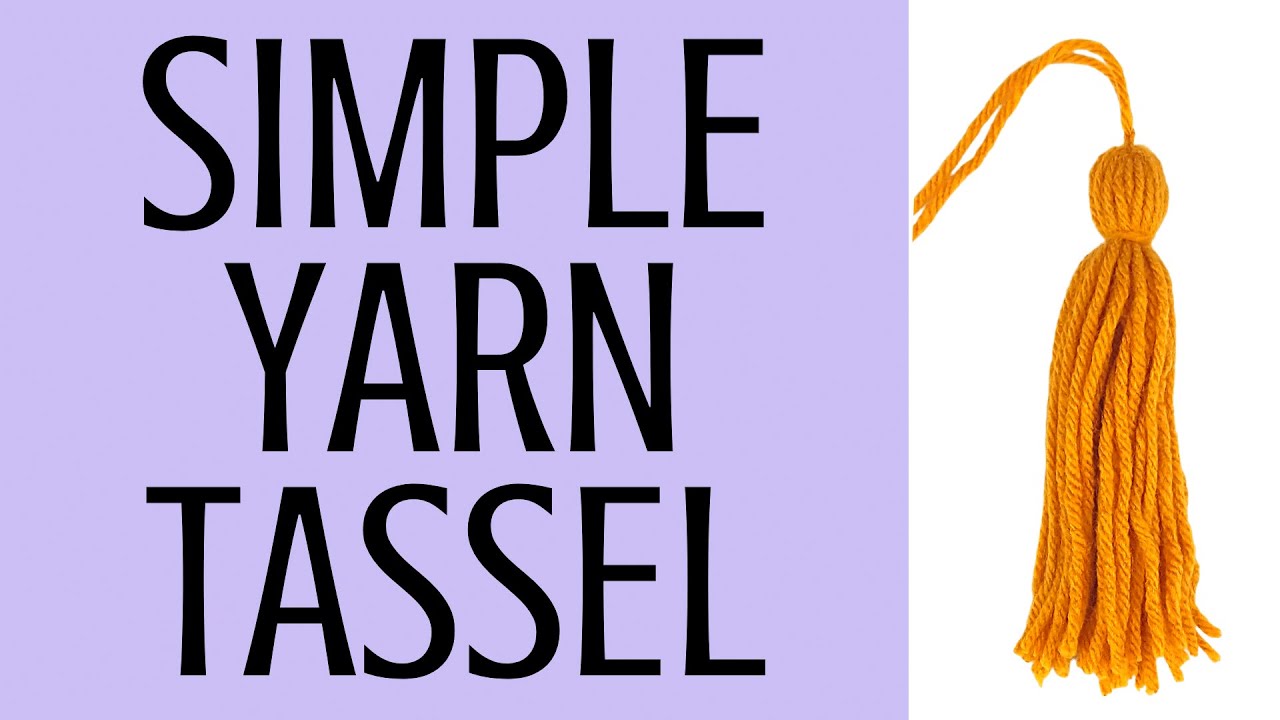
DIY Yarn Tassel:
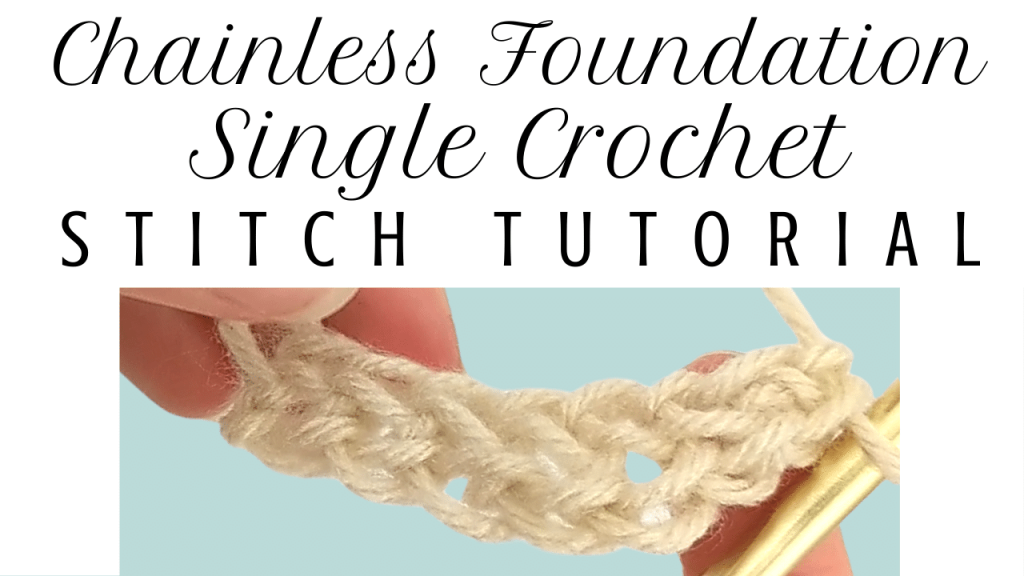
Stitches used in this pattern:
Attach Yarn to Crochet Hook: https://youtu.be/IsOvsrvJhN8
Chain (CH): https://youtu.be/jLP-o-RnqqQ
Single Crochet (SC): https://youtu.be/xppth_5GBzM
Slip Stitch (SL st): https://youtu.be/cMNam0kuhpQ
Double Crochet (DC): https://youtu.be/bA7b2sOIfzM
How to Crochet a Throw Pillow
Crochet Hook: G / 6 / 4.25MM
Yarn: 4 Medium, Acrylic, Big Twist Value Brand, Mustard
Throw pillow: 14’’ x 14’’
4x Yarn Tassels: https://youtu.be/9Ck1SAjIJKY
Attach yarn to crochet hook using a slip knot.
Row 1: CH 53, turn.
Row 2: Place 1 SC in the BLO of each st in the row, starting with the 2nd CH from crochet hook. At the end of row, turn slightly and place 1 SC in the FLO of each of the st from Row 1 (you should now have 104 SC st). SL st into 1st SC from this row.
Row 3: CH 2, place 1 DC in the BLO of each st in the row – including the current st where you just placed the SL st. SL st into 1st DC to join.
Row 4: Working in the FLO from Row 3, place 1 TR in the 2nd front loop from the current front loop (this is located directly below the st where you placed the SL st). In the top of the row, place 1 SC in the next 3 st. *Yarn over 2x, insert crochet hook back in same front loop you just worked, yarn over, pull up through the loop, then yarn over and drop 2 loops at a time until 2 loops remain on crochet hook. Yarn over, then insert crochet hook in 4th front loop from current (skipping 3), Yarn over and pull up through the loop, yarn over and drop 2 loops, then yarn over and drop remaining 3 loops. Working back in the top portion of the row, place 1 SC in the 3 st directly above – framing – the last front loop that you worked.* Repeat * around the row. For the last st, yarn over 2x, insert crochet hook back in same front loop you just worked, yarn over, pull up through the loop, then yarn over and drop 2 loops at a time until 2 loops remain on crochet hook. Yarn over, then insert the crochet hook under the stem that the 1st TR of this row formed. Yarn over and pull through all loops on your crochet hook for a SL st. SL st into the top of the 1st TR from this row.
Row 5: CH 2, place 1 DC in each st in the row – including the current st where you just placed the SL st. SL st into 1st DC to join.
Row 6: Yarn over 2x, insert crochet hook under the 2 stems that form the peak directly below crochet hook. Yarn over and pull up through the stems, then yarn over and drop 2 loops at a time until 2 loops remain on the crochet hook. Yarn over and insert the crochet hook under the 2 stems that form the next peak. Yarn over and pull up through the stems, yarn over and drop 2 loops, then yarn over and drop 3 loops. Working in the top row, place 1 SC in each of the 3 st directly above the last peak that you worked. * Yarn over 2x, insert crochet hook under the 2 stems that form the last peak you worked, yarn over and pull up through the stems, then yarn over and drop 2 loops at a time until 2 loops remain on crochet hook. Yarn over and insert the crochet hook under the 2 stems that form the next peak. Yarn over and pull up through the stems, yarn over and drop 2 loops, then yarn over and drop 3 loops. Working in the top row, place 1 SC in each of the 3 st directly above the last peak that you worked. * Repeat * around the row. Work the last peak by working the same pattern in the last and first peak of this row. Place 1 SC in the last 3 st of this row. SL st into the next st.
Row 7: CH 2, place 1 DC in each st in the row – including the current st where you just placed the SL st. SL st into 1st DC to join.
Rows 8 – 48: Repeat the last 2 rows until you have 21 intersections of your TR pattern.
Row 49: SL st in each st until you reach one of the folds on the sides of your throw pillow. From here, CH 2 and place 1 DC in the next 52 st (this includes the last st where you placed the last SL st).
Row 50: CH 2, turn, place 1 DC in each st in the row.
Rows 51 – 61: Repeat Row 50.
Cut and tie off yarn. Stuff with a premade throw pillow and tuck flap inside the pillow to secure.
Agathe
March 14, 2022 at 11:49 pmHi! I love your pattern, very elegant 🙂 Question: my pillow is not 14×14. What should I be able to divide the number of stitches by to be able to make the pattern? (+ 2 borders + 1 in the starting chain) Thanks 🙂 -Agathe
dayhiked
February 19, 2023 at 3:34 pmWhat are the dimensions of your pillow?