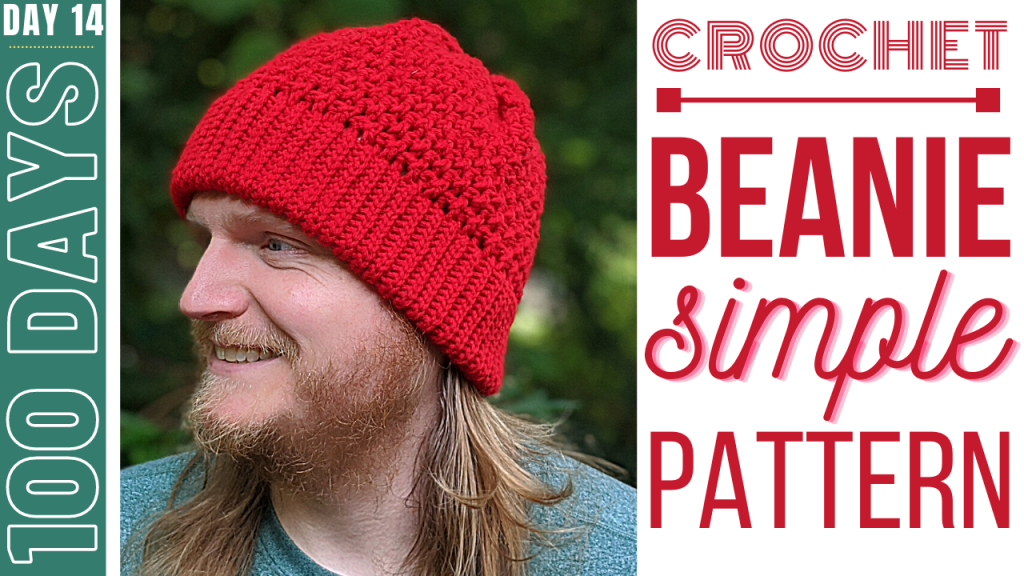
Crochet Beanie Tutorial & Pattern
How to crochet a beanie? In this simple crochet beanie tutorial, I show you how to crochet a beanie that takes 1 – 2 hours to complete. This crochet beanie tutorial is a suitable size for most adult heads.
Crochet Beanie Video Tutorial:

DIY Faux Fur Pom Pom:

DIY Yarn Pom Pom:

Crochet Beanie Pattern:
Crochet Hook: F/5/3.75MM
Yarn: 4 Medium, Big Twist Value brand, Color: Camel
Attach yarn to crochet hook using a Magic Circle (MC).

Row 1: CH 2 and place 12 DC inside MC. SL st in 1st DC to join (12 total DC st).
Row 2: CH 2 and place 2 DC in each st in the row – 1st st should be placed in current st. SL st in 1st DC to join, skipping SL st and CH 2 (24 total DC st).
Row 3: CH 2 and place *1 DC in st 1, 2 DC in st 2.* First st should be placed in current st. Repeat * around the row. SL st in 1st DC st, skipping SL st and CH 2 (36 total DC st).
Row 4: CH 2 and place *1 DC in st 1 – 2, 2 DC in st 3.* First st should be placed in current st. Repeat * around the row. SL st in 1st DC st, skipping SL st and CH 2 (48 total DC st).
Row 5: CH 2 and place *1 DC in st 1 – 3, 2 DC in st 4.* First st should be placed in current st. Repeat * around the row. SL st in 1st DC st, skipping SL st and CH 2 (60 total DC st).
Row 6: CH 2 and place *1 DC in st 1 – 4, 2 DC in st 5.* First st should be placed in current st. Repeat * around the row. SL st in 1st DC st, skipping SL st and CH 2 (72 total DC st).
Row 7: CH 2, place 1 DC in each st in the row – 1st st should be placed in current st. SL st in 1st DC to join, skipping SL st and CH 2 (72 total DC st).
Rows 8 – 17: Repeat Row 7.
Row 18: CH 1, place 1 SC in each st in the row – 1st st should be placed in current st. SL st in 1st SC to join, skipping SL St and CH 1 (72 total SC).
Row 19: CH 2, place 1 DC in each st in the row – 1st st should be placed in current st. SL st in 1st DC to join, skipping SL st and CH 2 (72 total DC st).
Row 20: CH 1, place *1 FRONT POST st in st 1, then 1 BACK POST st in st 2.* Repeat * around the row, alternating between FRONT and BACK POST stitches. SL st into 1st FRONT POST st, skipping SL st and CH 1 (72 total POST st).
Row 21: CH 1, place *1 BACK POST st in st 1, then 1 FRONT POST st in st 2.* Repeat * around the row, placing 1 BACK POST st in each of the previous row’s FRONT POST stitches, and placing 1 FRONT POST in each on the previous row’s BACK POST stitches. SL st into 1st FRONT POST st, skipping SL st and CH 1 (72 total POST st).
Row 22: CH 1, place 1 SC in each st in the row – 1st st should be placed in current st. SL st in 1st SC to join, skipping SL St and CH 1 (72 total SC).
Cut and tie off yarn.
Attach a yarn POM POM: https://youtu.be/6ISz8AcMusk
Attach FAUX FUR POM POM: https://youtu.be/ZpBXP2Mxa-Q
Other Crochet Beanies and Headbands:


Leave a Reply