Crochet Scarf Tutorial – Very Easy Pattern
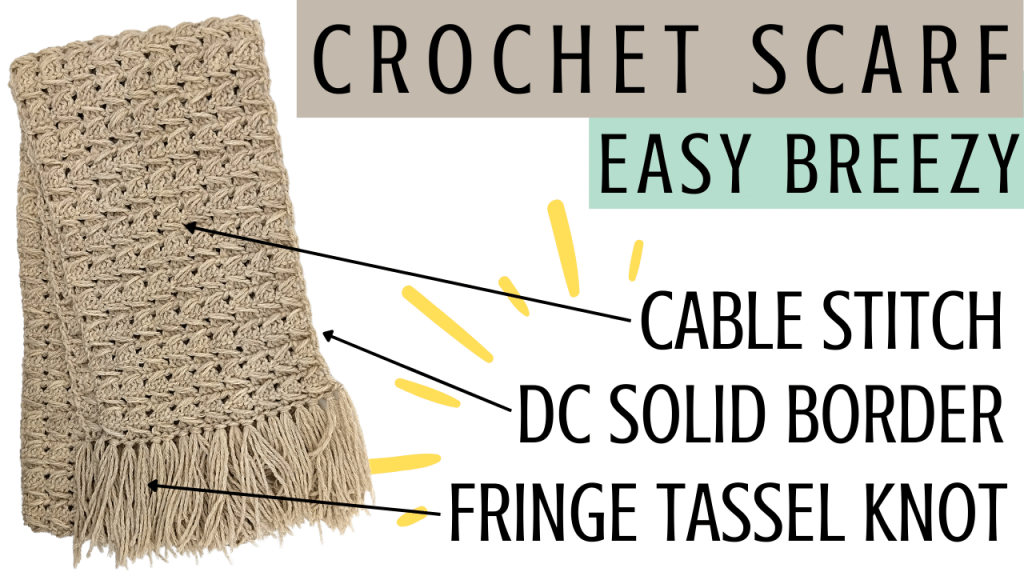
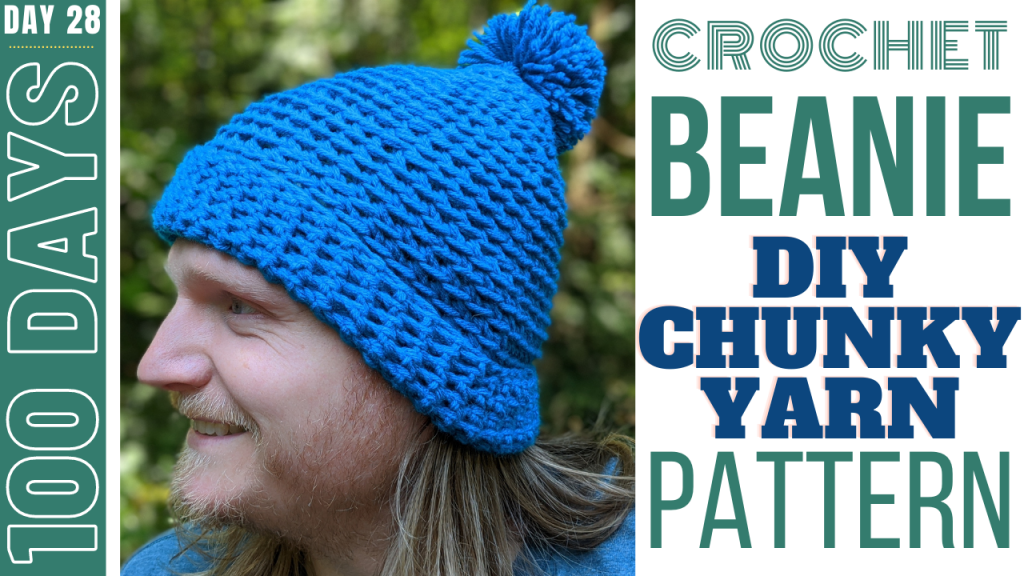
How to crochet a scarf? In this simple and easy crochet pattern tutorial, I show you how to crochet my Julie Scarf! This is my favorite scarf pattern that I have made because it is very warm and soft, but easy to store and keep nice. This crocheted scarf would make an excellent homemade gift during the holidays or just in general. Don’t forget to pair the scarf with my matching crochet wool beanie and use up the rest of that yarn!
Crochet Cozy Wool Scarf Video Tutorial (Pattern Below):

Crochet Wool Beanie (using the rest of the yarn): coming soon!
How to add a fringe tassel knot (also shown in video): https://youtu.be/dCsCMGTIgWQ
Stitch Tutorials Used in This Pattern:
Attach yarn to crochet hook: https://youtu.be/IsOvsrvJhN8
Chain (CH): https://youtu.be/jLP-o-RnqqQ
Single Crochet (SC): https://youtu.be/xppth_5GBzM
Double Crochet (DC): https://youtu.be/bA7b2sOIfzM
Crochet Wool Scarf Pattern:
Yarn: Lion Brand Yarns Fisherman’s Wool, Size 4 Medium Weight
Crochet Hook: G/6/4.25MM
Attach yarn to crochet hook using a slip knot.
Row 1: CH 36, turn.
Row 2: Working in the BACK BUMPS, place 1 SC in each st in the row – including 1st CH st (36 total SC st). CH 2, turn.
Row 3: Skip CH 2 and 1st st, then place 1 DC in each of the following 3 stitches, then place 1 DC in 1st st (the one you skipped). **Skip the following st that you haven’t already worked, then place 1 DC in the following 3 st. Then place 1 DC back in the skipped st.** Repeat * around the row (9 total Cable st, 36 total DC st). At the end of the row, place 1 DC in the last st. CH 2, turn.
Row 4: Skip the CH 2 and st 1 & 2, then place 1 DC in the next 3 st. Working back in the skipped stitches, place 1 DC in either skipped st. **Skip the following st that you haven’t already worked, then place 1 DC in the following 3 st. Then place 1 DC back in the skipped st.** Repeat * around the row (9 total Cable st, 36 total DC st). At the end of the row, work 1 DC AROUND the CH 2 at the end of the row (this is to create a border that is a clean line). CH 2, turn.
Rows 5 – 115: Repeat Row 4.
Cut and tie off yarn at the end of the last row.
Attach fringe tassel knots along the short edges (this will hide the tails too!). This is shown in the video, but you can check out my fringe tassel knot tutorial here: https://youtu.be/dCsCMGTIgWQ
100+ Crochet Beanie Tutorials


Leave a Reply