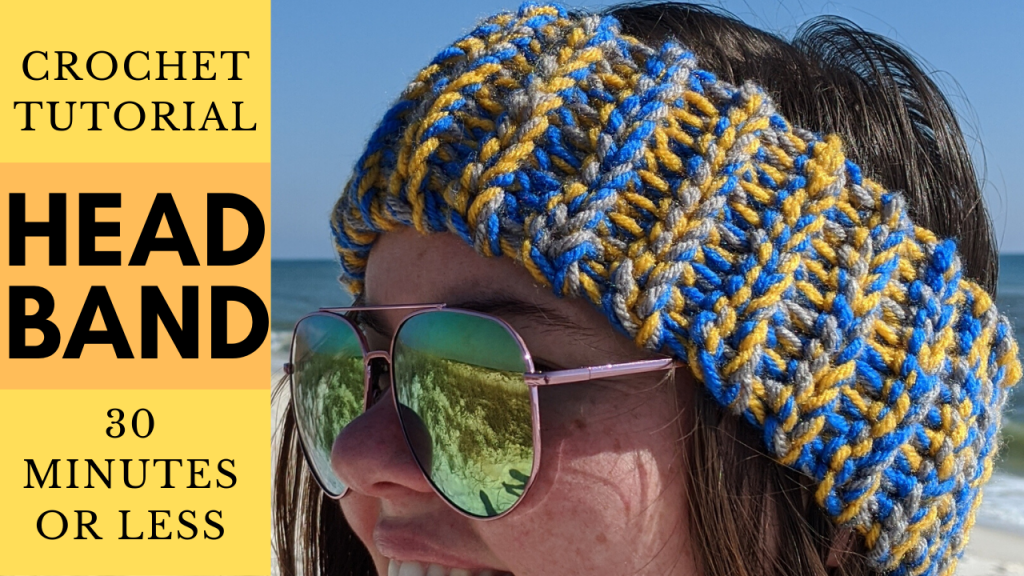
Chunky Headband Crochet Tutorial – How to Crochet Three Strands Together
How to crochet a chunky headband with three strands of yarn? In this tutorial, I show you how to create a chunky headband without chunky yarn. This ear warmer crochet project requires three strands of yarn (I prefer to use 3 different colors). It doesn’t take too much yarn to create this project, so feel free to use small amounts of left over yarn from previous projects. You can always tie in different colors as one yarn runs out to create a really cool look.
If you aren’t familiar with some of these stitches, check out my Beginners’ Crochet Series here: https://www.youtube.com/playlist?list=PLUmcifMqZH5s3cLaL0U6V8qzPffPnsckA
Other Beginner Crochet Projects: https://www.youtube.com/playlist?list=PLUmcifMqZH5tJr9oh9bZx2QMs-Z4kol2X
Video Tutorial:

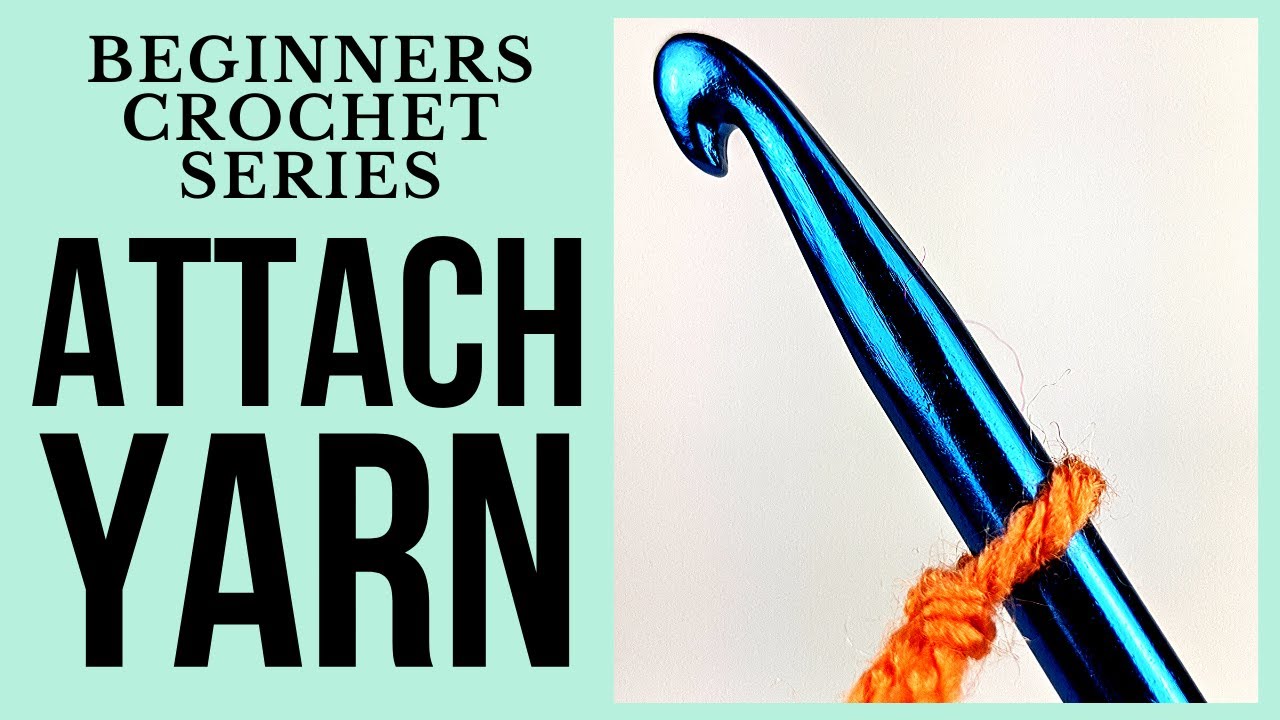
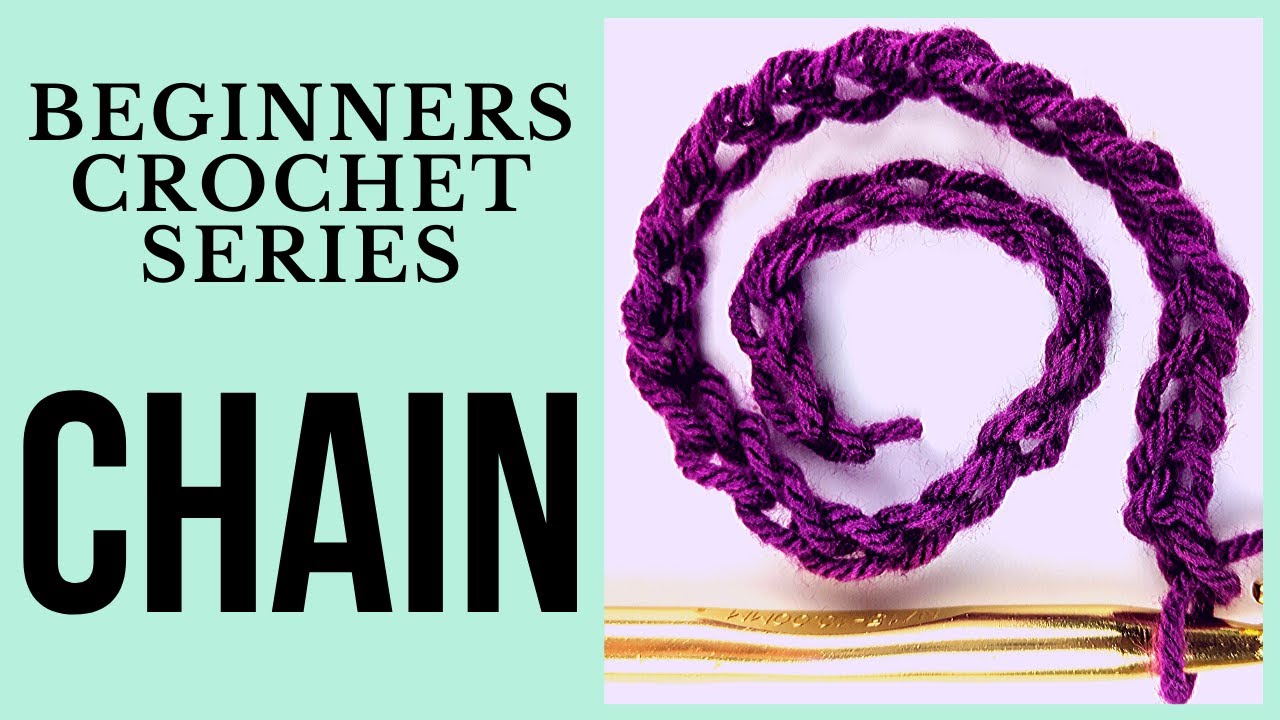
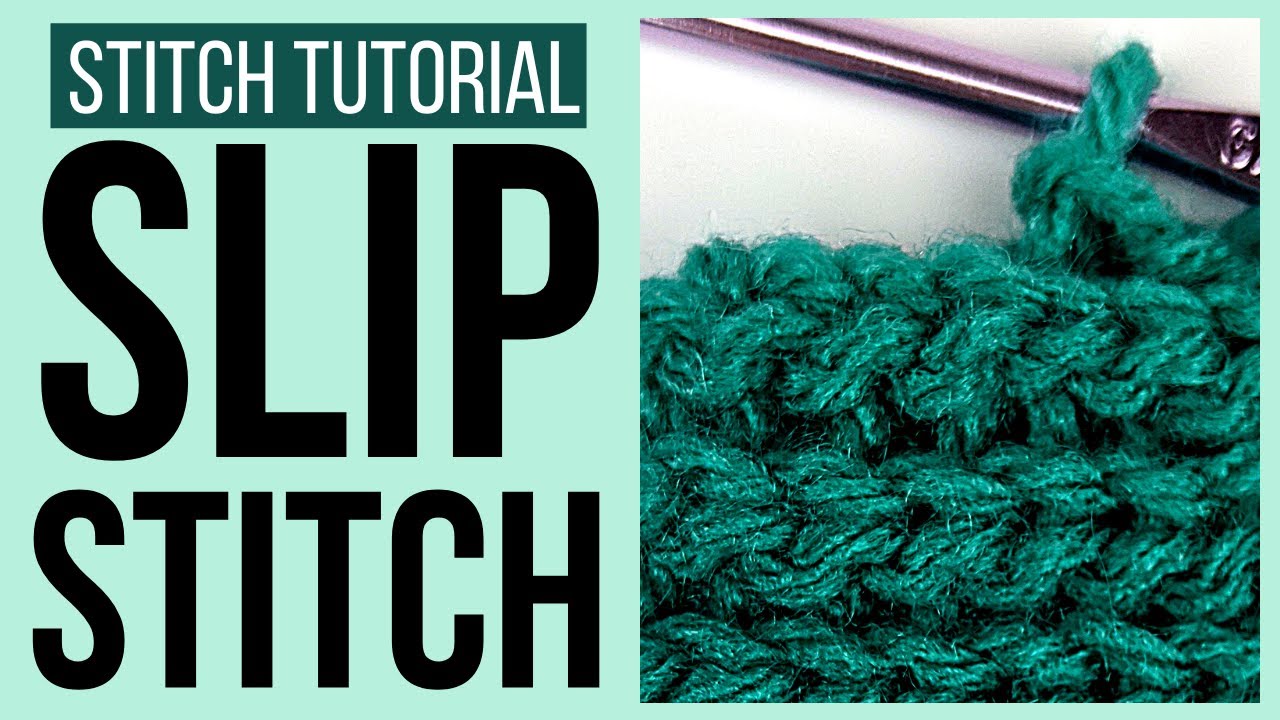
Stitches used and their corresponding stitch tutorials:
Attach yarn to hook:
Chain (CH):
Slip Stitch (SL):
How to crochet a chunky beanie without chunky yarn:
***Pull the three ends of your chunky yarn together. String them through your hands like you would if you were just using one piece of yarn. Treat them like they are connected together, and never let them separate.
Row 1: Attach the three pieces of yarn to your crochet hook simultaneously and Chain 10.
Row 2: Turn your crochet hook so that it is facing your chains, and inserting your hook into the back bump (not the portion of the stitch that forms a “V”, but the loop in the back), place 1 SL st in each of the 10 st across your row.
Row 3: CH 1 and turn your work. Place 1 SL into the Back Loop Only (BLO) of the 10 st across.
Rows 4 – ?: Continue to repeat Row 4 until your headband reaches an appropriate length to fit around your head. I stopped mine at 15 inches. Make sure that your last row stops on the opposite side that your first row began. When we join the two edges together, we want to have the tails on the same side of our headband.
To Join: Once your headband is at the length that you would like, make sure that you have chained 1 at the end of your last row. Join the two edges together by placing them beside one another and inserting your hook through the entire stitch of the two corresponding stitches and the loop on your hook (for a SL st). They should line up together when the edges are next to each other. Repeat for all 10 stitches.
Tie off your work and tie your two tails together (I usually tie them twice). Tread your tails down your headband until they reach about halfway. Trim the tails so they fall close to the headband and turn your work inside-out.
You have now completed your Headband!!!
Other Headband and Beanie Tutorials:
Leave a Reply