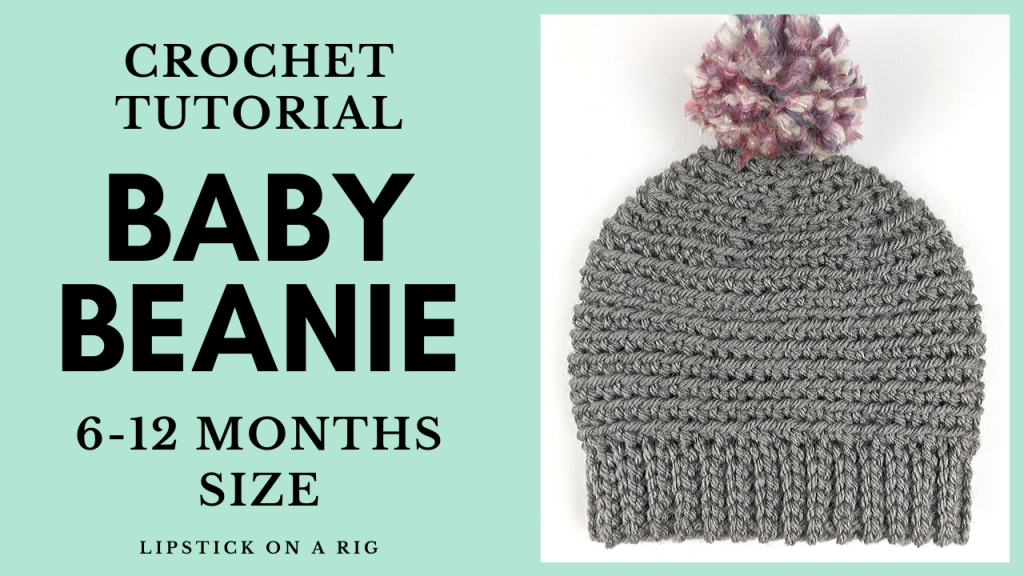
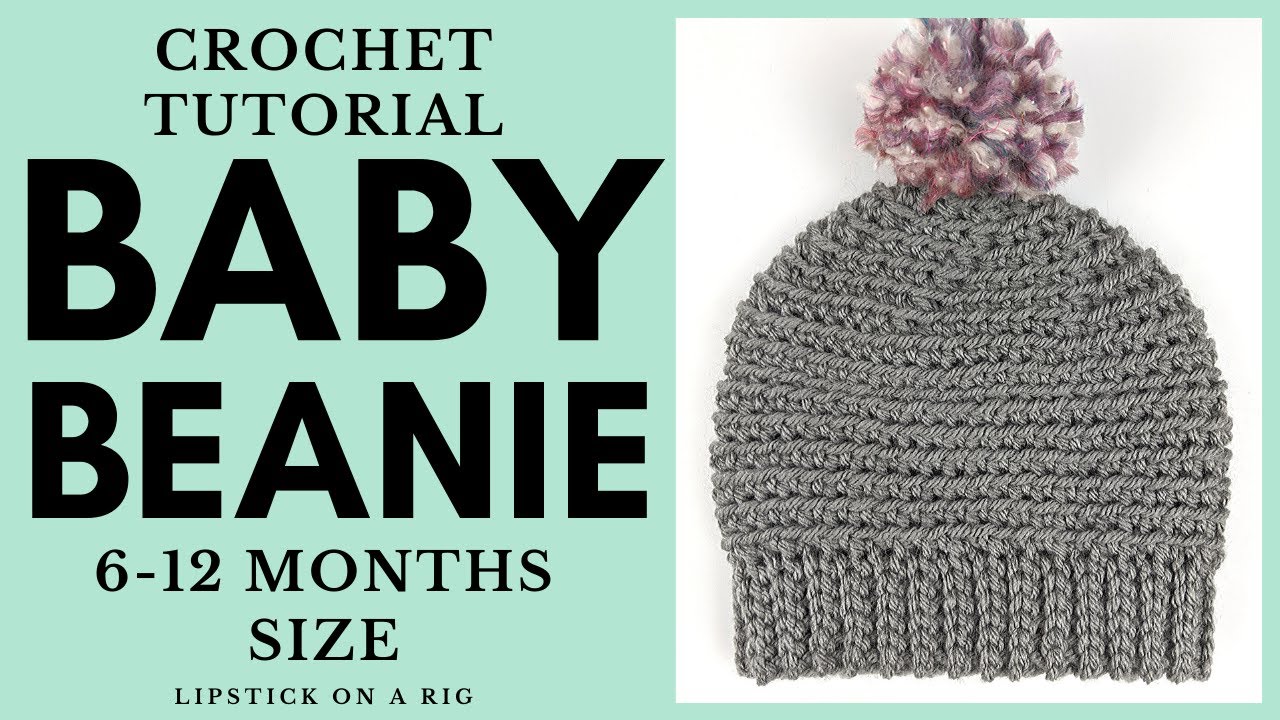
Crochet Baby Beanie Tutorial – 6 Months to 1 Year Size
How to crochet a beanie for a one year old? In this tutorial, I show you how to crochet a beanie that is roughly made for a 6-month to 1-year-old. This beanie pattern is very quick and won’t take you long to crochet. Using a few simple stitches really create a beautiful beanie. This is great if you are about to be a new parent, or are attending a baby shower.
If you aren’t familiar with some of the crochet stitches, check out my Beginners’ Crochet Series here: https://www.youtube.com/playlist?list=PLUmcifMqZH5s3cLaL0U6V8qzPffPnsckA
Stitches used in this pattern:
Attach yarn to crochet hook: https://youtu.be/IsOvsrvJhN8
Chain (CH): https://youtu.be/jLP-o-RnqqQ
Slip Stitch (SL): https://youtu.be/cMNam0kuhpQ
Single Crochet (SC): https://youtu.be/xppth_5GBzM
Video Tutorial:
How to crochet a beanie for a one year old pattern:
Crochet Hook Size: F/ 5 / 3.75MM
Yarn Size: 4 Medium
BRIM:
Row 1: CH 6, turn work.
Row 2: SL in BACK BUMP of each st across (6 st total), CH 1, turn work.
Row 3: SL in Back Loop Only (BLO) of each st across (6 total).
Rows 4 – ? Repeat Row 3 until brim reaches 10 inches. End last row with a CH 1.
Crochet two edges together (make sure that when you begin to lace the two edges together that the tail is on the opposite side of your crochet hook (this makes it easier to crochet over and hide within your work)). Line the edges up, insert your hook in the Front Loop Only (FLO) of the st beside your crochet hook. Keeping that loop on your hook, insert your hook into the BLO of the opposite edge’s corresponding st. SL through the two loops on your hook. Repeat this process for the other 5 st in your edge. CH 1 and turn the brim inside out. Turn your crochet hook so that it isn’t twisted.
MAIN BEANIE:
Row 1: Using st markers, section off four sections of the brim evenly. Place 12 SC in each section for a total of 48 SC. Since there aren’t true stitches on the side of the brim, just create them in any loop that you can find.
Row 2: 1 SC in the BLO of each st across (48 st in total). Don’t start and stop the rows, just continue them in an endless pattern.
Rows 3 – 9: Repeat Row 2.
Row 10: *1 SC BLO in first 6 st, SC BLO st 7 and 8 together.* Repeat * around the row (42 st in total). Use a st marker to mark where row begins.
Row 11: *1 SC BLO in first 5 st, SC BLO st 6 and 7 together.* Repeat * around the row (36 st in total). Use a st marker to mark where row begins.
Row 12: *1 SC BLO in first 4 st, SC BLO st 5 and 6 together.* Repeat * around the row (30 st in total). Use a st marker to mark where row begins.
Row 13: *1 SC BLO in first 3 st, SC BLO st 4 and 5 together.* Repeat * around the row (24 st in total). Use a st marker to mark where row begins.
Row 14: *1 SC BLO in first 2 st, SC BLO st 3 and 4 together.* Repeat * around the row (18 st in total). Use a st marker to mark where row begins.
Row 15: *1 SC BLO in 1st st, SC BLO st 2 and 3 together.* Repeat * around the row (12 st in total). Use a st marker to mark where row begins.
Row 16: *SC BLO st 1 and 2 together.* Repeat * around the row (6 st in total). Use a st marker to mark where row begins.
Row 17: Insert your hook in a st across the small circle that remains and SL. SL any other gaps you see in the top of the beanie.
Tie off yarn and hide tail.
Consider adding a pom pom:

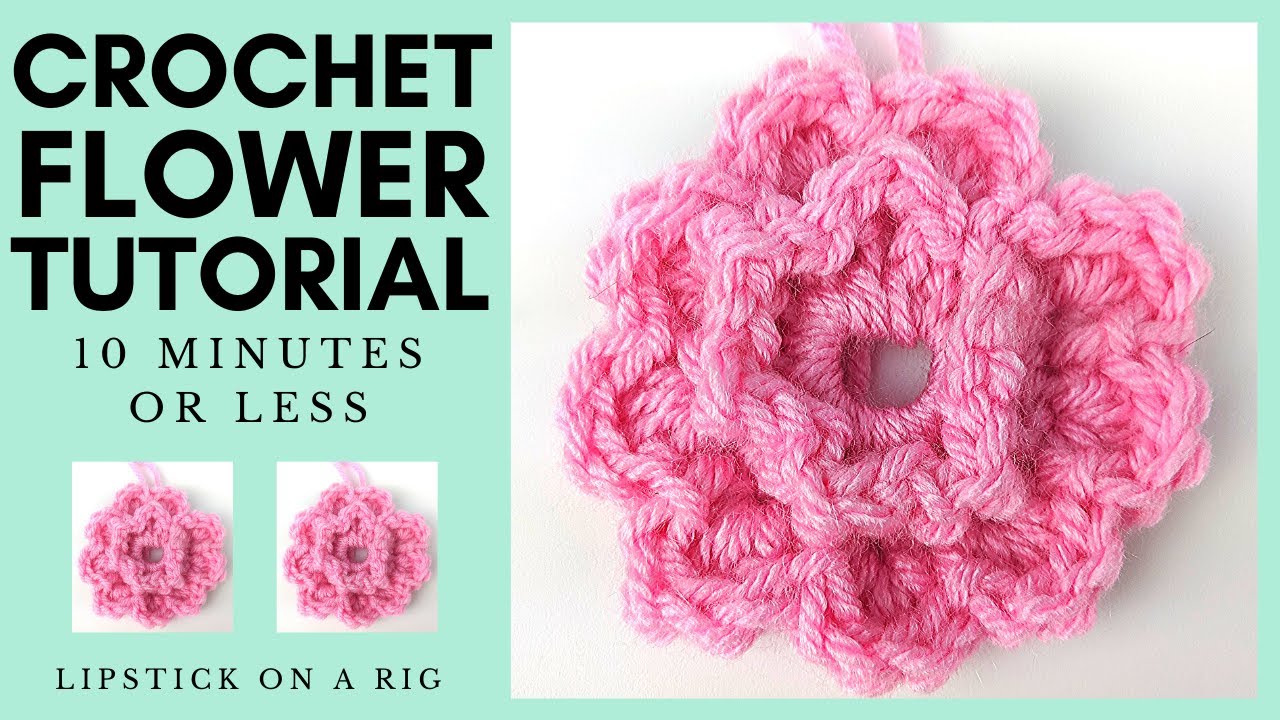
Consider adding a flower:
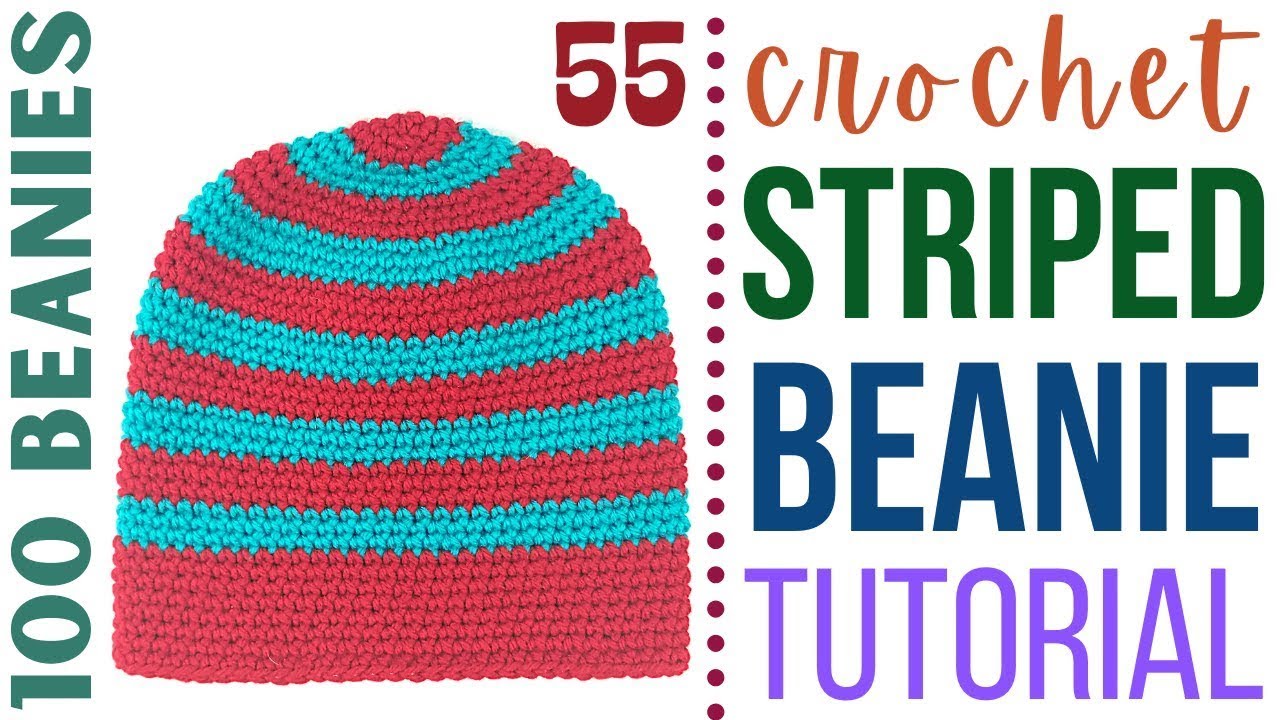
Other Crochet Headband and Beanie Tutorials here:
Leave a Reply