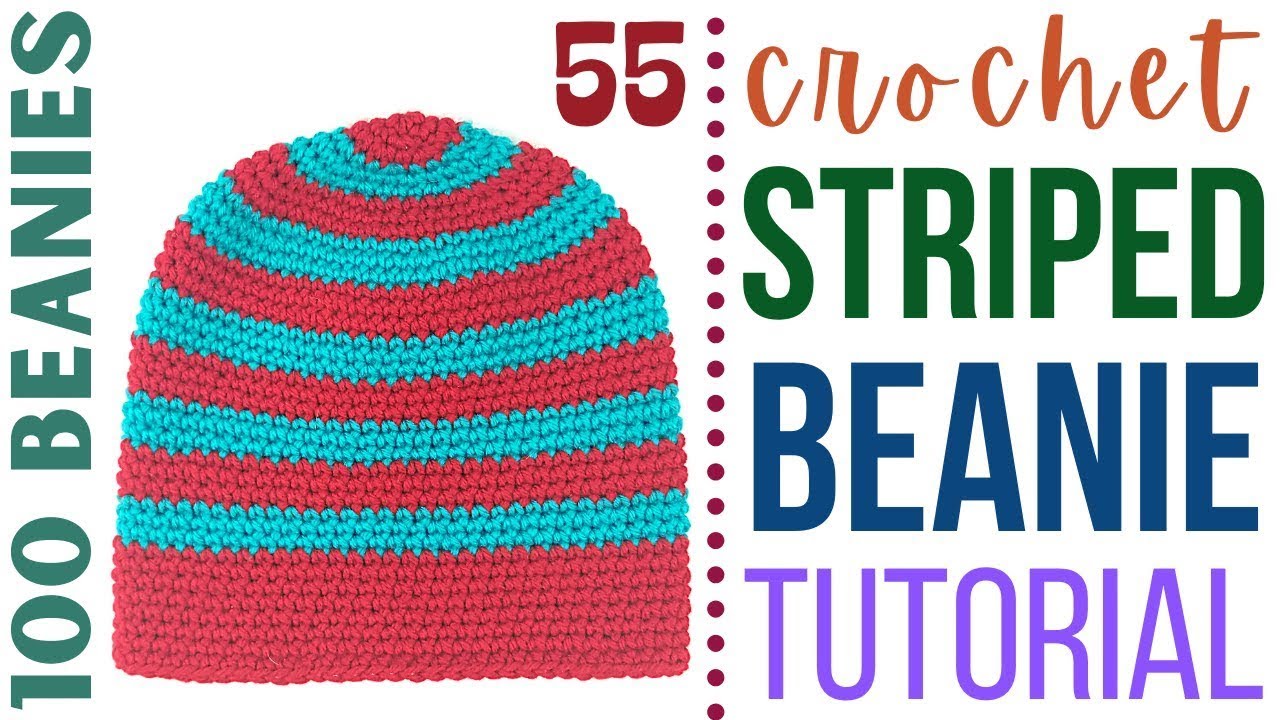
How to Crochet Beanie Tutorial – Ribbed Beanie Pattern
How to crochet a ribbed beanie? In this tutorial, I show you how to crochet a beanie for a man or woman (this pattern is gender neutral). This crochet beanie pattern is very simple to follow and can be made using any three colors of yarn. The ribbed look makes it suitable for both males and females with a slightly masculine look to it.
This pattern is part of my three skein challenge! This is a basic challenge to see how many different projects I can create with three skeins of size 4, 7 ounce yarn. These projects are all beginner-friendly and don’t take too long to complete. I highly recommend you check out my other three skein challenge videos here:
Three Skein Challenge!
If you aren’t familiar with some of the stitches used in this pattern, you should check out my beginners’ crochet series. Here, I walk you through different crochet stitches as well as give you other pointers:
Beginners’ Crochet Series:
Video Tutorial:

How to Crochet a Male Ribbed Beanie:
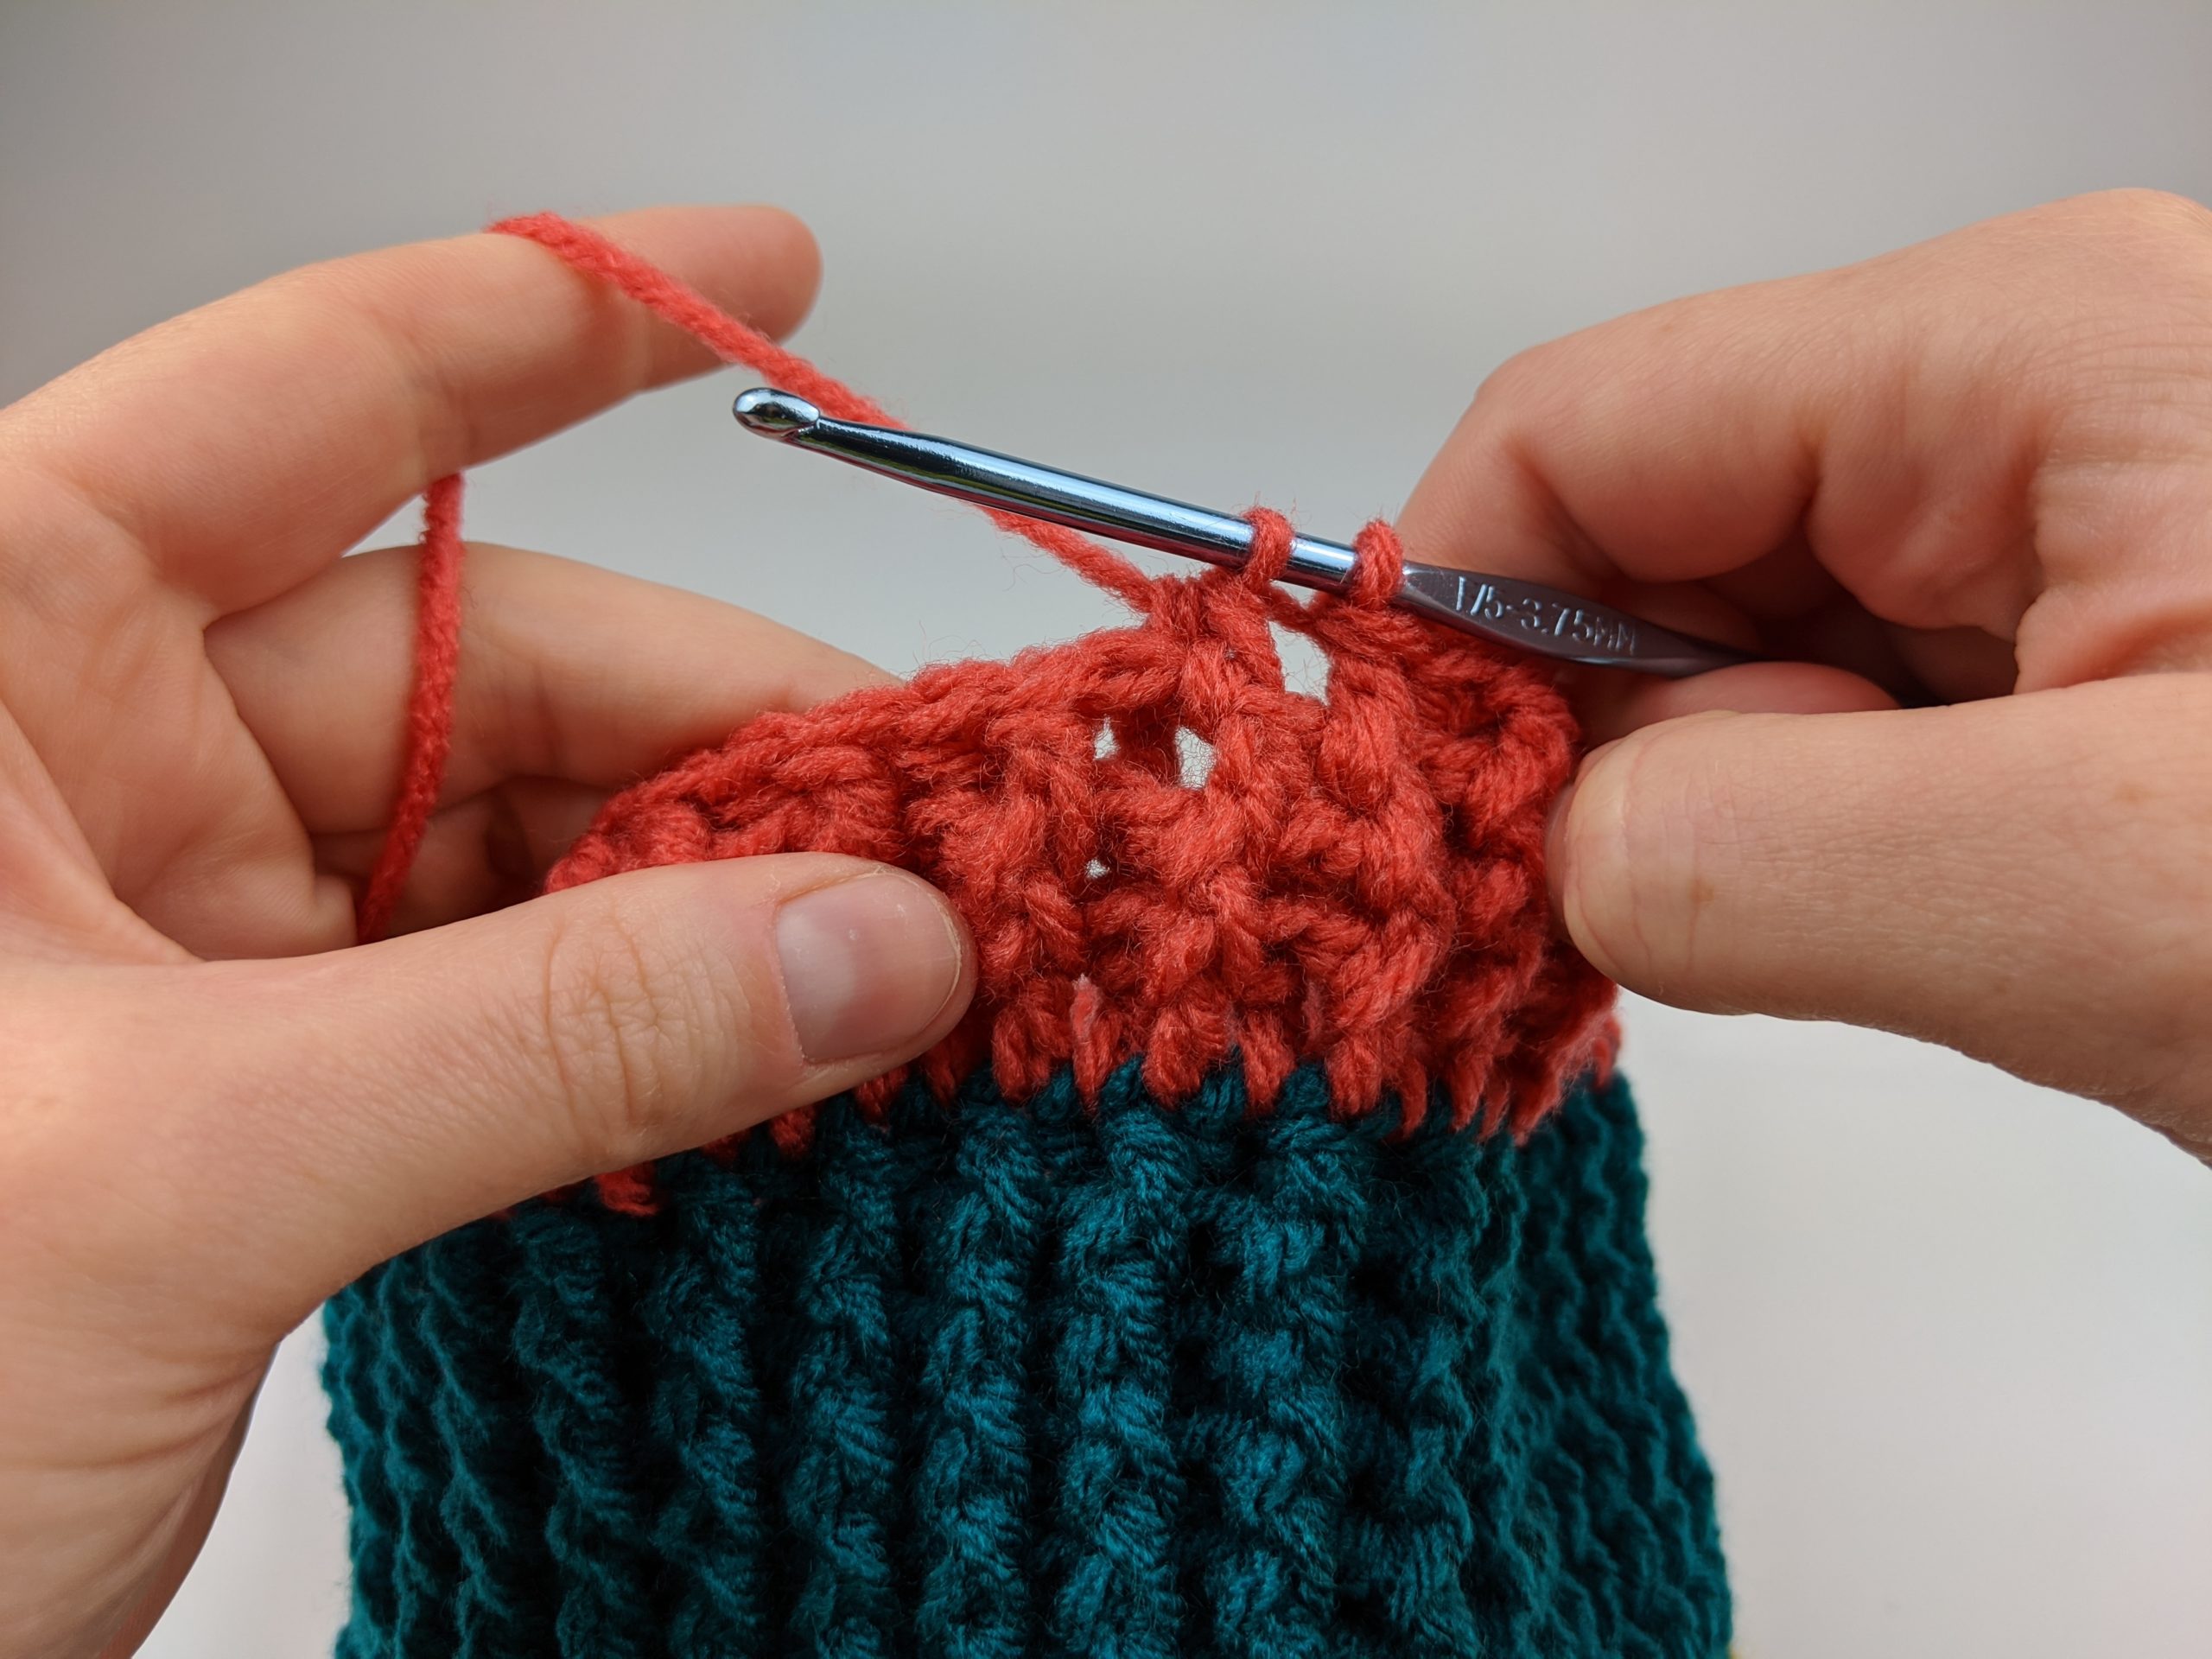
Crochet Hook Size: F / 5 / 3.75MM
Yarn: Size 4 Medium
Brim:
Row 1: CH 23
Row 2: 1 SL Back Loop Only (BLO) each st across (23 total st at end of row), CH 1, turn.
Row 3: Repeat Row 2 until the brim reaches 14-15 inches.
Crochet edge together by placing 1 SL through each st of the edges, crocheting them together. Once joined, fold brim so two edges are together and brim is now doubled in thickness.
Main:
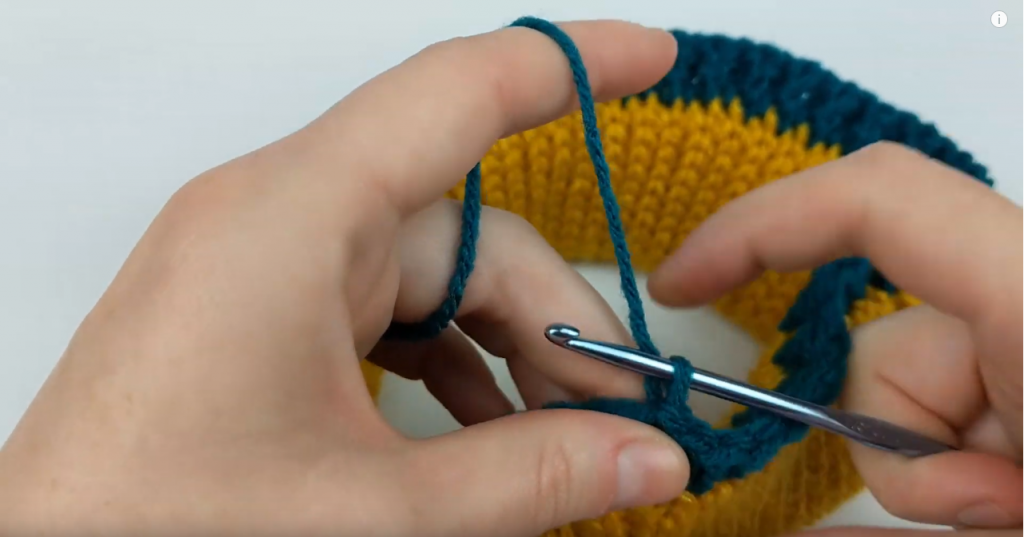
Row 1: Change colors by inserting hook in corresponding st on other edge of brim and yarning over with new color. Pull the new color through all loops on your crochet hook. CH 2. Using st markers (I used clothes pins in this tutorial), section off the brim so that you have four different sections, all evenly spaced. Place 84 (21 in each section) DC around the brim. Make sure that you are crocheting the two edges of the brim together as you work. The CH 2 counts as your 1st st. SL into top of CH 2 when you get to the end of the row.
Row 2: Place 1 front post st around the CH 2 st from Row 1. Place a back post st around st 2. Finish the row by alternating between front and back post st. Do not SL st into the 1st st at end of row. This pattern is worked in the round.
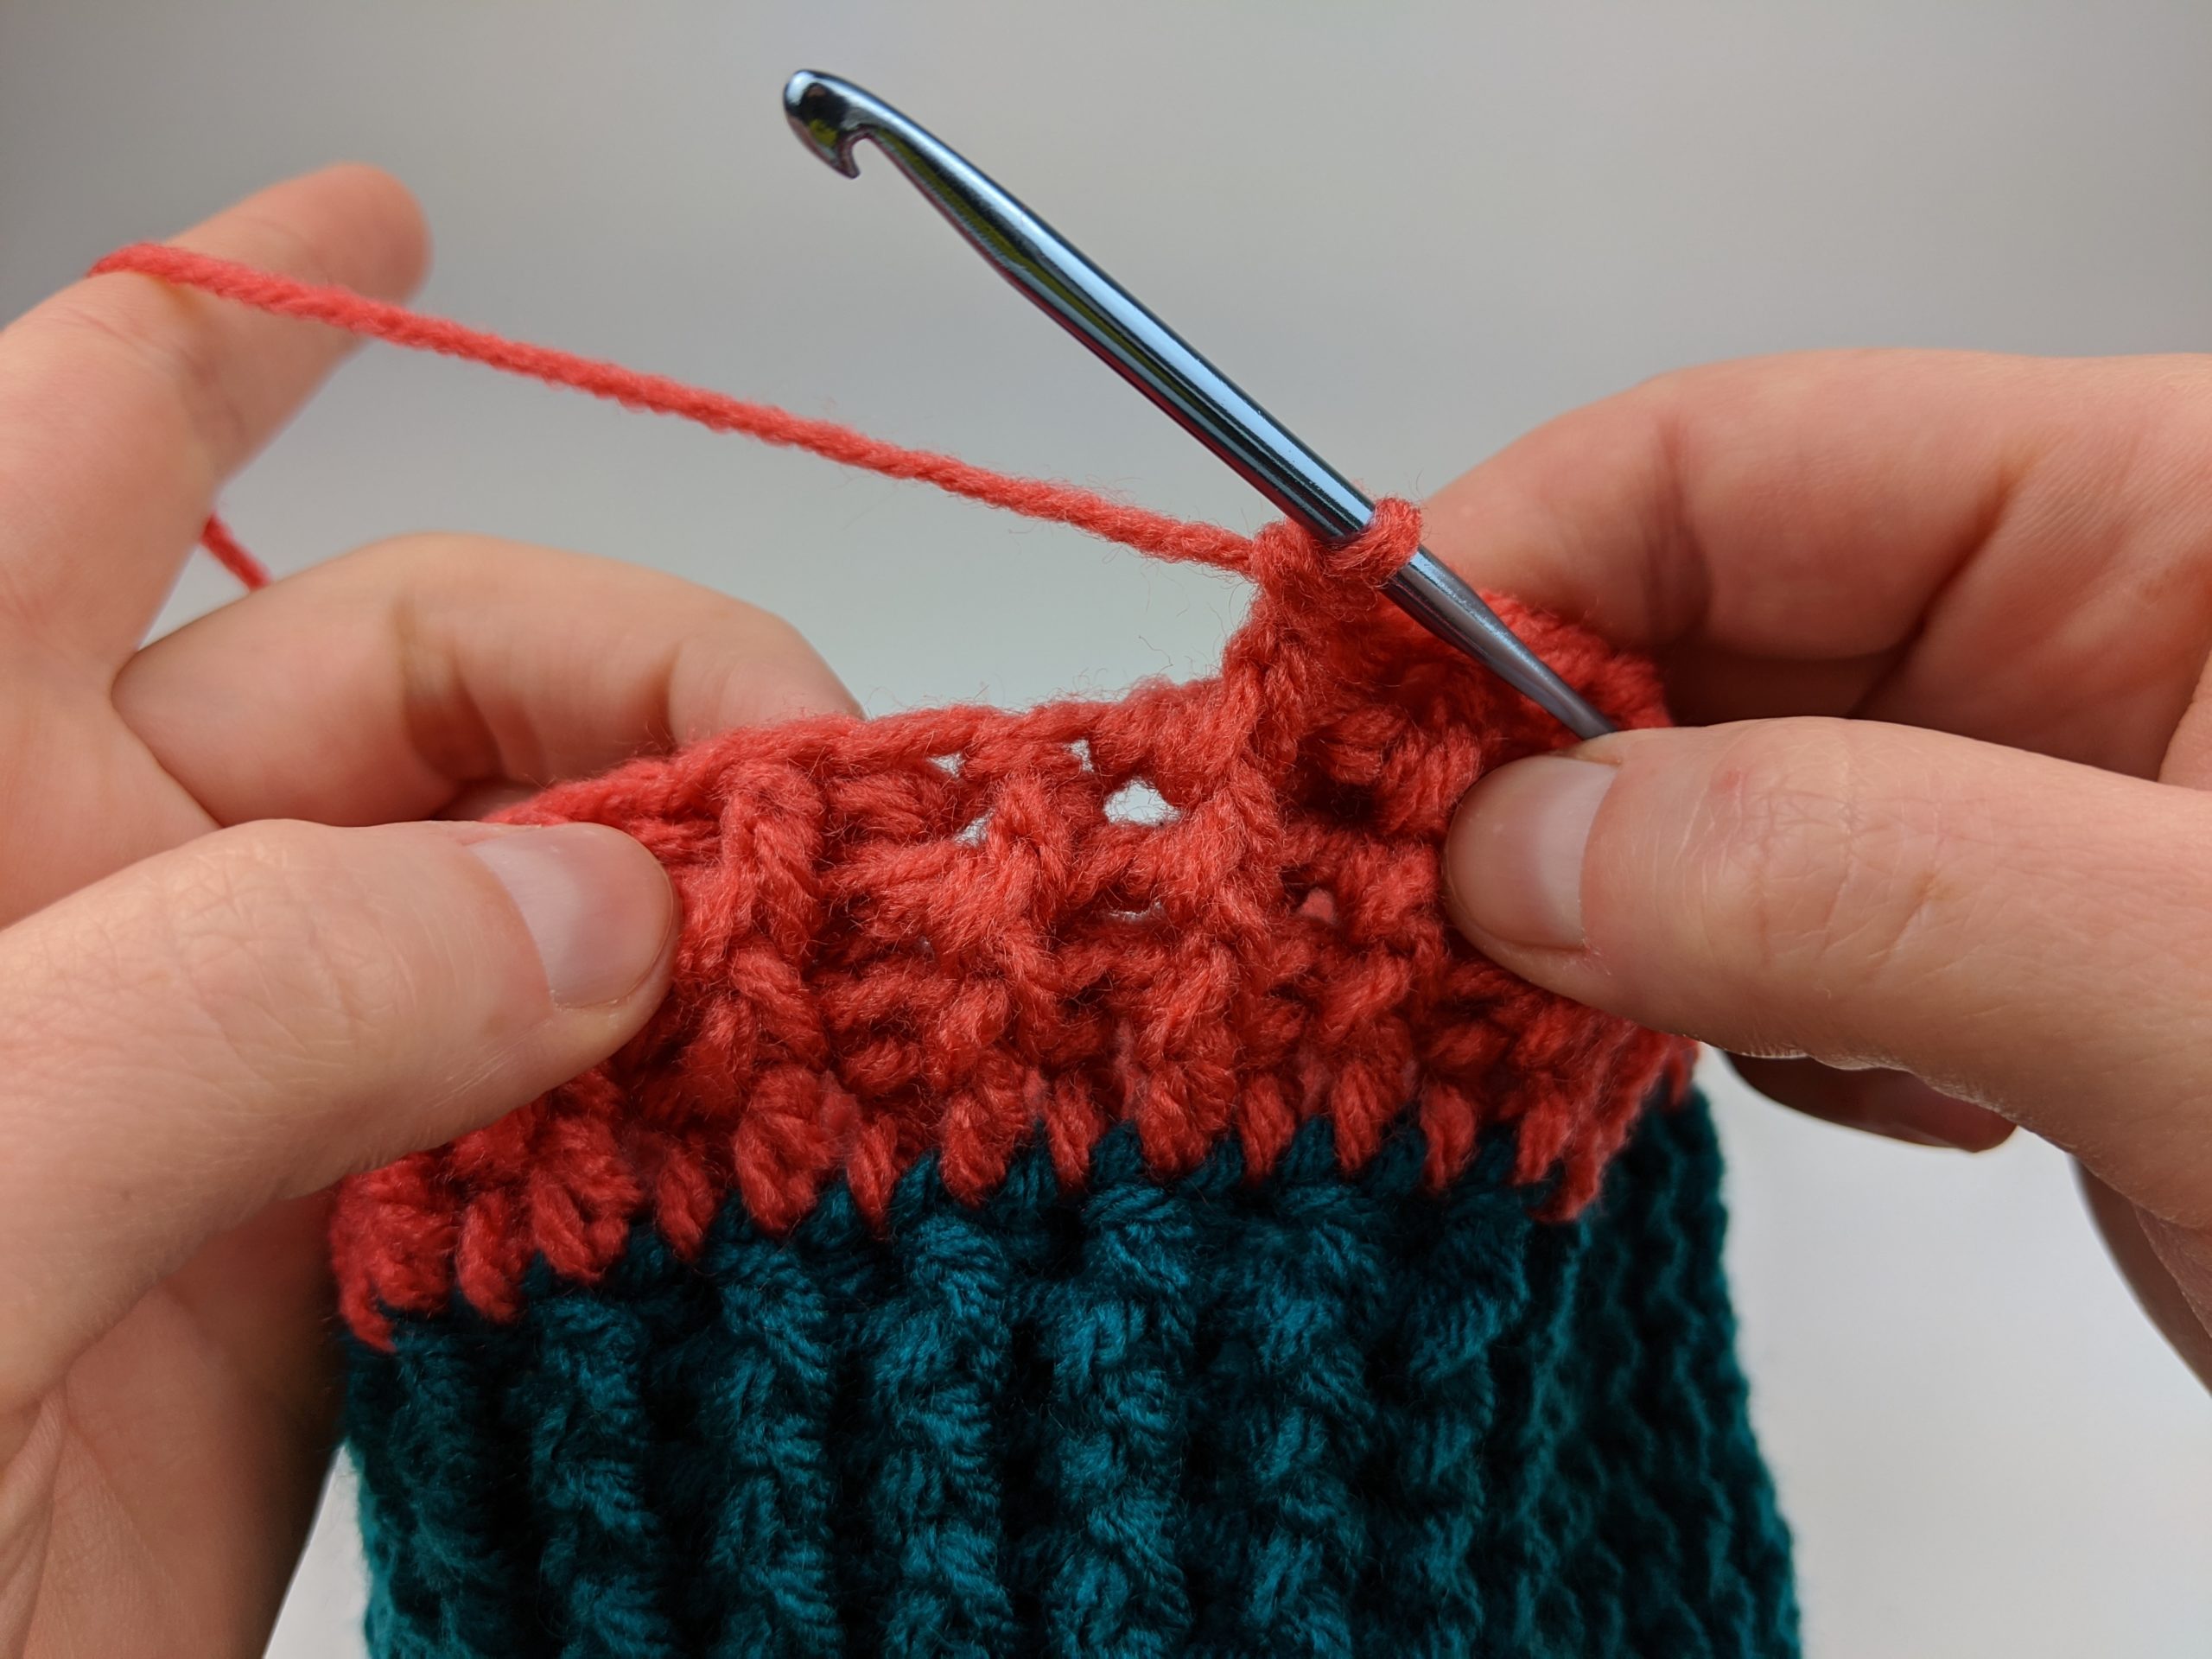
How to Front Post Stitch:
Row 3. Continue to place a front and back post st in each of the front and back posts. They should align with the previous row.
Rows 4 – 8: Repeat Row 3.
Row 9: Begin this row by placing a SL st in the 1st st (not the post st, but the actual st). Change colors during this by inserting your hook into the 1st st and then yarn over with new color. CH 2. Place 1 DC in each st in row. SL st into the CH 2 when you get to the end of the row.
Row 10: Place 1 front post st around the CH 2 st from Row 9. Place a back post st around st 2. Finish the row by alternating between front and back post st. Do not SL st into the 1st st at end of row. This pattern is worked in the round.
Row 11: Place post stitches in the next 5 stitches (using the stitch from the previous row as your guide). Double crochet st 6 & 7 together and around their corresponding posts. Repeat this pattern all the way around your row (you should have 74 total st at end of row).
Row 12: Place post stitches in the next 4 stitches (using the stitch from the previous row as your guide). Double crochet st 5 & 6 together and around their corresponding posts. It is okay if you have two front posts or two back posts in a row during this row (60 total st at end of row).
-
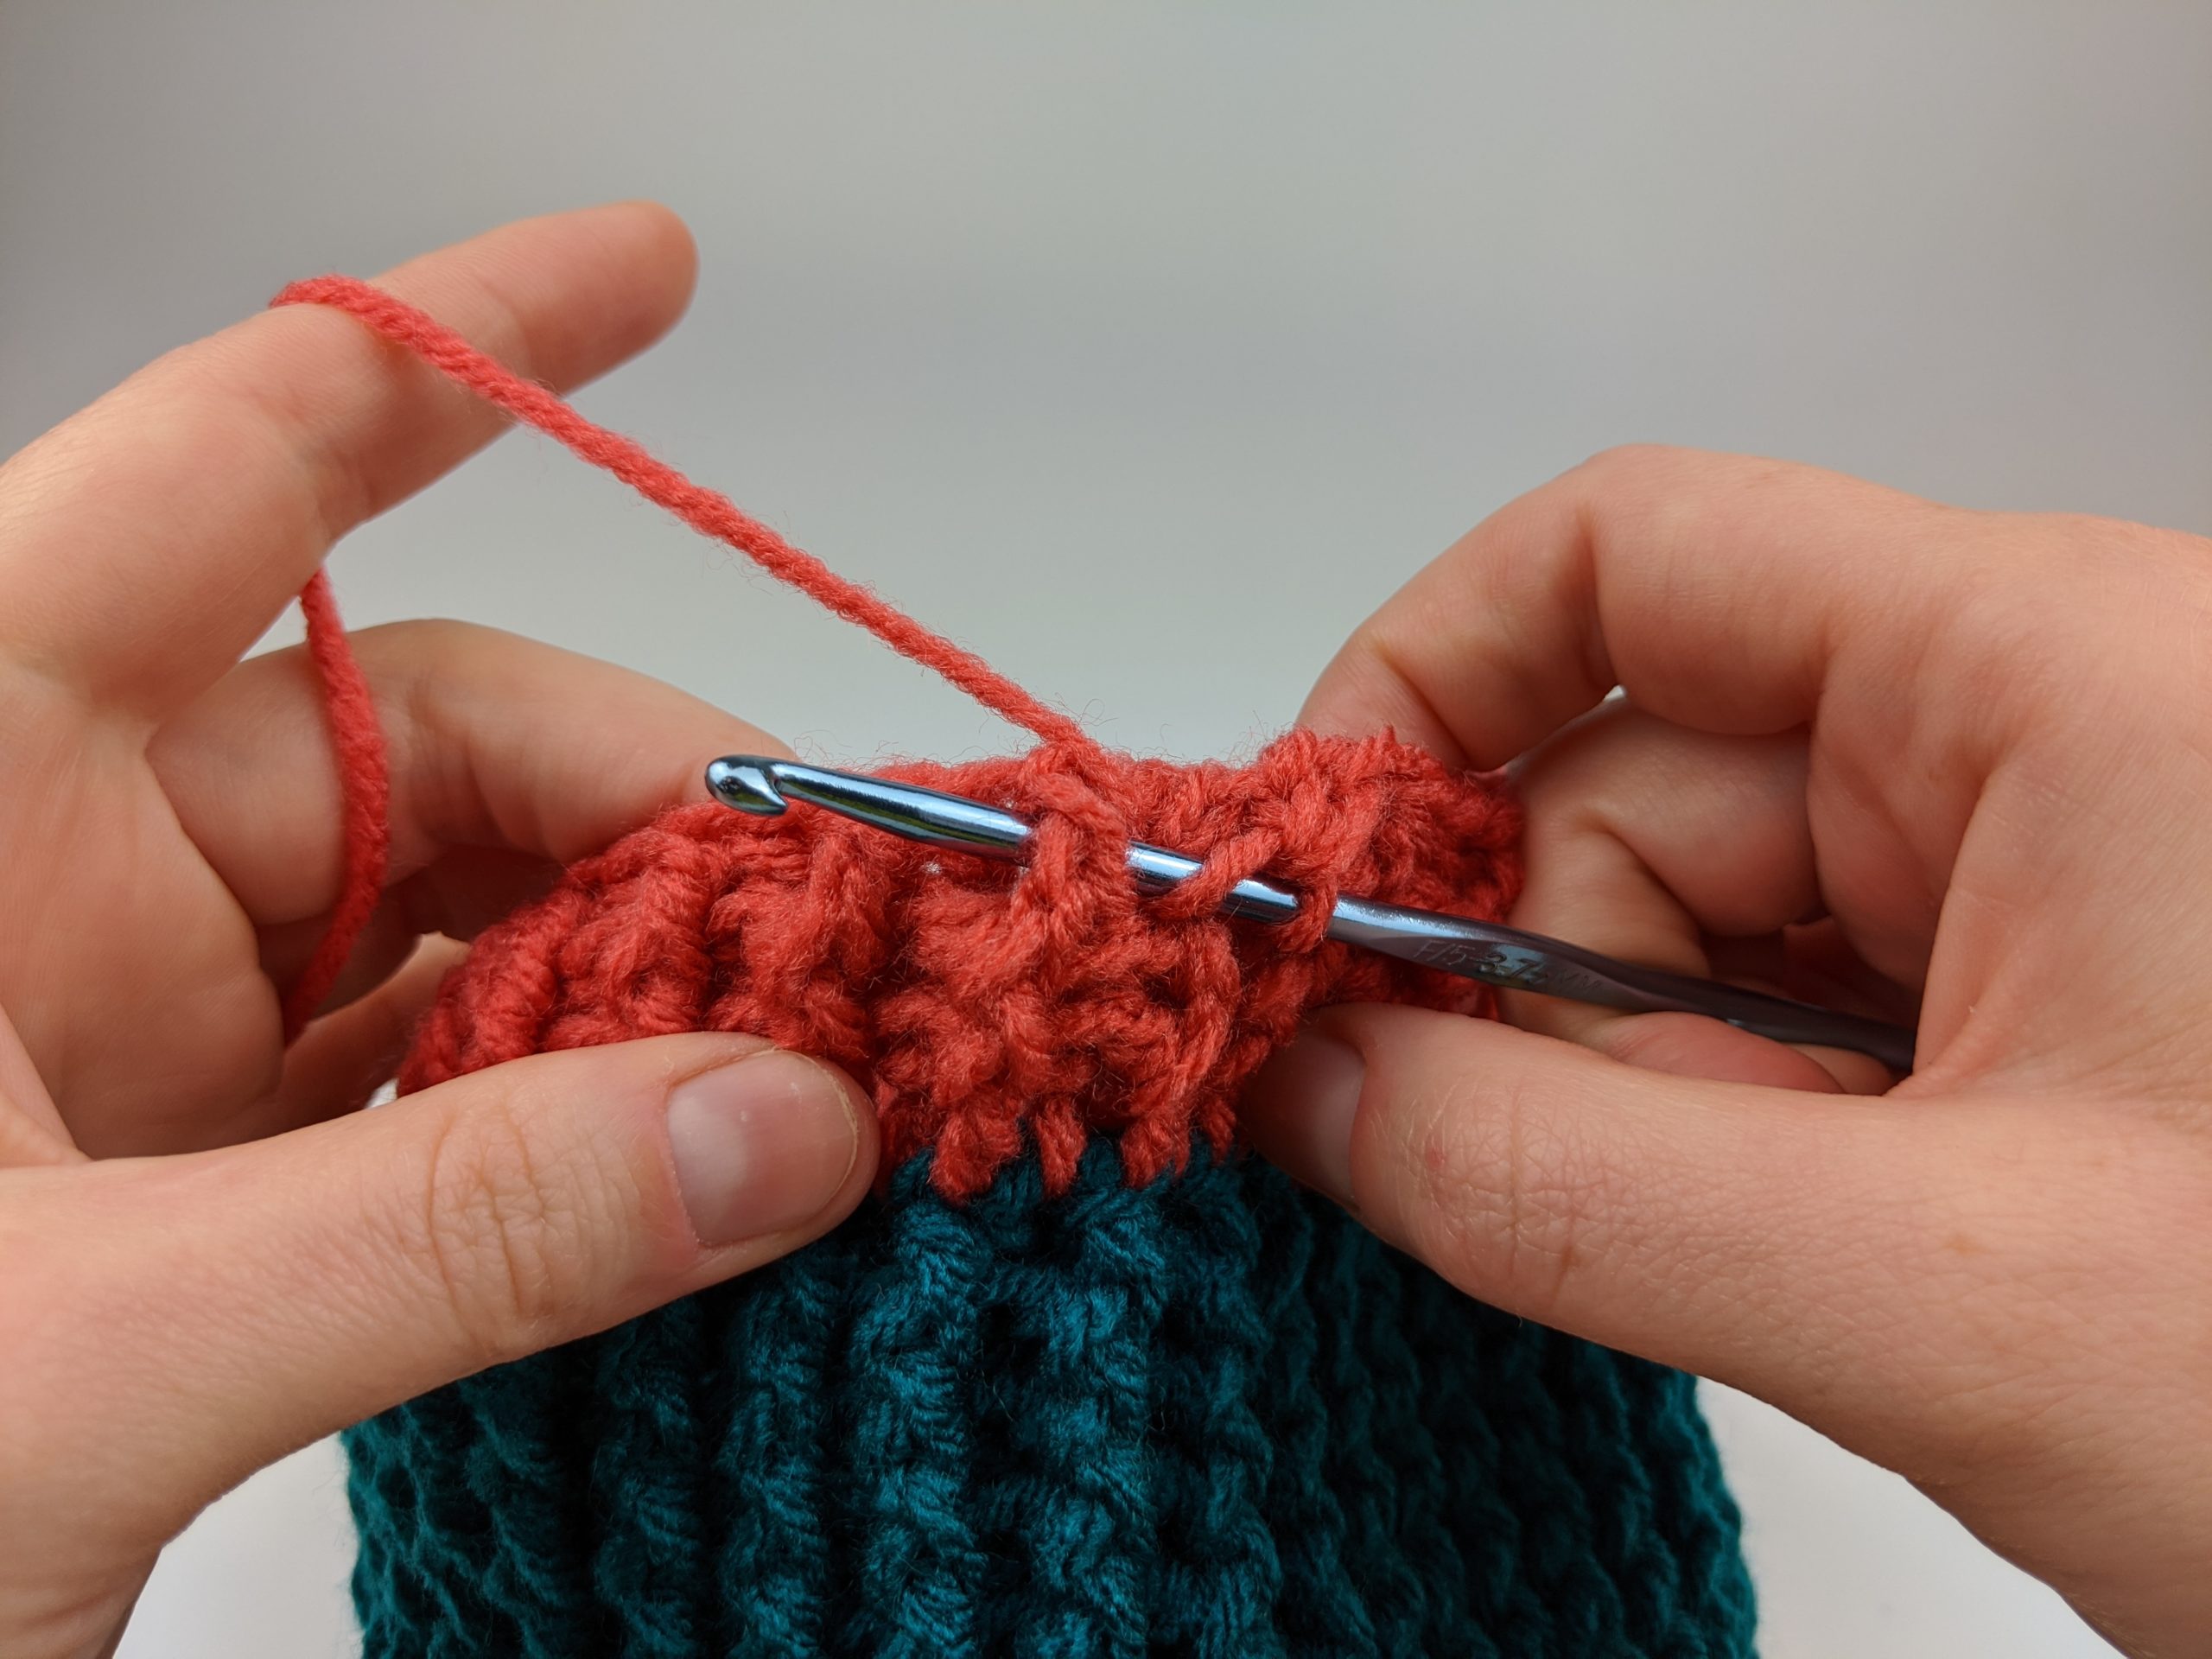
- Decrease when you have two front (or back) post stitches in a row. Yarn over and insert your hook under the next front post stitch (it is fine if you have two in a row).
-

- Yarn over and insert your hook around front post st
-

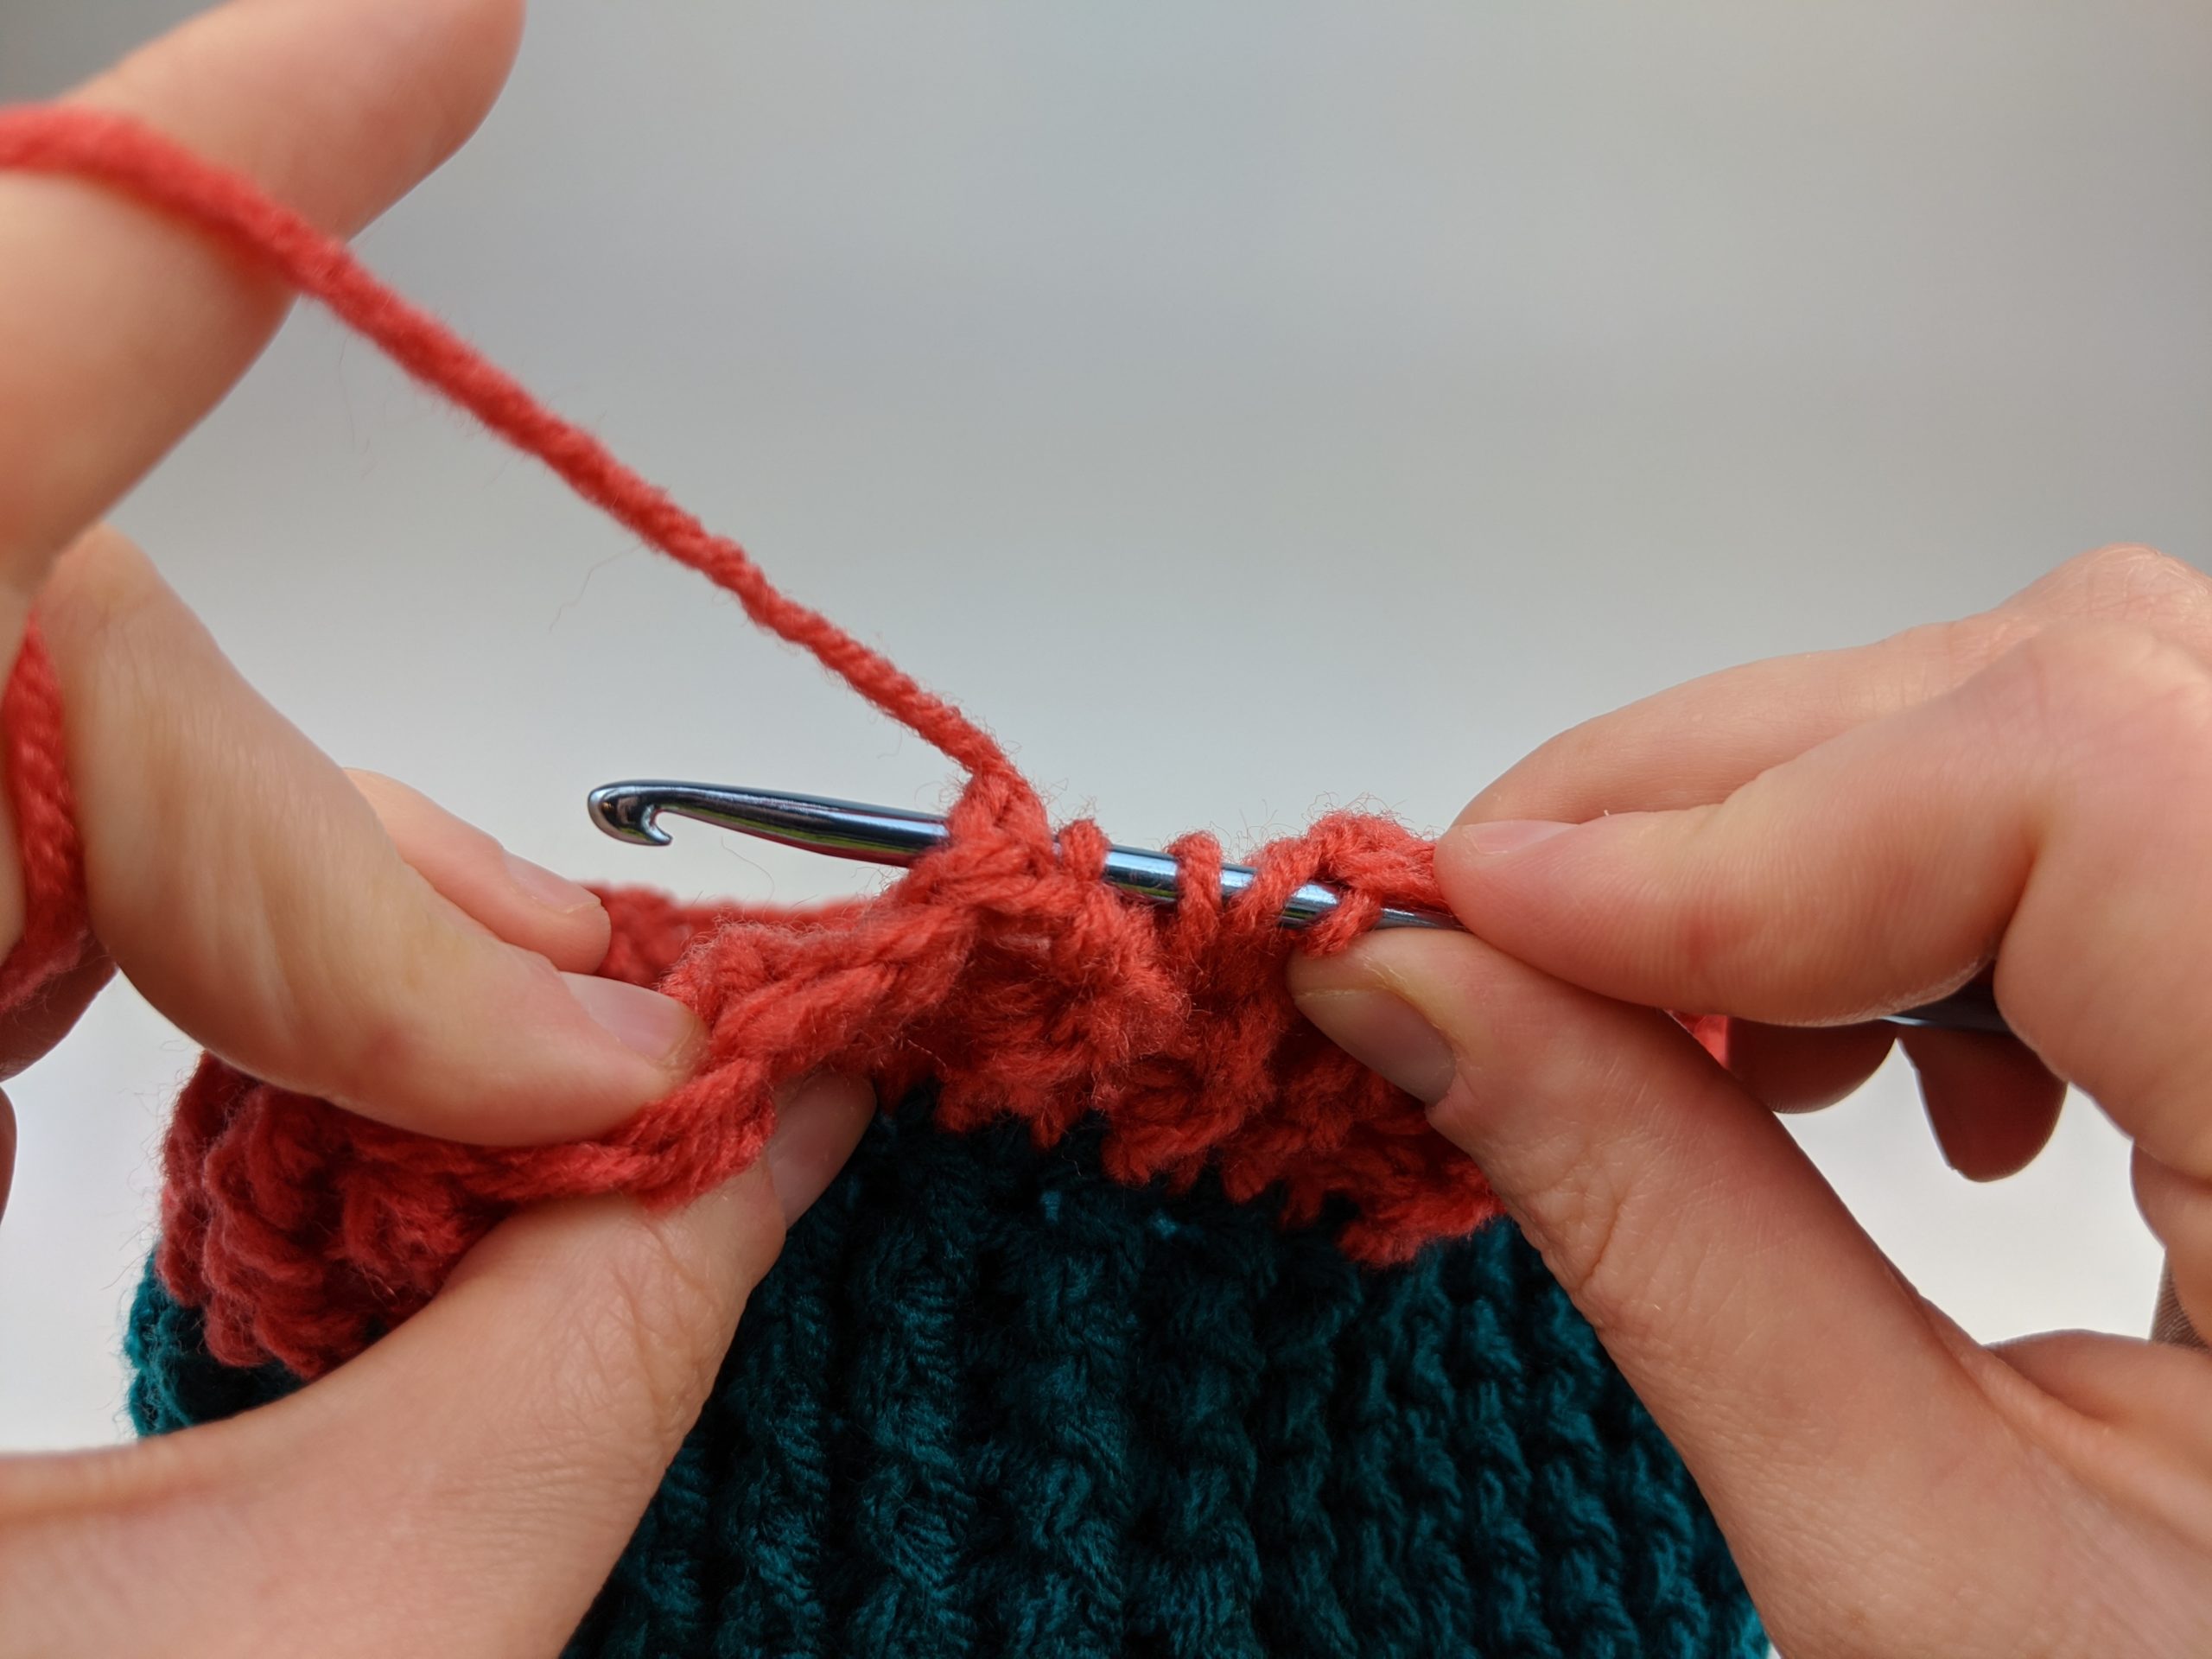
- Yarn over and insert your hook around the back post st
-
- Yarn over and pull through 4 loops on your hook
-

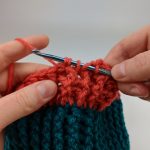
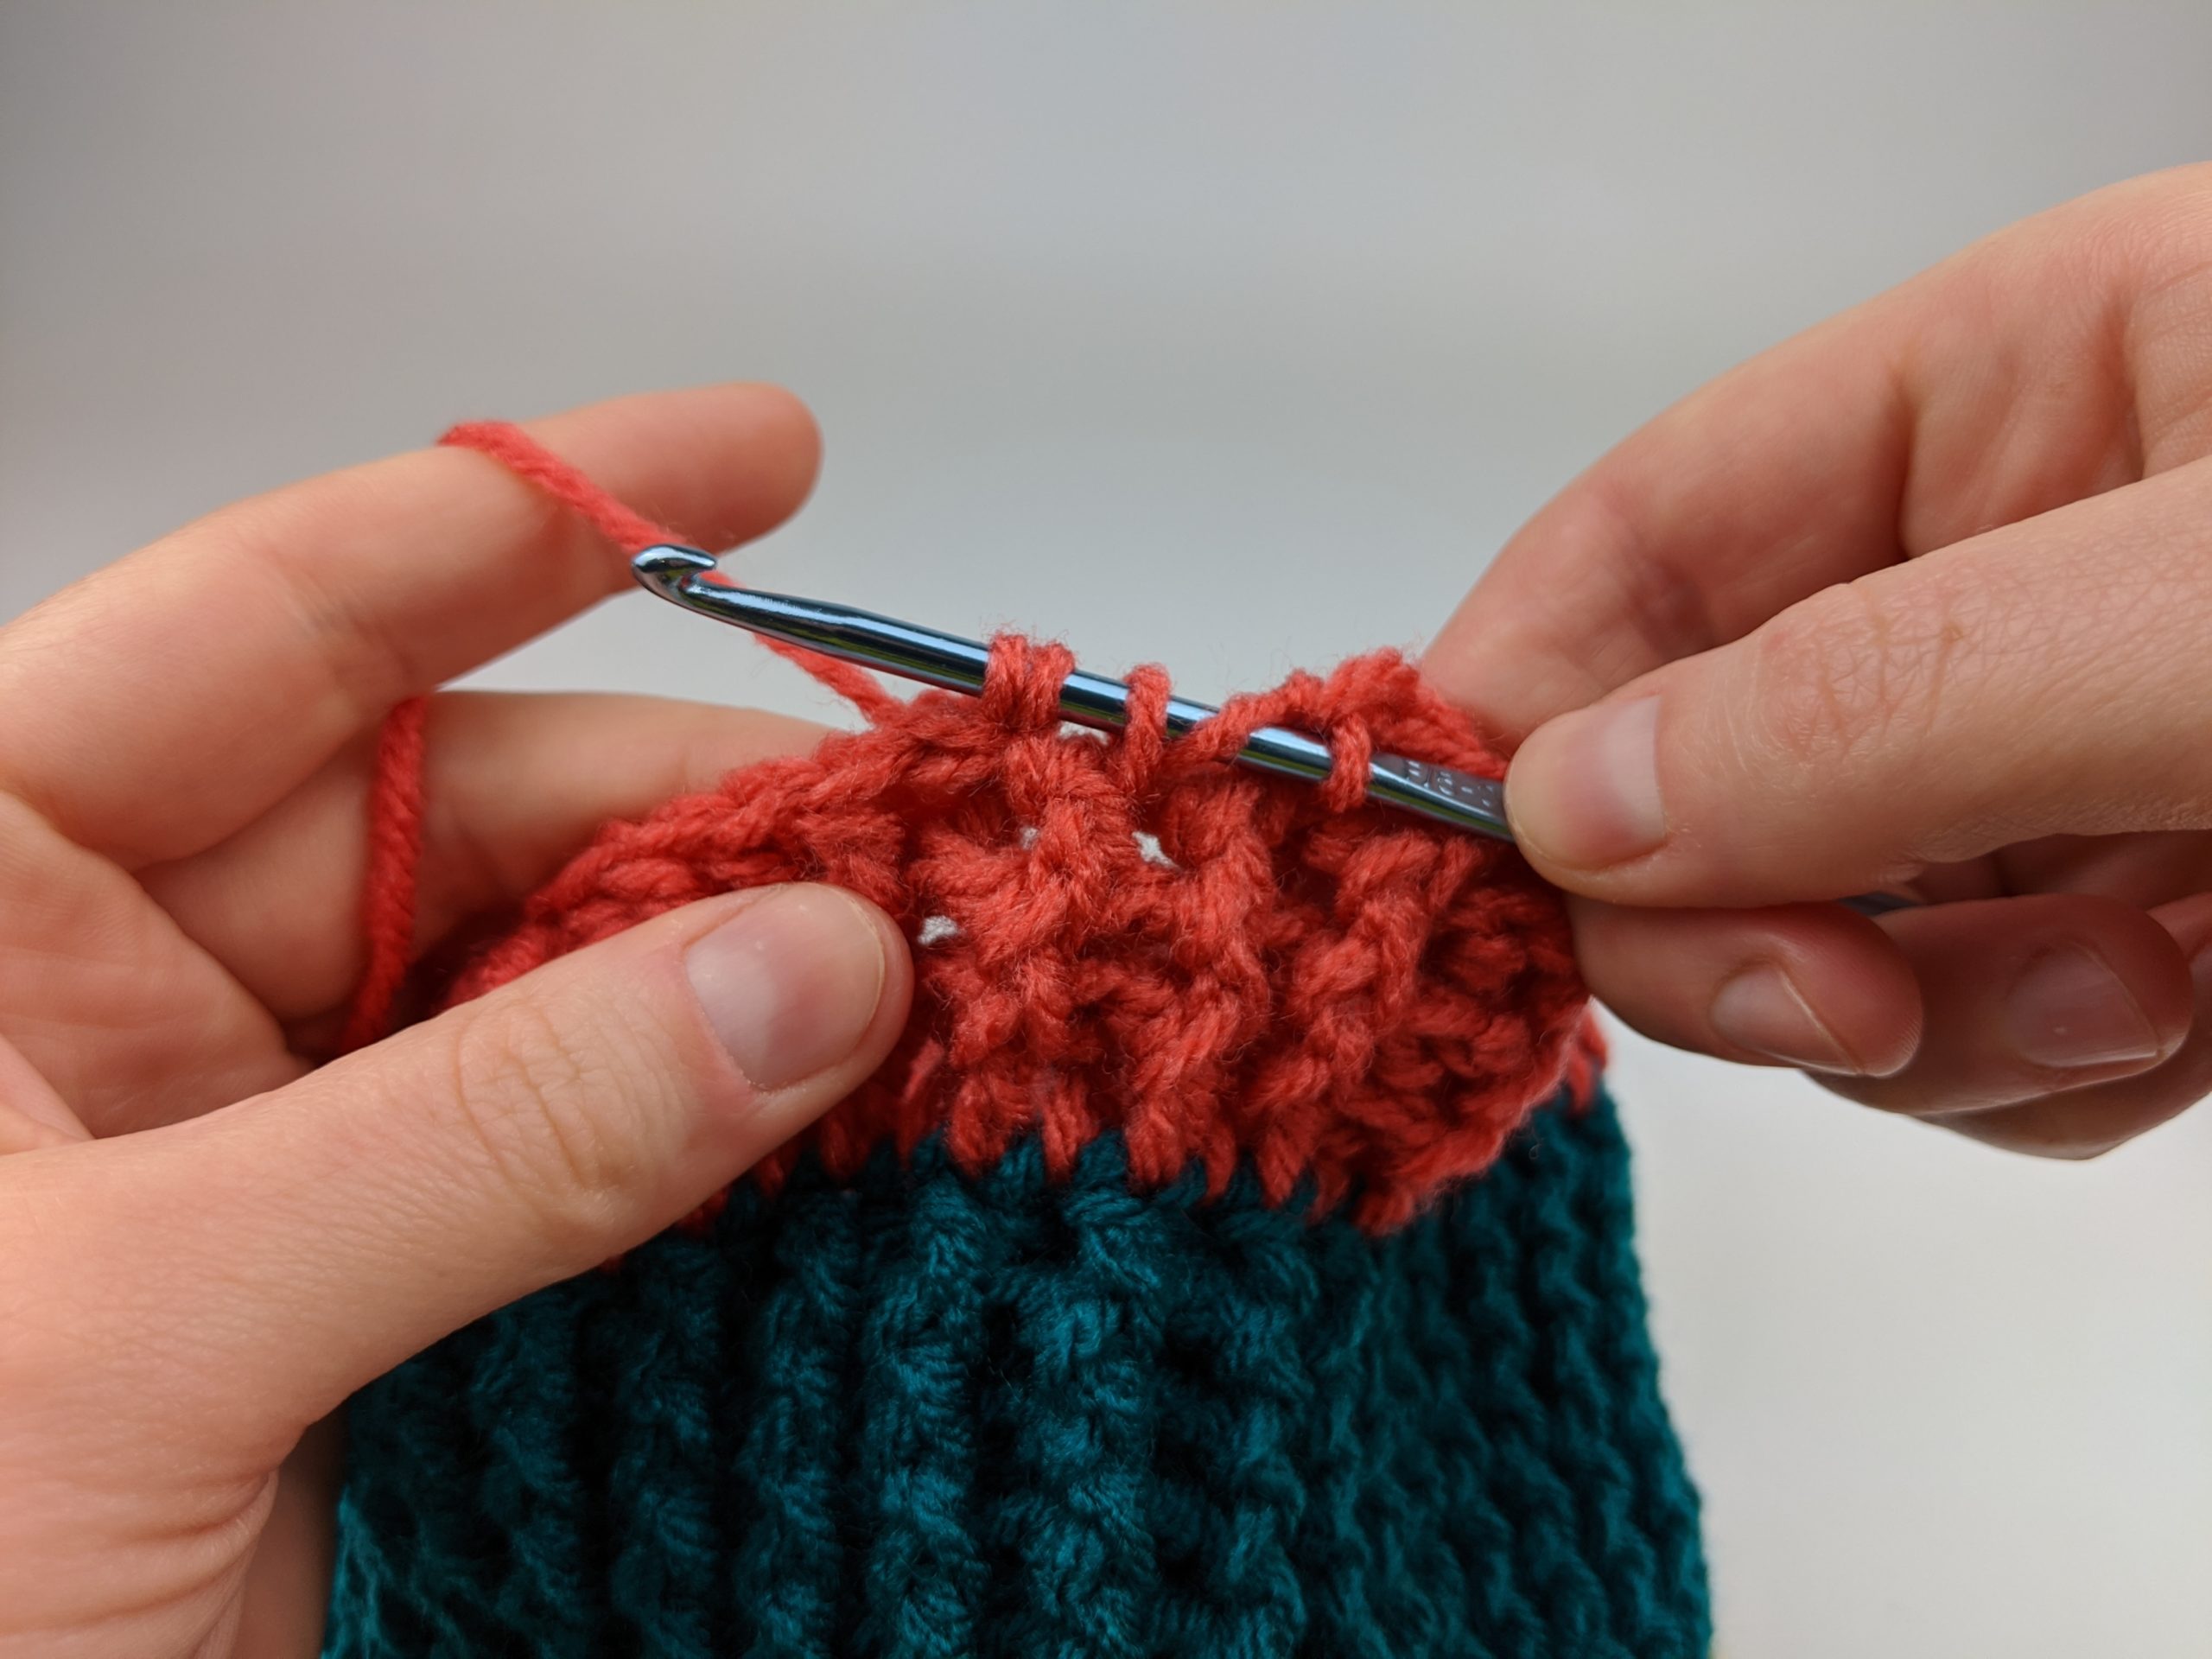
- Yarn over and pull through the last two loops on your hook.
Row 13: Place post stitches in the next 3 stitches (using the stitch from the previous row as your guide). Double crochet st 4 & 5 together and around their corresponding posts (48 total st at end of row).
Row 14: Place post stitches in the next 2 stitches (using the stitch from the previous row as your guide.) Double crochet st 3 & 4 together and around their corresponding posts. It is okay if you have two front posts or two back posts in a row during this row (36 total st at end of row).
Row 15: Place post stitches in the next st (using the stitch from the previous row as your guide). Double crochet st 2 & 3 together and around their corresponding posts (24 total st at end of row).
Row 16: Double crochet 2 st together. It is okay if you have two front or two back post stitches in a row during this row (12 total st at end of row).
Row 17: Single crochet 2 st together (6 total st at end of row).
Finish your beanie off by placing 1 SL st in the st opposite current st within the small hole at the top. Tie off yarn and tuck tails.
Consider adding a pom pom to the top of your beanie:

Other Crochet Beanie & Headband Tutorials:

Leave a Reply