
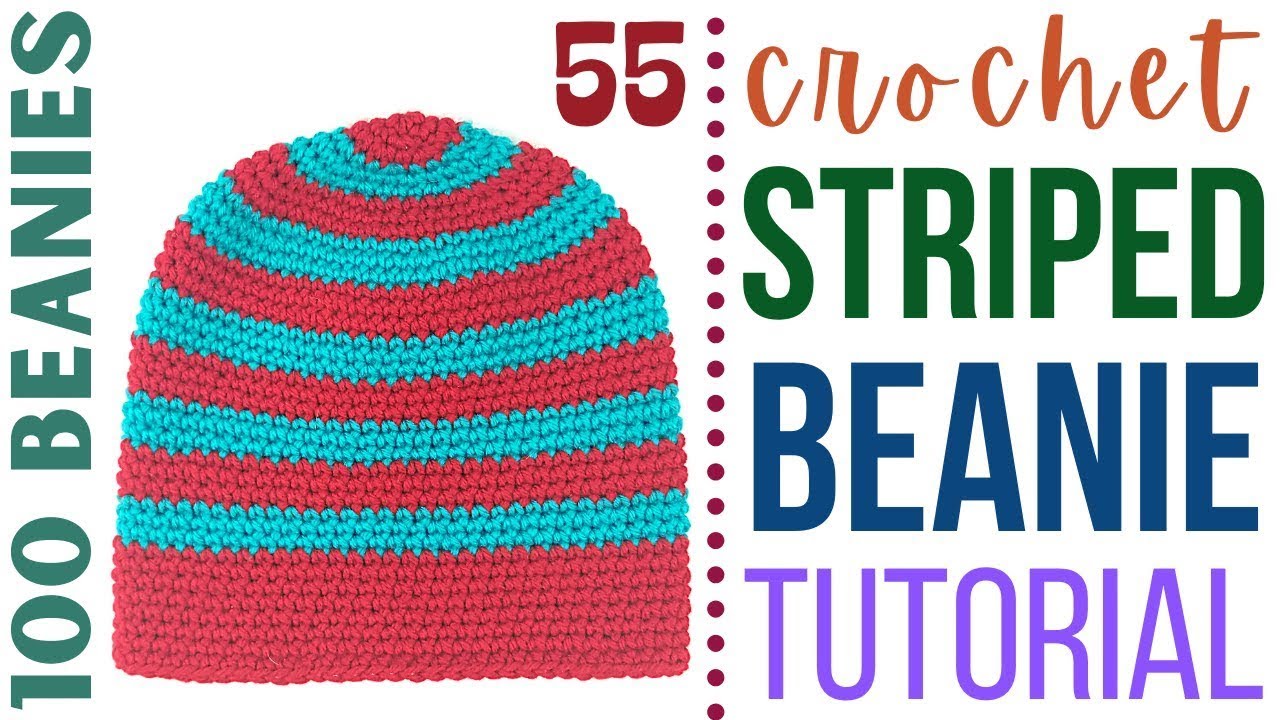
How to Crochet a LARGE Beanie
How to crochet a LARGE BEANIE! ▶ In this easy crochet tutorial, I show you how to crochet a beanie that is ideal for someone with a large head or who has a lot of hair. The double-brim is ideal for cold temperatures, and the SC crisscross stitch adds depth and extra warmth.
Crochet Large Beanie Video Tutorial

00:00 – Materials
00:45 – Attach yarn
00:53 – Row 1
00:58 – Row 2
01:38 – Row 3
02:31 – Rows 4 to End of Brim
02:56 – Joining the Brim
04:19 – Cut off Color A Yarn
04:32 – Section Off Brim
04:49 – Attach Color B Yarn
05:14 – Row 1 Color B
06:35 – Rows 2 to 9
08:22 – Row 10
10:31 – Row 11
11:12 – Row 12
12:15 – Row 13
12:58 – Row 14
13:34 – Row 15
13:50 – Row 16
14:30 – Row 17
14:54 – Row 18
15:16 – Row 19
15:34 – Cut & Tie Off Yarn
16:01 – Last row
16:22 – Tie off Cinch
The David Beanie Crochet Pattern:
Crochet Hook: G/6/4.25MM
Yarn: Size 4 Medium Weight (Wool), Cascade Yarns
Attach Color A (Brim) yarn to crochet hook using a slip knot.
Row 1: CH 32, turn.
Row 2: Working in each of the BACK BUMPS (or 3rd loop in back), place 1 LOOSE SL st in each st (32 total SL st). CH 1, turn.
Row 3: Skip the turning CH st, then place 1 SL st the BACK LOOP ONLY (BLO) of each st in the row (32 total SL st). CH 1, turn.
Rows 4 – ?: Repeat the last row until your brim reaches a width of roughly 22 inches.
Fold the two short ends together, and make sure your crochet hook is on the opposite side as your starting tail. CH 1 at the end of your last row, and then insert your crochet hook under BOTH LOOPS of your last SL st, then in the last CH st from ROW 1. Make sure you are working under BOTH LOOPS on both sides of your brim, then yarn over and drop all the loops on your crochet hook for a SL st. Repeat this process working up the edge of your brim, joining the two sides with SL st.
Cut and tie off yarn once the short edges are joined.
Turn brim right-side out so that the seam is on the inside.
Using stitch markers (safety pins and scrap pieces of yarn can also work), divide the brim into four equal parts.
Attach Color B yarn to your crochet hook using a slip knot.
Row 1: Insert crochet hook in one of the available loops near the starting/ending tails from Color A. CH 1 and place 1 SC here, then working BACKWARDS, place 1 SC in the available loops behind current st (this will create the first criss-crossing SC st). Skip the next loop that you would normally work, and place 1 SC in the next loop. Working BACKWARDS in the gap between the 1st criss-crossing SC st and the current SC, place 1 SC (this will create the 2nd criss-crossing SC st. Our goal is to place 48 criss-crossing stitches (or 96 SC) spaced as evenly as we can among our four sections. Try to get 12 criss-crossing st (or 24 SC st) in each of the four sections.
Row 2: From here, we are going to work a spiral pattern, meaning we won’t start/stop our rows, but instead they will stack on top of each other seamlessly. To do this, skip the CH 1 from Row 1, then place 1 SC in the 1st SC st from Row 1. Working BACKWARDS in the last st from the last row, place 1 SC. **Skip the following st that you haven’t already worked, and place 1 SC in the next st, then working in the skipped st, place 1 SC.** Repeat * around the row (96 total st or 48 total criss-crossing SC st).
Rows 3 – 9: Repeat Row 2.
Row 10: In st 1-10, work criss-crossing SC st, then place 1 DECREASING st (to decrease, skip 2 st rather than 1, place 1 SC in the 3rd st, then working BACKWARDS in the 1st skipped st, place 1 SC st). In st 1-8, work normal criss-crossing st, then place 1 DECREASING st. Alternate between placing 10 st then the decreasing st, then 8 st then the decreasing st (or 5 criss-crossing SC st, then the decreasing st, then 4 criss-crossing SC st then the decreasing st) (88 total st or 44 criss-crossing st).
Row 11: In st 1-8, work normal criss-crossing st, then place 1 DECREASING st. Repeat this process going around the row (80 total st or 40 criss-crossing st).
Row 12: In st 1-8, work criss-crossing SC st, then place 1 DECREASING st In st 1-6, work normal criss-crossing st, then place 1 DECREASING st. Alternate between placing 8 st then the decreasing st, then 6 st then the decreasing st (or 4 criss-crossing SC st, then the decreasing st, then 3 criss-crossing SC st then the decreasing st) (72 total st or 36 criss-crossing st).
Row 13: In st 1-6, work normal criss-crossing st, then place 1 DECREASING st. Repeat this process going around the row (64 total st or 32 criss-crossing st).
Row 14: In st 1-6, work criss-crossing SC st, then place 1 DECREASING st In st 1-4, work normal criss-crossing st, then place 1 DECREASING st. Alternate between placing 6 st then the decreasing st, then 4 st then the decreasing st (or 3 criss-crossing SC st, then the decreasing st, then 2 criss-crossing SC st then the decreasing st) (56 total st or 28 criss-crossing st).
Row 15: In st 1-4, work normal criss-crossing st, then place 1 DECREASING st. Repeat this process going around the row (48 total st or 24 criss-crossing st).
Row 16: In st 1-4, work criss-crossing SC st, then place 1 DECREASING st In st 1-4, work normal criss-crossing st, then place 1 DECREASING st. Alternate between placing 4 st then the decreasing st, then 2 st then the decreasing st (or 2 criss-crossing SC st, then the decreasing st, then 1 criss-crossing SC st then the decreasing st) (40 total st or 20 criss-crossing st).
Row 17: In st 1-2, work normal criss-crossing st, then place 1 DECREASING st. Repeat this process going around the row (32 total st or 16 criss-crossing st).
Row 18: In st 1-2, work normal criss-crossing st, then place 2 consecutive DECREASING st. Alternate between placing 2 st then the decreasing st, then 2 decreasing st (24 total st or 12 criss-crossing st).
Row 19: Place DECREASING st around the row. (16 total st or 6 criss-crossing st).
Cut and tie off yarn, leaving a long tail. Turn beanie inside-out and weave the long tail among the last row of SC st. Pull tail tightly to cinch the row together and then tie off with available loops. Turn the beanie right-side out.
100+ Crochet Beanies
Leave a Reply