Crochet Personalized Photo Ornament
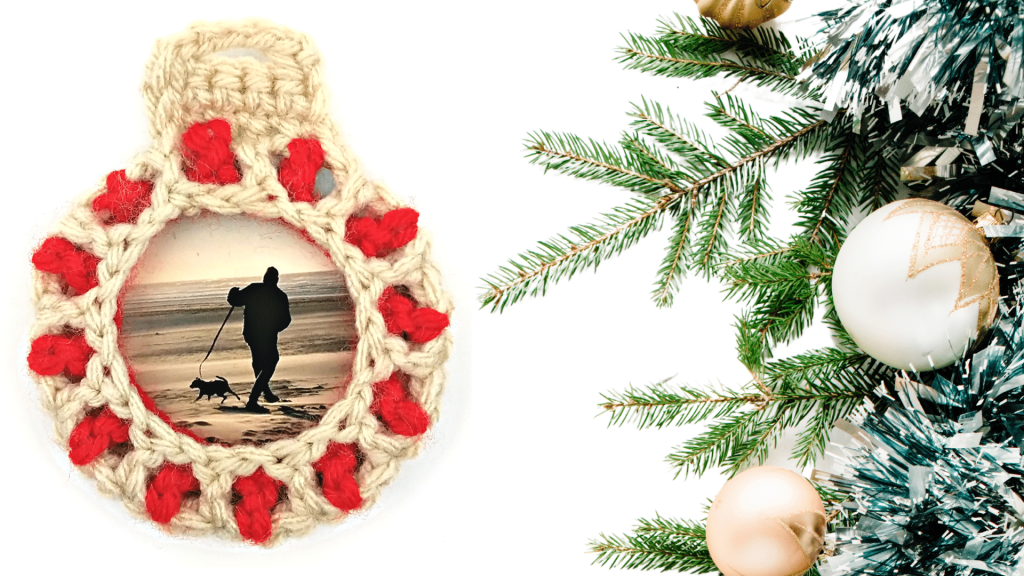
How to crochet a personalized photo frame ornament? In this easy Christmas crochet tutorial, I show you how to make a quick and easy photo ornament that shouldn’t take you more than 20 minutes to complete! This DIY personalized photo ornament makes for an excellent gift or just for your own personal Christmas decorations collection!
Crochet Photo Ornament Video Tutorial:

Crochet Stitch Tutorials:
Photo Ornament Crochet Pattern:
Crochet Hook: F / 5 / 3.75MM
Yarn: 4 Medium, Big Twist Value brand, Cream, Varsity Red
Attach CREAM yarn to crochet hook using a Magic Circle (MC).
Row 1: Working over starting tail, place 13 DC inside MC. SL st into 2nd DC to join (12 total DC).
Row 2: CH 2, place 2 DC in each st in the row – including current st where you placed the SL st in the previous row. SL st into 1st DC st to join (24 total DC st).
Row 3: CH 2, *1 DC in st 1, 2 DC in st 2.* Repeat * around the row. SL st into 1st DC st to join (36 total DC st).
Row 4: CH 1, place 1 SC in the BLO of st 1 – 5, turn.
Row 5: CH 1, place 1 SC in each of the previous row’s 5 stitches, turn.
Row 6: CH 1, place 1 SC in st 1, CH 3, place 1 SC in the last st. SL st down the last 3 rows until you get to the next st (after first 5 st) in Row 4.
Row 7: CH 3, skip 2 st, place 1 DC in 3rd st from current. *CH 1, skip 2 st, place 1 DC in the 3rd st from current.* Repeat * around the row. When you get to the SL st from Row 3, skip it entirely and then work in the FLO created in Row 4. SL st into 2nd CH to join. Cut and tie off yarn.
Row 8: Attach RED yarn to crochet hook using a slip knot. Insert crochet hook in 1st of one of the skipped stitches and place 1 SC there. CH 2, then place 1 DC in the 1st st of the next set of skipped stitches. *CH 1, place 1 DC in the 1st st of the next set of skipped stitches.* Repeat * around the row. SL st in 1st CH of 1st st to join.
Cut a photograph to fit the large circle and place under both layers of stitches created in Rows 7 & 8.
Hang photo by top loop.
Other Crochet Christmas Items:


Leave a Reply