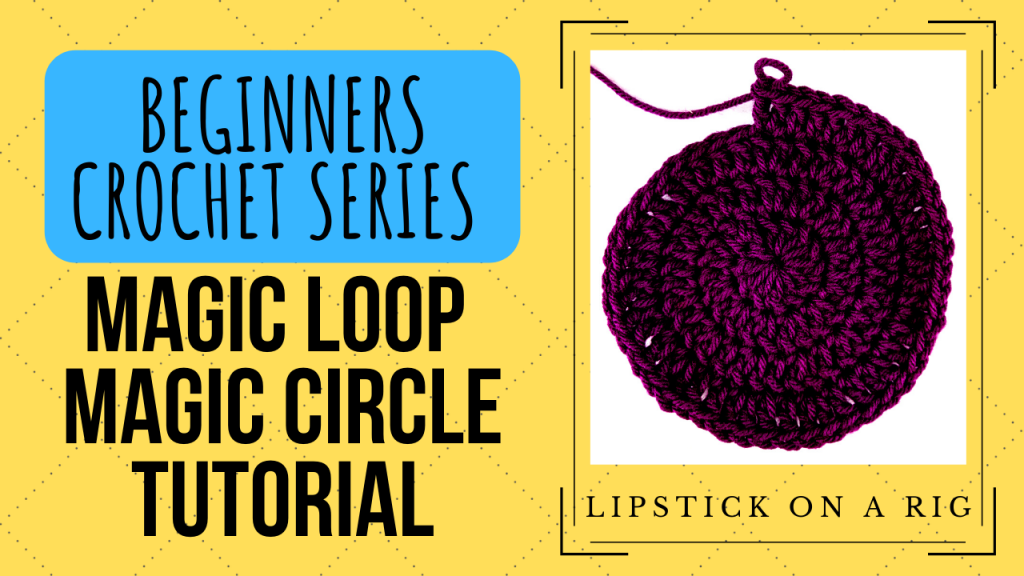
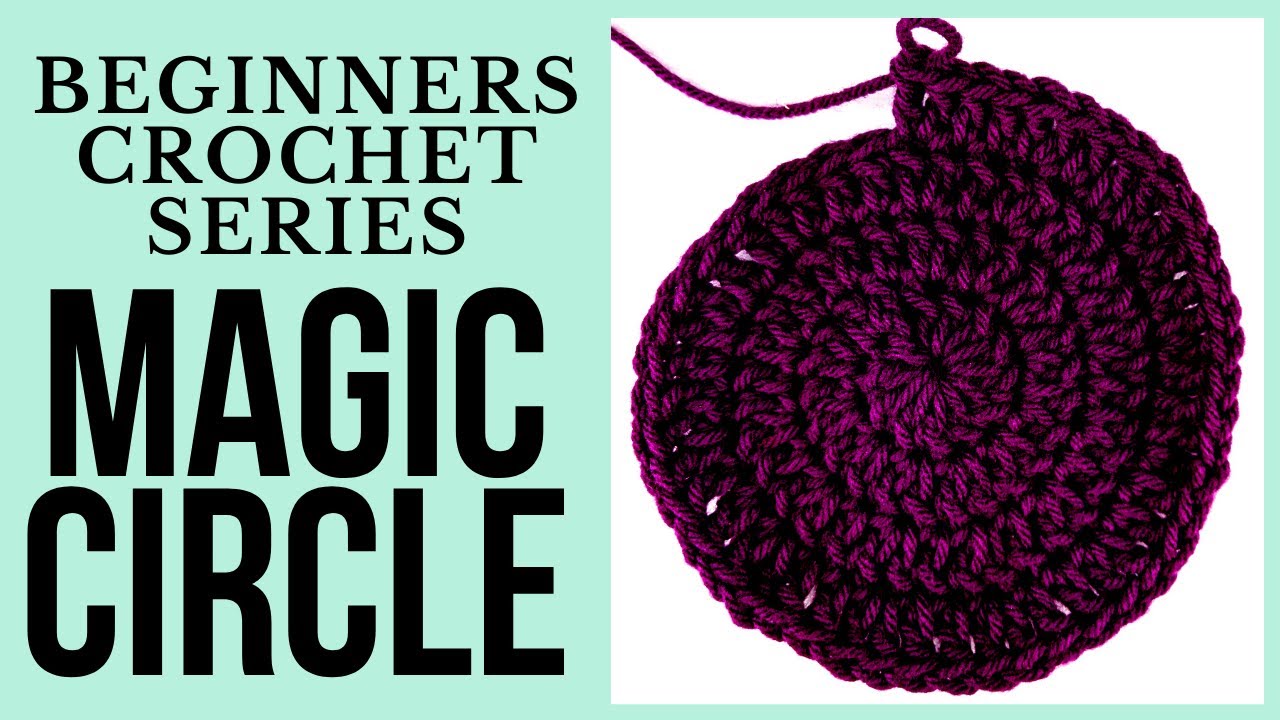
Magic Loop Stitch Tutorial – Magic Circle – Beginners Crochet Series
How to crochet a magic loop? In this tutorial, I show you how to crochet a magic circle (sometimes referred to as a magic loop). This is great for circular patterns and can create a seamless look that most projects need.
Video Tutorial:
How to create a magic loop or magic circle with crochet:
- Drape tail over working yarn to create a loop. Pinch the intersection with your fingers.
- While holding the intersection of your loop firmly in place, slide the crochet hook up through your loop. Place a few fingers inside the loop so that you can easily work inside it.
- Yarn over and pull through the loop, ensuring that you are also . Make sure that you keep the loop opening large so that you can crochet inside it.
- Place the tail over the top portion of the loop, and make sure that any stitches you crochet inside the loop are also crocheted over the tail. This is essential for the magic loop to work properly.
- Work your stitches inside the magic loop, while also making sure that you are working over the tail. For this tutorial, I practiced with double-crochet stitches.
- Once you are done placing your stitches inside your magic loop, pull the tail. This should draw your loop in and bring your stitches closer together. Pull until the loop is tight and forms a circle.
- Congratulations, you have now completed a magic loop!
Check out my beginners’ crochet project tutorials here:
https://www.youtube.com/playlist?list=PLUmcifMqZH5tJr9oh9bZx2QMs-Z4kol2X
Other beginners’ crochet tutorials here:
1
/
3
How to Crochet a Magic Circle (MC)
Attach Yarn to Crochet Hook Using a Slip Knot Tutorial
How to Crochet Chain Stitch - CH st
How to Crochet Slip Stitch
How to Crochet a Double Crochet Stitch - DC st
How to Crochet a Single Crochet Stitch - SC st
How to Crochet Half Double Crochet Stitch Tutorial - HDC st
How to Make Pom Pom Maker - DIY Pom Pom Maker
Crochet Flat Circle Using Single Crochet Stitch - Basket Base
How to Add More Yarn to ANY Crochet Project - The Easy Way
How to Crochet Over Tails
How to Crochet a Continuous Loop Circle Using SC st
How to Easily Pull Yarn Out of a Skein 🧶
How to Hold Yarn While Crocheting 🧶
Chainless Foundation Single Crochet Stitch Tutorial
1
/
3
Leave a Reply