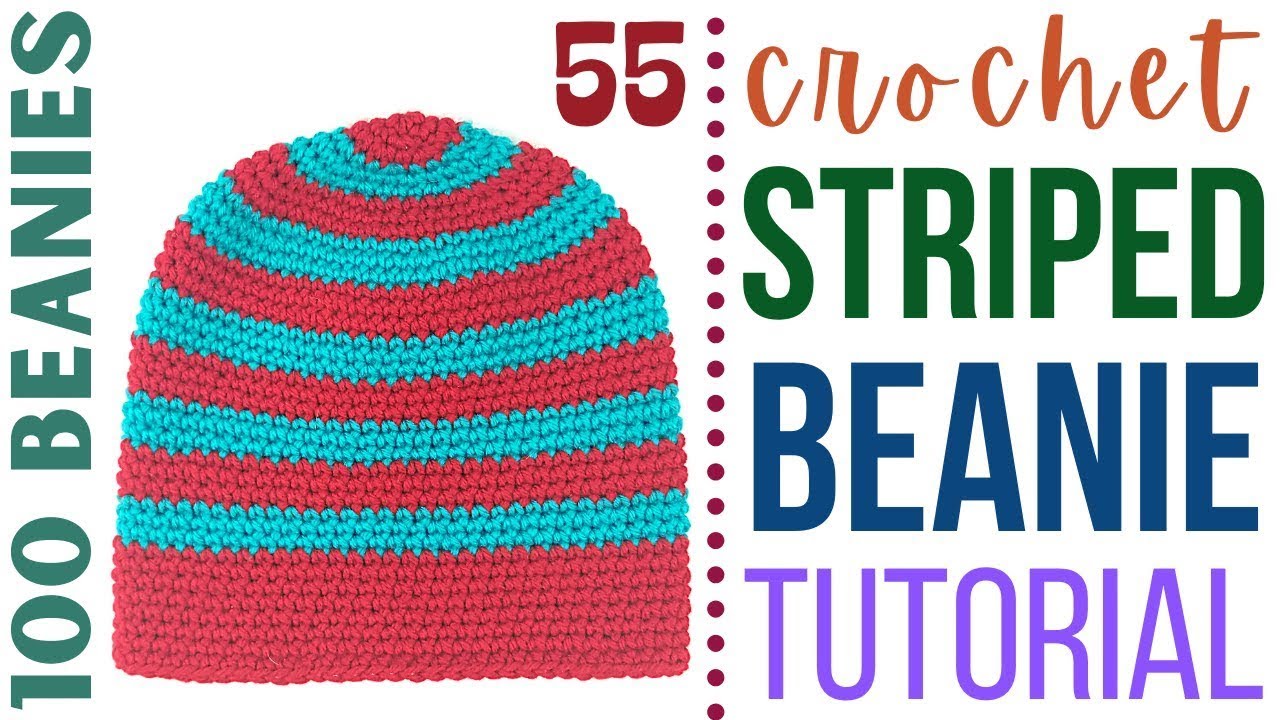
How to Crochet a Striped Beanie – Cascade Yarns FOUR SKEIN Challenge – Beanie 3
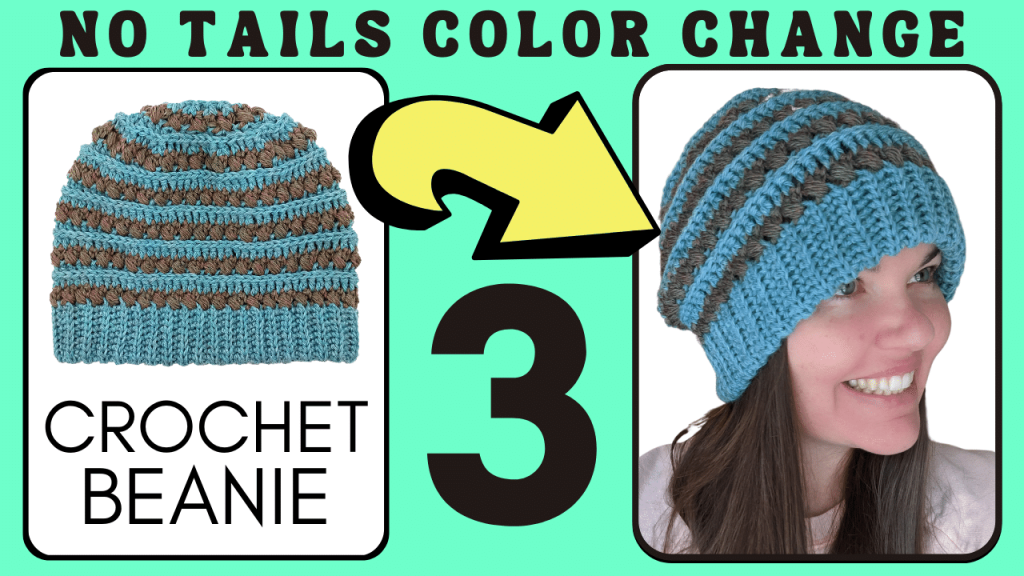
This easy, no tails, ribbed and striped beanie is surprisingly easy to make! Follow along as I show you step-by-step how to crochet this beanie.

This pattern is a part of my cascade yarns 4 skein challenge. With this challenge, my goal is to create patterns that will allow you to use up EVERY INCH of your yarn without leaving any behind! This series features five beanies: 3 adult beanies, 1 child beanie, and 1 baby beanie. Don’t forget to check out my scrap yarn beanie if you have a bunch of small amounts of yarn lying around you need to use up!
Beanies in this Challenge

Beanie 1 (Current): https://youtu.be/9nI7jAlkUcc
Beanie 2: https://youtu.be/T5T3rCP9mDg
Beanie 3: https://youtu.be/tCL5mza4DKk
Beanie 4 (Baby): https://youtu.be/3QOxjCiH5tA
Beanie 5 (Child & Scrap Yarn): https://youtu.be/R08-PLbNoHI
Beanie Three Crochet Pattern
Crochet Hook: H/8/5.00MM
Yarn: 4 Medium, Wool, Cascade Yarns “Heather,” 3 Colors (Sky & Copper)
Brim
Attach yarn to crochet hook using a slip knot.
Row 1: CH 21, turn.
Row 2: Starting in the BLO of the 2nd CH st from the crochet hook, place 1 HDC SL st in each st in the row (20 total HDC SL st). CH 1, turn.
Row 3: Skip the turning CH st, then place 1 HDC SL st in the BLO of each st in the row (20 total HDC SL st).
Rows 4 – ?: Repeat Row 3. Make sure you last row puts your crochet hook and starting tail on opposite ends if you fold the brim in half lengthwise.
CH 1 at the end of your last row, then join the short edges of the brim together using SL st.
Beanie
After joining the short edges of the brim, place a safety pin or stitch marker in the loop that is on your crochet hook to preserve it. Section your brim off into 4 equal parts.
Row 1: Attach Color B to your crochet hook using a slip knot, then insert your crochet hook in one of the available loops on the edge of your brim near your tails. Make sure you work through 1 loop on each side of your brim at a time. CH 2, then working backwards, place 1 BEAD st. Place 10 BEAD st in each of the four sections for a total of 40 BEAD st in the row. SL st in the top of the 1st BEAD st to join.
Change out your safety pin and crochet hook, securing the loop that is currently on your crochet hook. CH 2 with Color A, then place a SL st back in the top of your 1st BEAD st.
Row 2: CH 2, then place 1 DC in 2 of the stitches in each BEAD st. The CH 2 will count as your 1st DC st. SL st in 1st DC st to join (80 total DC st).
Row 3: Place 1 BACK POST st in each st in the row – starting with the current st and ending with the CH 2 at the end of the row. SL st in 1st BACK POST st to join (80 total BACK POST st).
Change out your safety pin and crochet hook, securing the loop that is currently on your crochet hook. CH 2 with Color B, then place a SL st back in the top of your 1st BACK POST st.
Row 4: CH 2, then place 1 BEAD st in the st behind the current st. **Skip the next st, then place 1 DC in the 2nd st. Working in the skipped st, place 1 BEAD st.** Repeat * around the row. SL st in the top of the 1st BEAD st to join (40 total BEAD st).
Change out your safety pin and crochet hook, securing the loop that is currently on your crochet hook. CH 2 with Color A, then place a SL st back in the top of your 1st BEAD st.
Rows 5 – 13: Repeat Rows 2 – 4, changing colors as directed above.
Change out your safety pin and crochet hook, securing the loop that is currently on your crochet hook. CH 2 with Color B, then place a SL st back in the top of your 1st BACK POST st.
Row 14: CH 2, then, making sure we are only placing 1 DC 2 of the stitches in each BEAD st, we are going to place 1 DC in the following 2 st, then DC 2together in the next 2 st. **Place 1 DC in the next 3 st, then DC 2together, again making sure we are only working in 2 of the stitches in each BEAD st.** Repeat ** around the row (64 total DC st).
Row 15: Place **1st 2 BACK POST st like normal, then crochet 2 BACK POST st together.** Repeat * around the row (48 total BACK POST st).
Change out your safety pin and crochet hook, securing the loop that is currently on your crochet hook. CH 2 with Color B, then place a SL st back in the top of your 1st BACK POST st.
Row 16: CH 2, then working 2 stitches back, place 1 BEAD st. **Skip the next 2 st, then place 1 DC in the 3rd st. Working in the 1st skipped st, place 1 BEAD st.** Repeat *around the row. SL st in the top of the 1st BEAD to join (16 total BEAD st).
Change out your safety pin and crochet hook, securing the loop that is currently on your crochet hook. CH 2 with Color B, then place a SL st back in the top of your 1st BACK POST st.
Row 17: CH 2, then DC 2together in each st in the row, still only working in 2 of the stitches of each BEAD. At the end of the row, DC 2together in the last and first BEAD st. SL st in 1st DC to join (17 total DC st).
Row 18: Crochet 2 BACK POST stitches together around the row. At the end of the row, work around the last DC like normal, then combine the CH 2 and last DC for the final BACK POST 2 together st. SL st in the 1st BACK POST st (9 total BACK POST st).
Cut and tie off yarn, leaving a tail of at least 6 inches. Weave the tail in and out of the last row of stitches, then cinch up the hole at the top by pulling on the tail. Secure the tail by tying it off with the available loops near the tail.
100+ Crohet Beanie Tutorials ▶

Leave a Reply