
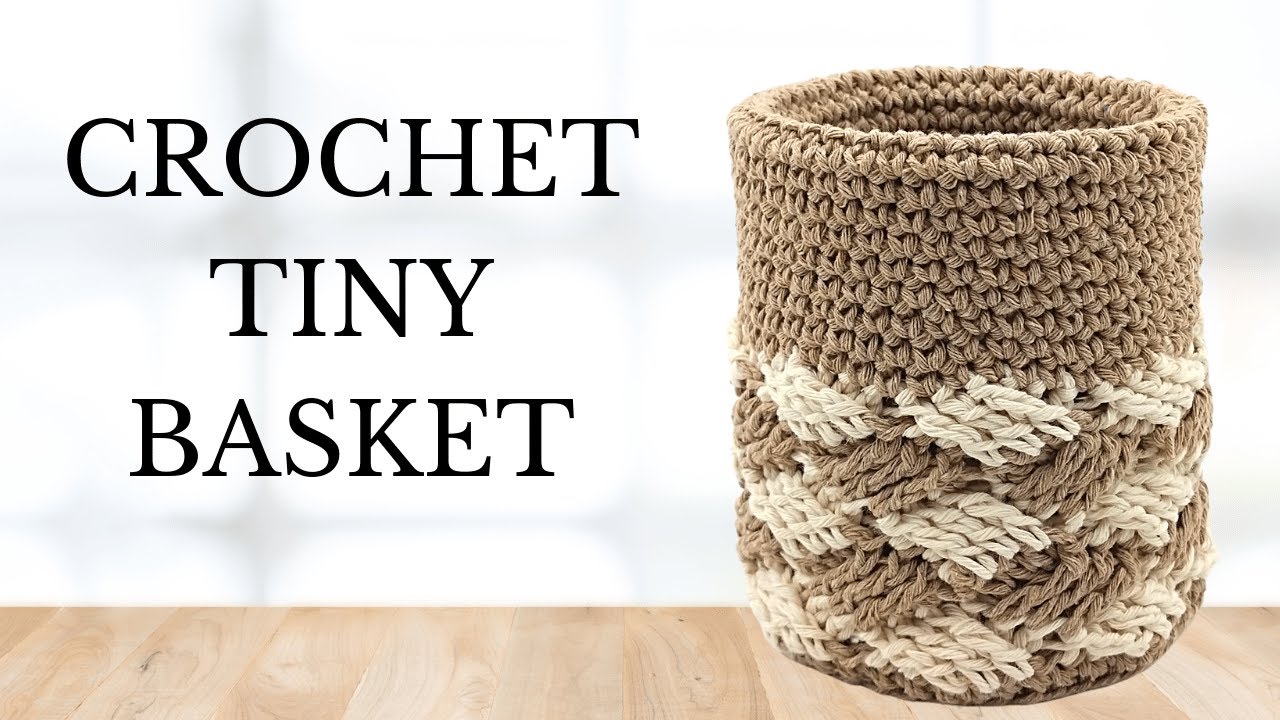
Crochet Tiny Basket
How to crochet a pencil cup? In this quick and easy crochet tutorial, I show you how to crochet a versatile small basket that can be used for many different purposes. This tiny basket is great for organizing your desk or closet and finding a home for other small objects around your house. This could double as table decorations for a dinner party, baby shower, wedding, or just as a homemade gift!
Crochet Pencil Cup Video Tutorial:
Stitches Used in this Pattern:
Magic Loop or Magic Circle (MC): https://youtu.be/pTcHUJ8PDMQ
Chain (CH): https://youtu.be/jLP-o-RnqqQ
Double Crochet (DC): https://youtu.be/bA7b2sOIfzM
Attach yarn to crochet hook using a slip knot: https://youtu.be/IsOvsrvJhN8
Treble Crochet (TR): Shown in video.
Single Crochet (SC): https://youtu.be/xppth_5GBzM
Crochet Pencil Cup Pattern:
Crochet Hook: G/6/4.25MM
Yarn: Lion Brand Yarns Re-up 100% Recycled Cotton and Polyester Blend
Size: 4 Medium
Colors: Full Moon & Mineral Springs
Attach yarn to crochet hook using a Magic Loop or Magic Circle (MC).
Row 1: CH 2 and place 12 DC inside MC. SL st in 1st DC to join. .
Row 2: CH 2 and place 2 DC in each st in the row – starting with next st and ending with SL st at the end of the row. SL st with 1st DC to join (24 total DC st).
Row 3: CH 2 and place *1 DC in the next st and 2 DC in the following st.* Repeat * around the row. Last st should be placed in SL st at the end of the row. SL st in with 1st DC to join (36 total DC st).
Row 4: CH 2 and place *1 DC in st 1 – 2 and 2 DC in st 3.* Repeat * around the row. Last st should be placed in SL st at the end of the row. SL st in 1st DC to join (48 total DC st).
Row 5: CH 1 and place 1 SC in the BLO of each st in the row, starting with the following st and ending with the SL st at the end of the row. SL st in 1st SC st to join (48 total SC st). Cut and tie off yarn.
Attach the next yarn to crochet hook using a slip knot.
Row 6: Working in the next st of the row – beside where you cut and tied off the yarn in the previous row, place 1 TR in that st and the following 2 st (3 total TR st), then working backwards, 3 st behind the initial TR of this row, place 1 TR in that st and the following 2, working the TR stitches IN FRONT of the previous 3 TR stitches (this should create a criss-crossing pattern. *Skip the next 3 stitches that you haven’t already worked, then place 1 TR in the following 3 stitches. Working backwards, starting with the 1st skipped stitch, place 1 TR in each of the skipped stitches, working IN FRONT of the 3 TR stitches you just crocheted.* Repeat * around the row. SL st into the 1st TR st (48 total TR stitches, 8 sets of criss-cross sections). Cut and tie off yarn.
Attach the next yarn to crochet hook using a slip knot.
Row 7: Working in the same st where you cut and tied off your yarn, place 1 TR in that st and the following 2 st (3 total TR st). Then working backwards, 3 st behind the initial TR of this row, place 1 TR in that st and the following 2, working the TR stitches BEHIND the previous 3 TR stitches (this should create a criss-crossing pattern. *Skip the next 3 stitches that you haven’t already worked, then place 1 TR in the following 3 stitches. Working backwards, starting with the 1st skipped stitch, place 1 TR in each of the skipped stitches, working BEHIND the 3 TR stitches you just crocheted.* Repeat * around the row. SL st into the 1st TR st (48 total TR stitches, 8 sets of criss-cross sections). Cut and tie off yarn.
Attach the next yarn to crochet hook using a slip knot.
Rows 8 – 10: Repeat Row 6 & 7.
Attach yarn to crochet hook using a slip knot.
Row 11: Insert crochet hook in the SL st from the previous row (directly before where you tied off the yarn) and place 1 SL st there. Working in the next st (skip the st where you placed the SL st), place 1 SC in each st in the row (47 total SC st).
Row 12: Following a continuous loop pattern (this means our individual rows won’t start or stop, but instead our pattern will act like a spiral), place 1 SC in the 1st st (the SL st) from the previous row, then continue to place 1 SC in each st in each row to build the body of the pencil cup. The transition between these rows should now be seamless.
Rows 13 – 41: Repeat Row 12.
Row 42: Begin by placing 1 SL st in the next st, then CH 2. *Place 1 DC in the BLO of the next 2 st, then DC 2together in st 3 & 4 – working in the BLO.* Repeat * around the row. Last st should be worked in SL st. SL st in 1st DC to join (36 total DC st).
Row 43: CH 2, then place 1 DC in the next st, then DC 2together in st 2 & 3.* Repeat * around the row. Last st should be worked in SL st. SL st in 1st DC to join (24 total DC st).
Row 44: CH 2, then DC 2together for the entire row. Last st should be worked in SL st. SL st in 1st DC to join (12 total DC st).
Cut and tie off yarn, leaving a 1-foot tail. Weave the tail end through the DC from the last row, then pull the tail to cinch the hole. Tie off yarn several times and hide the tail by pulling it through the can sleeve.
Other Crochet Basket Tutorials:


Leave a Reply