
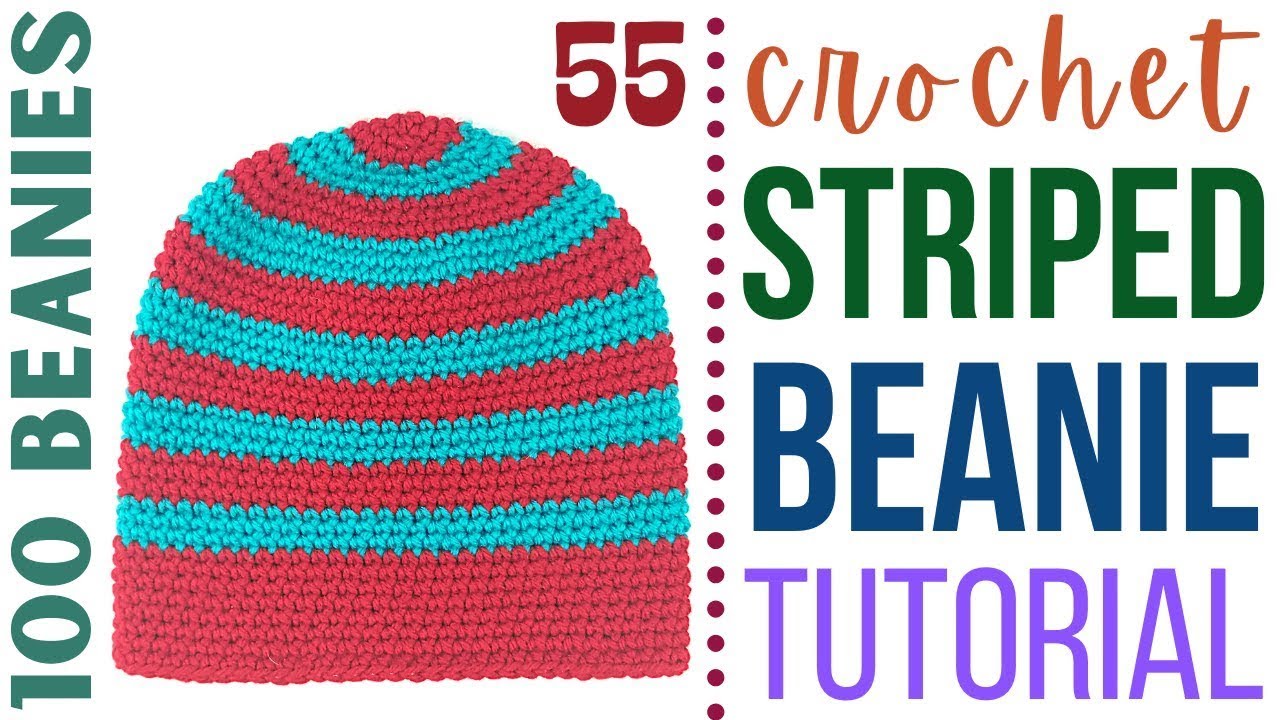
Crochet Wool Beanie Pattern – The Ben
How to crochet a simple beanie? In this crochet tutorial, I show you how to crochet the Ben beanie! This beanie is a perfect gender-neutral pattern that is ideal for any adult in your life! It is a perfect gift beanie as the size should fit most heads and can EASILY be adjusted to fit exactly as the person wants with the folding, adjustable brim.
Crochet Beanie Video Tutorial:

Contents of this Crochet Tutorial Video:
00:00 – MATERIALS
00:39 – PATTERN NOTES
01:05 – JOINING BRIM EDGES
02:32 – ROW 1
03:27 – REPEATABLE PATTERN
04:38 – DECR ROW 1
06:55 – DECR ROW 2
07:25 – CLOSE GAP
Stitches Used:
Attach yarn to crochet hook using a slip knot: How to Attach Yarn to Crochet Hook Tutorial
Chain (CH): How to Crochet Chain Stitch – CH st
Slip Stitch (SL st): How to Crochet Slip Stitch
Single Crochet (SC): How to Crochet a Single Crochet Stitch – SC st
Double Crochet (DC): How to Crochet a Double Crochet Stitch – DC st
Back Loop Only (BLO): shown in tutorial
Crochet The Ben Beanie Pattern:
Yarn: Juniper Moon Farm Wool Yarn, Size 3 Light
Crochet Hook: G/6/4.25MM
NOTE: this pattern does have a precursor video, and that is my how to crochet a stretchy brim. Please find that tutorial here: https://youtu.be/V2zw-4mWR8E
For this tutorial, crochet a brim that is 32 stitches wide and that has 64 vertical ridges.
Beanie Brim (Precursor Video): https://youtu.be/V2zw-4mWR8E
Attach yarn to crochet hook using a slip knot.
Row 1: CH 32, turn.
Row 2: Place 1 SL st in the BACK BUMP of each st in the row – including the current st (32 total SL st). CH 1, turn.
Row 3: Skip turning CH, then place 1 SL st in the BLO of each st in the row (32 total SL st).
Rows 4 – 127: Repeat Row 3.
Row 128: Make sure you have ended the last row to where your crochet hook is on the opposite side of your starting tail and line up the short edges of the brim. Using slip stitches, join the two short edges by working 1 SL st in each set of corresponding stitches (32 total SL st).
Turn brim inside out.
Beanie Base (where the tutorial video begins):
Row 1: Working in the available loops along the top edge (and possibly working over the tail), alternate between placing 1 SC in the top of ridge 1, 1 DC in the top of ridge 2, alternating between SC and DC stitches around the row. You should have a total of 64 st at the end of the row. Add 1 additional st anywhere you can squeeze (this st should be a DC st). This will give you 65 total st at the end of the row.
Row 2: Following a continuous loop pattern by diving into the 1st SC st (without joining the last row with a SL st), place 1 DC. Alternate between SC and DC st for this row as well, but this time you should be working the OPPOSITE st from the one in the previous row. If you notice that you are working the same st on top of the same st, then something is off about your pattern, and this is a great way to tell if you are doing this correctly.
Rows 3 – 10: Repeat Row 2, allowing your rows to flow like a spiral.
Row 11: Use a scrap piece of yarn or a st marker to mark the 1st st in each row. We are going to RANDOMLY pick 4 spots in our row to place a decreasing st. These four spots should be fairly spaced out, and in different spots each row. This will prevent any shaping or lines from occurring while you work the row, plus you DON’T HAVE TO COUNT! Which I love!
Decreasing stitch notes: Make sure that the last st you worked is a SC st. Yarn over and insert crochet hook in next st, then yarn over and drop 2 loops on your crochet hook. Skip the following st altogether and then yarn over and insert your crochet hook in the next st, yarn over and drop 2 loops, then yarn over and drop 3 loops (each decreasing st will drop 2 st, but allow you to keep the alternating pattern).
Rows 12 – End: Repeat Row 11, decreasing by 8 stitches in each row by randomly placing 4 decreasing stitches in each row.
Once the hole at the top of the beanie is very small, cut and tie off the yarn, but leave a tail of about 1 foot in length. Weave the tail in and out of the last row of stitches, then cinch the tail and tie it off with neighboring stitches to secure it.
Use the tail to add a pom pom.
DIY Traditional Yarn Pom Pom for FREE: https://youtu.be/6ISz8AcMusk
DIY Faux Fur Pom Pom for pennies: https://youtu.be/ZpBXP2Mxa-Q
100+ Crochet Beanie Tutorials:

Leave a Reply