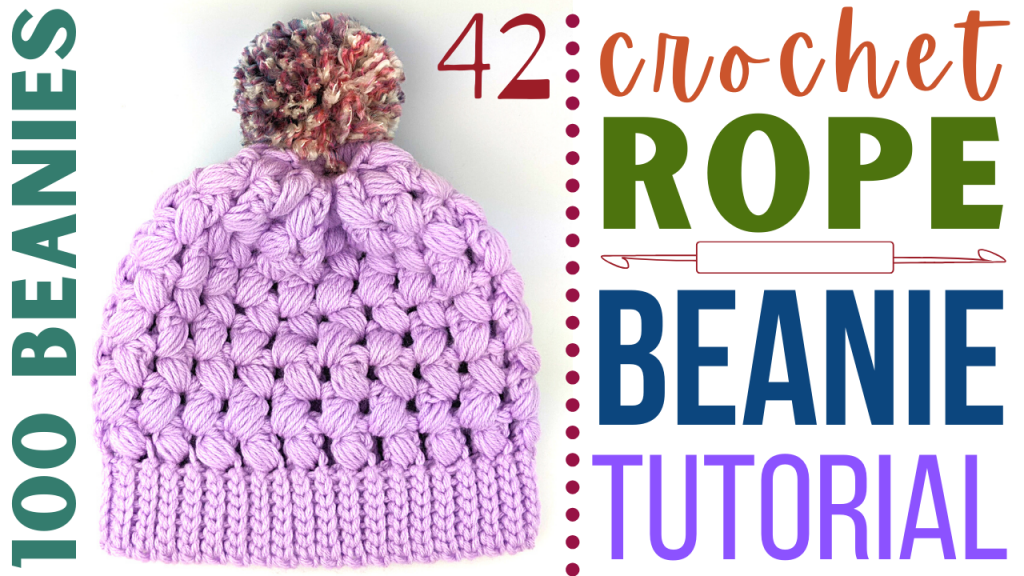
DIY Crochet Beanie – Day 42 – Chunky Yarn Bead Beanie
How to crochet a beanie? In this tutorial, I show you how to crochet a beanie using DIY chunky yarn that is very simple to follow. This beanie works quickly and shouldn’t take you more than 2 hours to complete. The colors used in this pattern can easily be exchanged to fit whatever color scheme you like. The puff stitch is large in this pattern and will use more yarn than normal, so please take that into consideration when picking out the yarn colors for this beanie. This pattern is also very pretty if you use two different colors of yarn to give it a variegated look.
Pom Pom (Pompon) Maker: https://youtu.be/6ISz8AcMusk
How to Crochet a Brim: https://youtu.be/V2zw-4mWR8E
Crochet Chunky Bead Beanie Video Tutorial:

This beanie is part of a series of beanies that I am creating to donate to my local homeless shelter. The goal is to complete 100 beanies in 100 days, all using unique patterns that I am going to share with you each day.
Stitches used in this pattern (and their corresponding tutorials):
Attach Yarn to Crochet Hook: https://youtu.be/IsOvsrvJhN8
Chain (CH): https://youtu.be/jLP-o-RnqqQ
Slip stitch (SL st): https://youtu.be/cMNam0kuhpQ
Double Crochet (DC): https://youtu.be/bA7b2sOIfzM
Crochet Chunky Bead st Beanie Pattern:
Crochet Hook: K / 10.5 / 6.5 MM
Yarn: 4 Medium ~ 2 Strands ~ Big Twist Value brand (any yarn will work for this pattern)
*Note: for this entire pattern, we will be treating the two strands of yarn like they are one, crocheting them simultaneously.
**Note: this pattern has a precursor video: How to Crochet a Beanie Brim: https://youtu.be/V2zw-4mWR8E
Row 1: Crochet a brim that is 7 st deep and roughly 16 inches wide. Make sure you end your last brim row where your crochet hook and your starting tail are on the same side of the brim. . Do not connect the two edges of the brim, but instead we are going to work this as a square. Section the brim off into 4 equal parts and place 21 puff stitches around the edge of the brim (7 in each of your 4 sections). End this row by placing 1 DC after your last puff st.
Row 2: CH 3, place 1 puff stitch between each of your previous row’s puff stitches. Make sure that you end the row on a DC st.
Rows 3 – 9: Repeat Row 2.
Fold beanie in half and place 1 SL st in the corresponding stitches in the space between your puff stitches and your CH 3 or DC st. When you get down to your brim, place 1 SL st under the full st on both edges and place 1 SL st. Repeat for each st until brim is secured together.
Cut a strand of yarn roughly 2 feet in length and weave it along the top edge of the beanie (I weaved mine in between each puff st). Cinch the ends of the yarn strand together and tie together a few times to secure. This should close the gap at the top of your beanie.
Attach a pom pom: https://youtu.be/6ISz8AcMusk
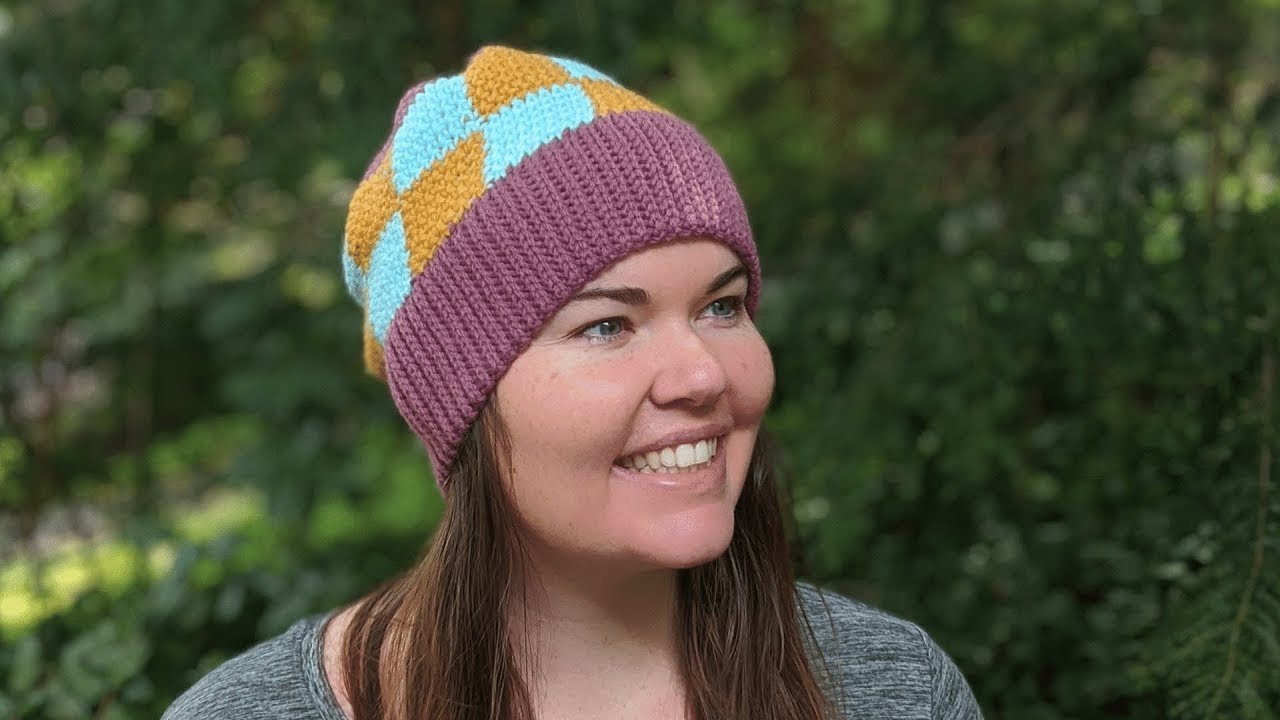
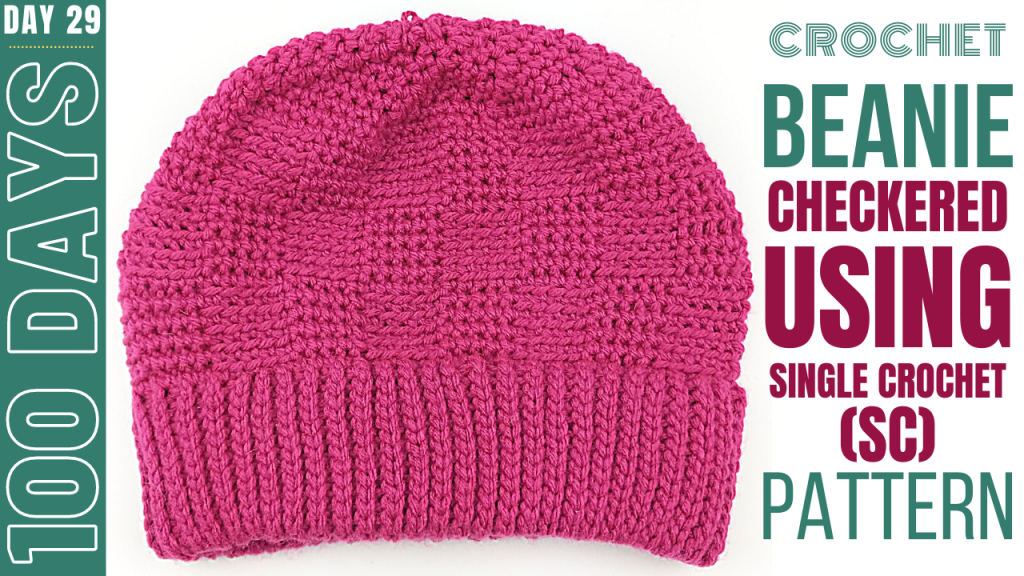
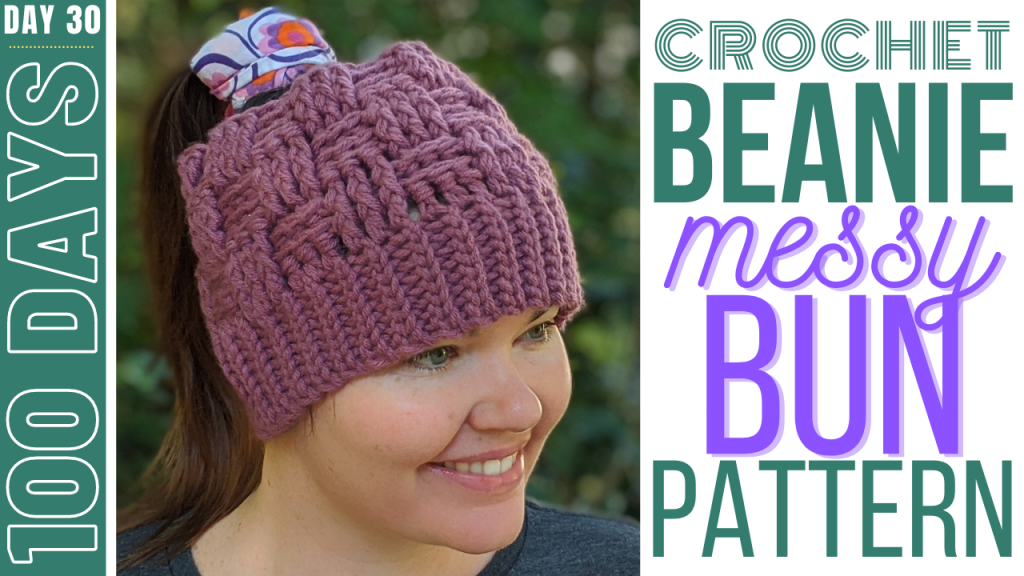
Other beanie tutorials in my 100 day series:
![]()
![]()
![]()
![]()
![]()
![]()
![]()
![]()
![]()
![]()
![]()
![]()
![]()
![]()
![]()
![]()
![]()
Leave a Reply