How to Crochet a Beanie – Day 15
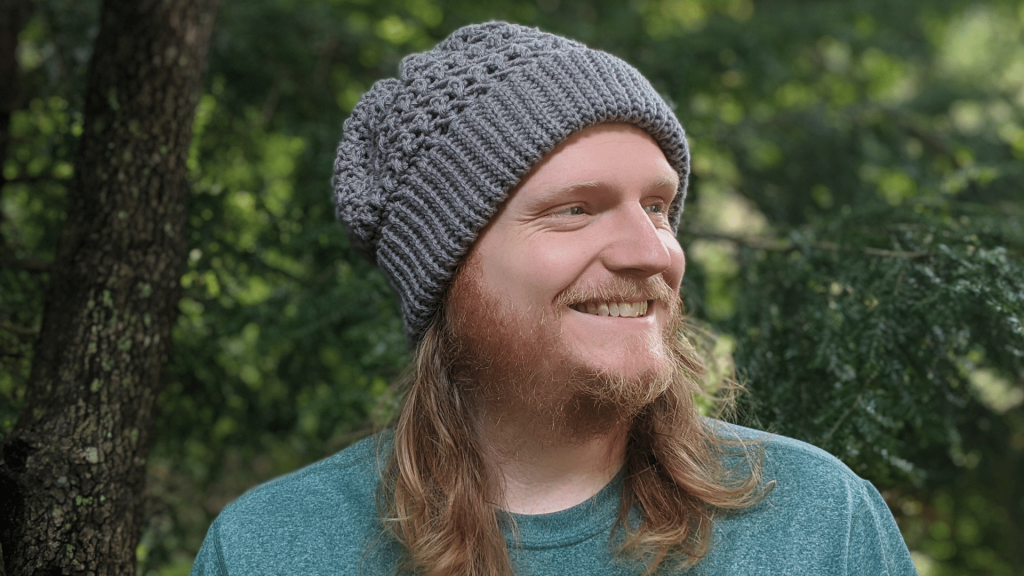
How to crochet a beanie? In this tutorial, I show you how to crochet a beanie using a criss-cross pattern that is extremely easy to follow. This beanie works quickly and shouldn’t take you more than 2 hours to complete. The colors used in this pattern can easily be exchanged to fit whatever color scheme you like. This is similar to my other criss-cross beanies, so please check the links below if you are interested in other similar patterns.
How to crochet a brim tutorial: https://youtu.be/V2zw-4mWR8E
Pom Pom (Pompon) Maker: https://youtu.be/6ISz8AcMusk
Crochet Criss-Cross Male Beanie Video Tutorial:

This beanie is part of a series of beanies that I am creating to donate to my local homeless shelter. The goal is to complete 100 beanies in 100 days, all using unique patterns that I am going to share with you each day.
Stitches used in this pattern (and their corresponding tutorials):
Attach Yarn to Crochet Hook: https://youtu.be/IsOvsrvJhN8
Chain (CH): https://youtu.be/jLP-o-RnqqQ
Slip stitch (SL st): https://youtu.be/cMNam0kuhpQ
Double Crochet (DC): https://youtu.be/bA7b2sOIfzM
Criss-Cross Male Beanie Crochet Pattern:
Crochet Hook: F / 5 / 3.75MM
Yarn: 4 Medium ~ Big Twist Value brand
*Note: this pattern has a precursor video: How to Crochet a Beanie Brim: https://youtu.be/V2zw-4mWR8E
Create a brim that is 25 st deep and roughly 18’’ wide. Don’t connect the two edges of the brim, but keep it as a rectangle. Make sure that you have ended on the same side as your starting tail. Section off the brim into four even sections using scrap pieces of yarn or st markers.
Row 1: CH 1 and place 1 SL st in the next loop on your brim (keep in mind that there aren’t any traditional stitches along the edge of the brim, so you are just going to have to crochet into the available loops along the edge). CH 2 off the SL st. Place 1 DC in the CH 1 st BEHIND current CH 2. This creates your first criss-cross st. Working forward again, you are going to want to place 1 DC in an available loop, leaving enough room in between 1st criss-cross st and DC for another DC st. Then, place 1 DC between current DC and 1st criss-cross st. This creates your 2nd criss-cross st. Follow that pattern for the rest of the row, placing 10 criss-cross stitches in each of your sections, for a total of 40 criss-cross stitches at the end of the row and turn.
Row 2: *Skip st 1, place 1 DC in st 2, then place 1 DC in st 1.* Keep in mind that we aren’t creating any turning chains, but instead we are diving right into placing our criss-cross stitches. Repeat * around the row, and you should have 40 criss-cross st at the end of your row.
Rows 3 – 10: Repeat Row 2.
Cut and tie off yarn. Weave 1 strand of yarn along the short edge, connecting the two edges together. When you get to the SL st portion, make sure you are weaving underneath the entire SL st on both edges. Tie off yarn at both ends.
Weave another strand of around around the top of the beanie where the criss-cross st are. I like to weave in between my criss-cross stitches. Cinch the two yarn strand ends together and tie them together tightly. Hide all tails.
Attach a pom pom: https://youtu.be/6ISz8AcMusk
Other beanie tutorials in my 100 day series:

![]()
![]()
![]()
![]()
![]()
![]()
![]()
![]()
![]()
![]()
![]()
![]()
![]()
![]()
![]()
![]()
![]()
Leave a Reply