How to Crochet a Beanie – Day 2
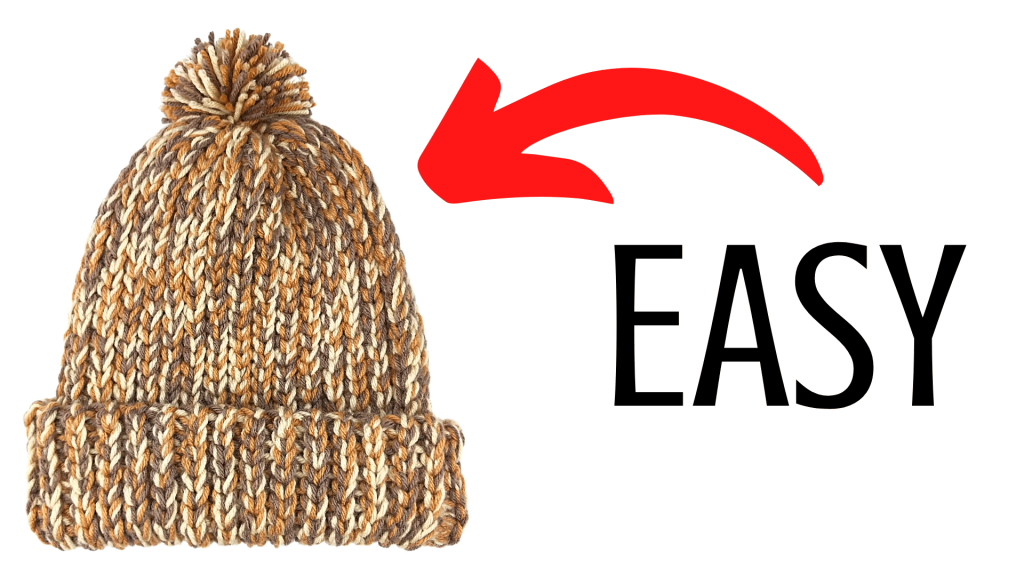
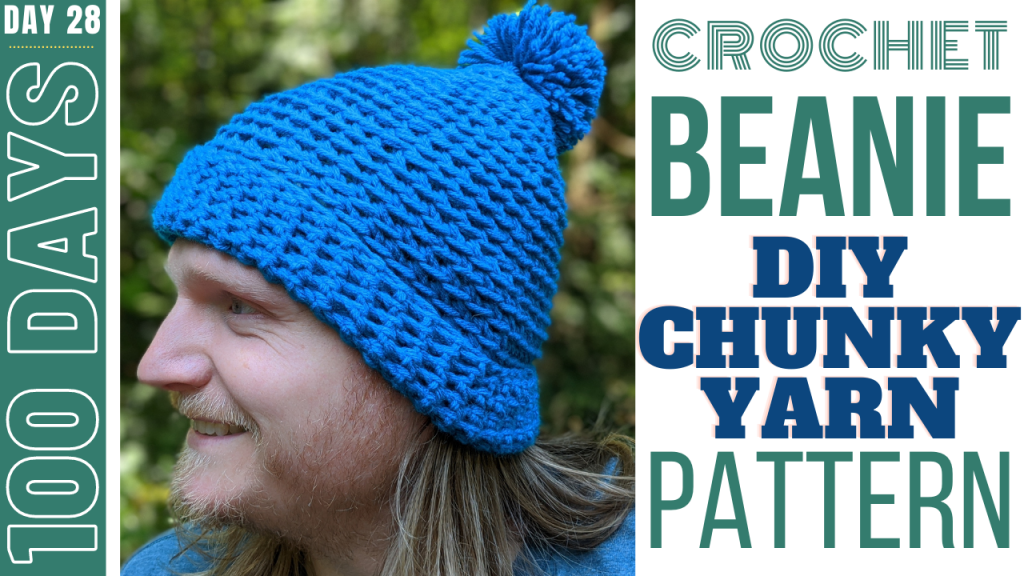
How to crochet a beanie? In this crochet tutorial, I show you how to create a really simple beanie with DIY chunky yarn. This pattern combines three strands of yarn to give it a chunky yarn look and feel, without hurting your wallet. The colors used in this pattern can easily be exchanged to fit whatever color scheme you like. This video is incredibly simple to follow and the beanie itself is one of the easiest patterns that I have.
Chunky, Slouchy Beanie Video Tutorial:

This beanie is part of a series of beanies that I am creating to donate to my local homeless shelter. The goal is to complete 100 beanies in 100 days, all using unique patterns that I am going to share with you each day.
Attach pouf ball (tutorial here):

Stitches used in this pattern (and their corresponding tutorials):


How to crochet a chunky yarn beanie pattern:
Crochet Hook: N / 15 / 10 MM
Yarn: 3 different strands of any scrap yarn. For this I am using Big Twist Value brand for all strands.
*NOTE: this pattern works all three strands of yarn simultaneously. Line up edges of yarn together and work as one strand.
Row 1: CH 37, turn.
Row 2: 1 SL in BACK BUMP of each st in row (37 total SL at end of row). CH 1, turn.
Rows 3 – ?: 1 SL in BACK LOOP ONLY of each st in row, CH 1, turn (37 SL at end of each row). 1. Make sure you end on a row that ends on the opposite side of your starting tail. Once it reaches your desired width (for me this was around 18 inches), crochet the two edges together by placing 1 SL in corresponding stitches on opposite edges. (37 SL at end of row).
- Once you have connected the two sides together, cut and tie off yarn.
- Cut all three strands roughly 16 inches, then weave the three stands in the loops on the edge with your tails. Pull the weave tightly (this should close up one side of the beanie), then tie the two sides of yarn strands together several times to make sure it is tight. Tuck tails and fold brim up.
- Attach pouf ball (tutorial here): https://youtu.be/6ISz8AcMusk
Other beanie tutorials in my 100 day series:


Leave a Reply