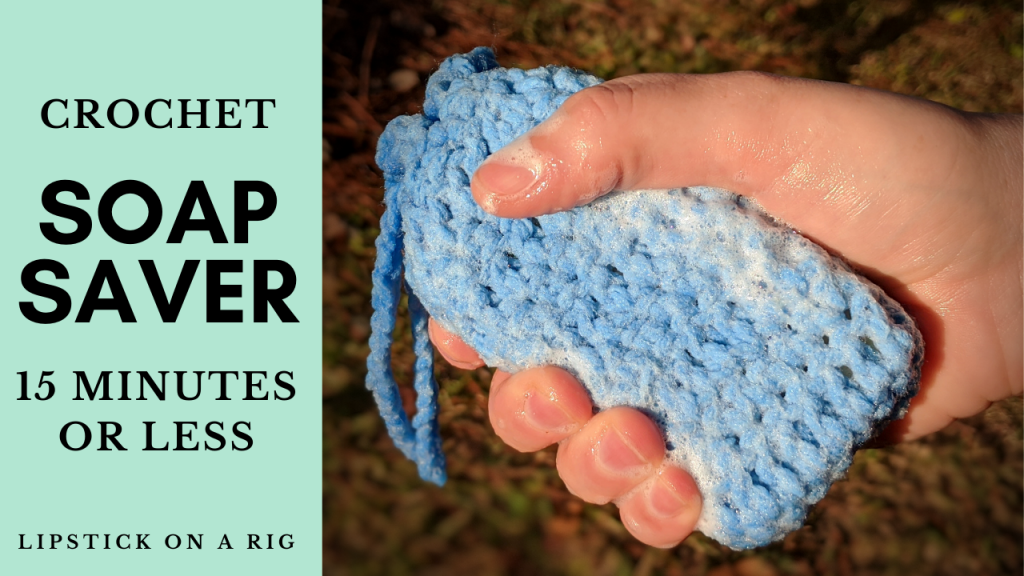
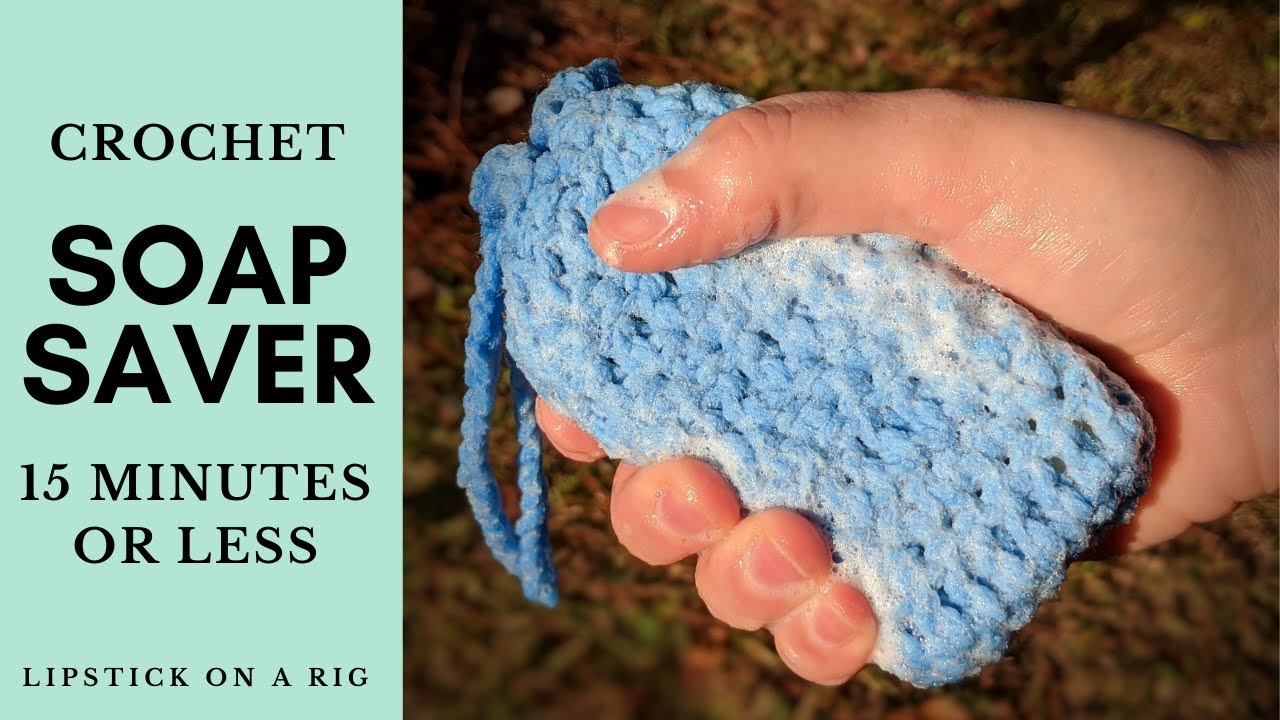
How to Crochet a Soap Saver – 15 Minute Project
How to crochet a soap saver? In this tutorial, I show you how to crochet a bar soap coozie. This will help prevent soap slime in your shower, reduce soap waste, and act as a loofa. Making this soap saver only takes about 15 minutes!
If you have any issues with these stitches, please check out my Beginners’ Crochet Series here: https://www.youtube.com/playlist?list=PLUmcifMqZH5s3cLaL0U6V8qzPffPnsckA
Stitches used in this soap saver pattern:
Attach yarn to crochet hook: https://youtu.be/IsOvsrvJhN8
Chain (CH): https://youtu.be/jLP-o-RnqqQ
Single Crochet (SC): https://youtu.be/xppth_5GBzM
Double Crochet (DC): https://youtu.be/bA7b2sOIfzM
Slip Stitch (SL): https://youtu.be/cMNam0kuhpQ
Video Tutorial:
How to crochet a soap saver FREE Pattern:
Crochet Hook Size: F / 5 / 3.75MM
Yarn: Medium Size 4
Row 1: CH 11
Row 2: Turn your work, and crocheting in the Back Loop Only (BLO), place 1 SC in each of the 10 st around. When you get to the end of the row, rather than turning your work and working back over the SC st, turn your work slightly and place 1 SC in the Front Loop Only (FLO) of the original CH st in Row 1.
Row 3: CH 1 and place 1 DC in each st around for a total of 20 st. Use a st marker to track your rows as this is worked in the round (meaning don’t start and stop your rows, just continue around an endless loop pattern).
Row 4: Place 1 SC in each st around.
Row 5: Place 1 DC in each st around.
Rows 6 – 10 or 12 (depending on how long your want your soap saver to be): Repeat rows 4 and 5. End on a SC row.
Row 11 or 13: *CH 1 and skip 1 st. Place 1 DC in the next st.* Repeat * around the row.
Row 12 or 14: Place 1 SC in each st around.
Finish off by placing 1 SL in the next 3 st and tying off your yarn and hiding your tails.
CH 30, tie off the tails, and weave in and out of the pattern you created in row 11 or 13. Use this CH to tie your soap saver together once soap is inside.
You have now completed your soap saver!!! Enjoy!
Other beginner-friendly crochet projects:


Leave a Reply