
How to Crochet a Summer Beanie – Day 98
How to crochet a beanie? In this tutorial, I show you how to crochet another summer beanie. This netted beanie shouldn’t take you more than 1 hour to complete, and is very simple to follow. This crochet beanie can easily be adapted to fit other head sizes and desired slouchiness.
How to Crochet a Summer Beanie (Video Tutorial):

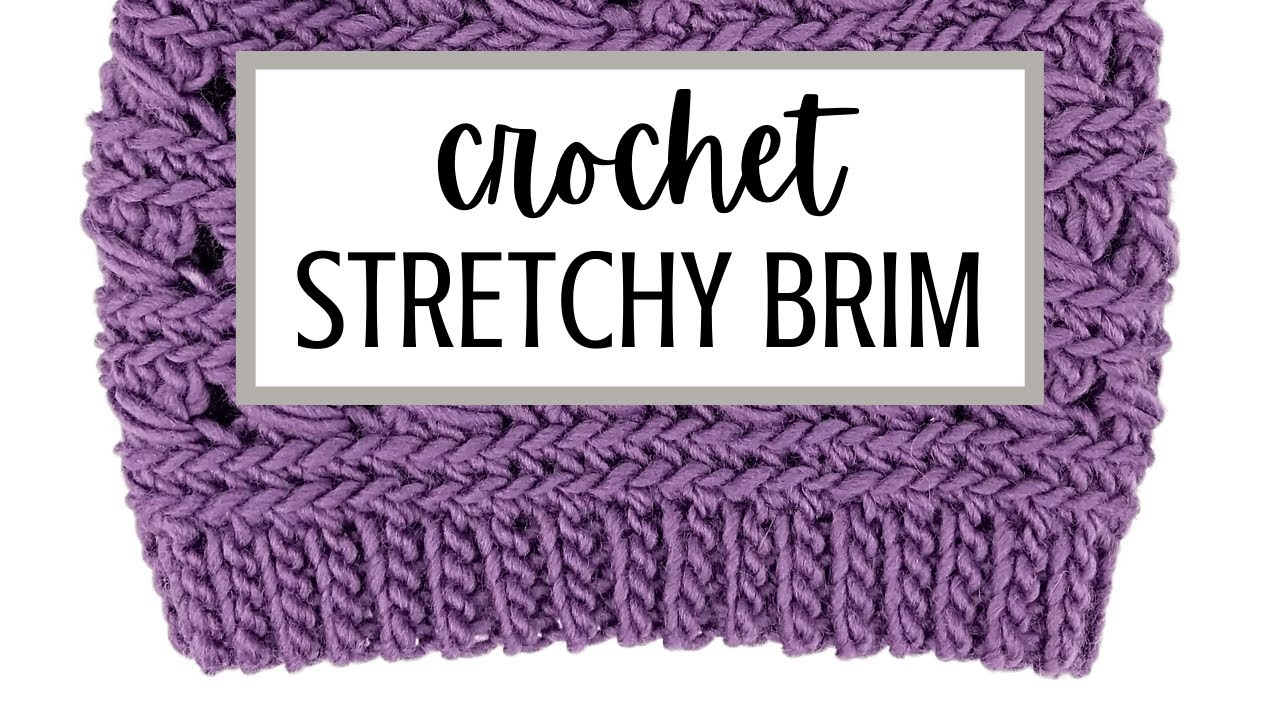
How to crochet a stretchy beanie brim (precursor for this video):
Stitches used in this pattern:
Chain (CH)
Slip st (SL st)
Triple Crochet (TR): shown in video
Stitch Tutorials:
 How to Crochet a Summer Beanie Pattern:
Yarn: 4 Medium, Big Twist Value Brand, Mustard
Crochet Hook: F / 5 / 3.75MM
*NOTE: This video has a precursor video: How to Crochet a Beanie Brim: https://youtu.be/V2zw-4mWR8E
Begin by crocheting a brim (using the above video tutorial as your guide) that is 3 st deep and roughly 18’’ wide. Join the two short edges of your brim together with SL st, turn it inside out, and divide the brim into four equal parts (all shown in precursor video).
Row 1: CH 6. Place 20 TR + CH 3 (square) around the row, spaced as evenly as you can. CH 6 counts as 1st square. SL st into 1st gap from this row to join.
Row 2: CH 6 (counts as 1st square), then place 1 TR + CH 3 in each gap created in the previous row (20 squares total). SL st into 1st gap created in this row to join.
Rows 3 – 12: Repeat Row 2.
SL st 3together at a time until you get to the end of the row. SL st into stitches on opposite sides of the gap to close the circle.
Cut and tie off yarn.
Other beanies in my 100 days series:

![]()
![]()
![]()
![]()
![]()
![]()
![]()
![]()
![]()
![]()
![]()
![]()
![]()
![]()
![]()
![]()
![]()


Leave a Reply