How to Crochet a Beanie – Easy Wool Beanie for Beginners
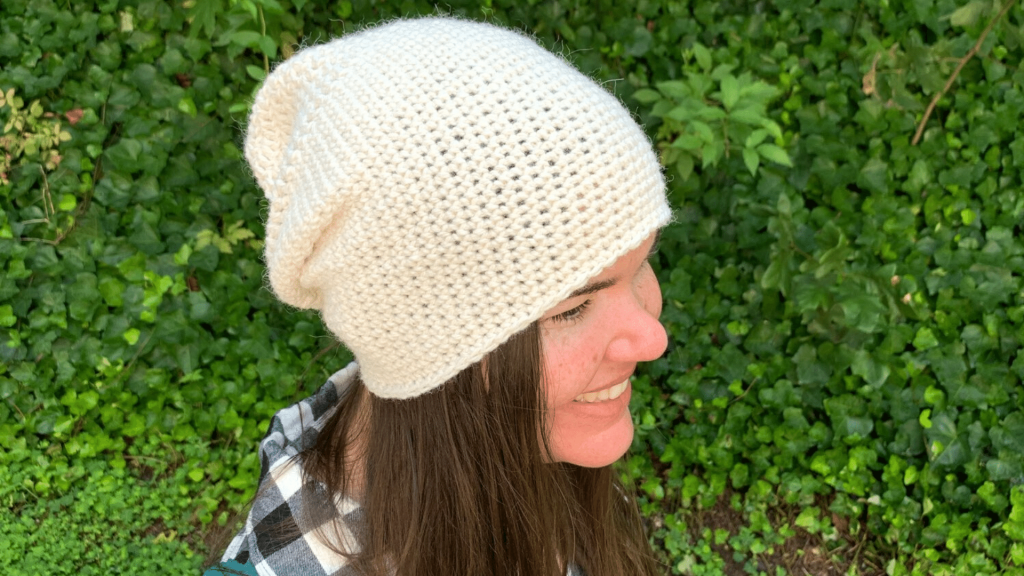
How to crochet a very simple wool beanie? In this crochet tutorial, I show you how to crochet a very easy wool beanie that is ideal for beginners. This beanie is versatile and can be worn slouchy or tight against the head by simply folding the brim up. This pattern is adaptable, as the length of the beanie can easily be adjusted.
Crochet Easy Slouchy Beanie Video Tutorial:

Wool Beanie Chapters:
Materials: 00:08
Magic Circle & Row 1 – 00:03
Row 2 – 01:00
Row 3 – 01:55
Row 4 – 02:24
Row 5 – 02:45
Rows 6 – 13 – 03:05
Rows 14 – 46 – 03:25
Finish off beanie: 03:49
Stitches used in this pattern:
Magic Circle: https://youtu.be/pTcHUJ8PDMQ
Double Crochet (DC): https://youtu.be/bA7b2sOIfzM
Single Crochet (SC): https://youtu.be/xppth_5GBzM
Slip Stitch (SL st): https://youtu.be/cMNam0kuhpQ
Crochet EASIEST Wool Beanie Pattern:
Yarn: 185 yds, 2-ply, Mother Nature’s Finest Fiber USA Alpaca Wool yarn (this is roughly the same as size 4 yarn).
Crochet hook: G / 6 / 4.25MM
*NOTE: this is a continuous loop pattern, which means that we won’t be starting or stopping each individual row, but instead, this should act like more of a spiral. I recommend using a scrap piece of yarn or stitch marker to mark the 1st st in every row.
Attach yarn to crochet hook using a Magic Circle.
Row 1: Place 12 DC inside MC.
Row 2: Place 2 DC in each st in the row (24 total DC st).
Row 3: *1 DC in st 1, 2 DC in st 2.* Repeat * around the row (36 total DC st).
Row 4: *1 DC in st 1 – 2, 2 DC in st 3.* Repeat * around the row (48 total DC st).
Row 5: *1 DC in st 1-3, 2 DC in st 4.* Repeat * around the row (60 total DC st).
Rows 6 – 13: Place 1 DC in each st in each row.
Rows 14 – 46: Place 1 SC in each st in the row.
Finish off the beanie by placing 1 SL st in the next 10 st, then cut and tie off your yarn. Weave the tail in the direction that you were crocheting.


Leave a Reply