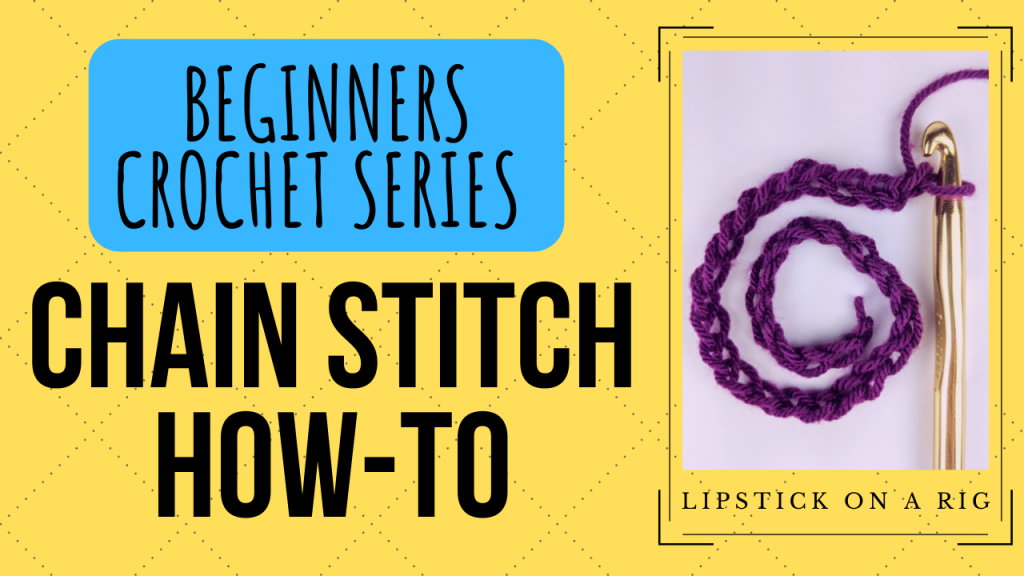
Chain Stitch Crochet Tutorial – CH – Beginners Crochet Series
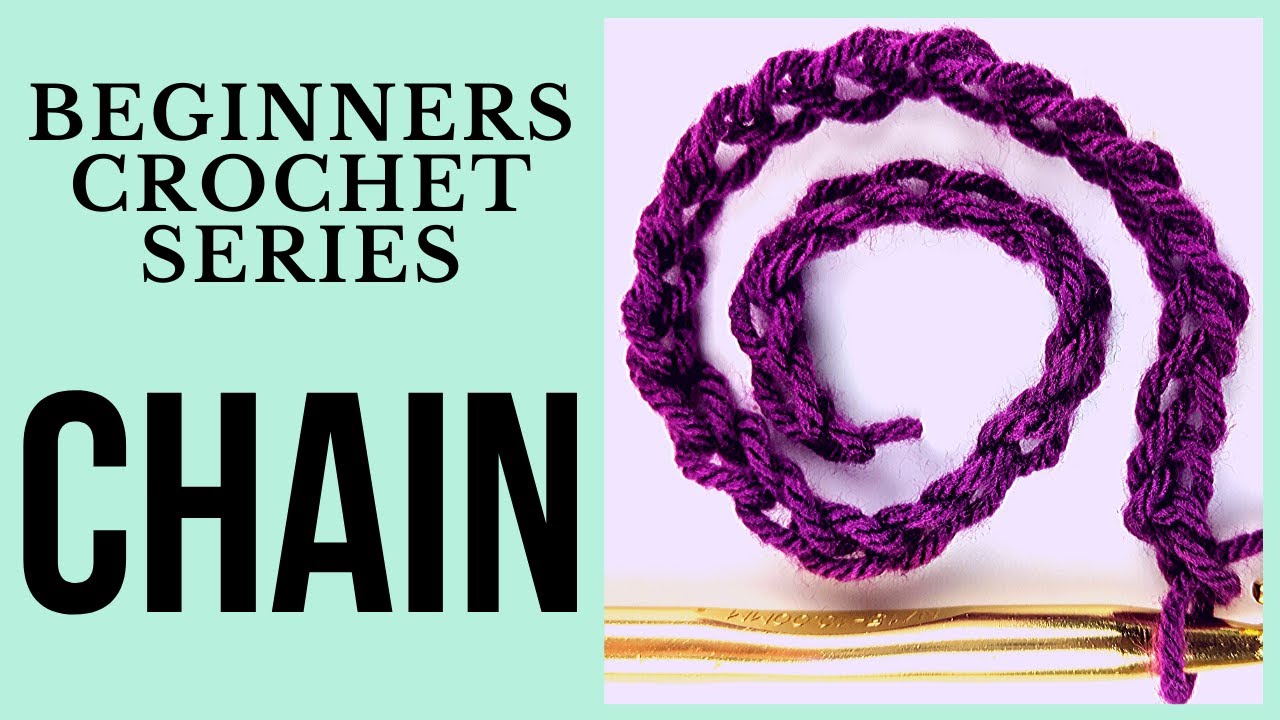
In this basic crochet tutorial for beginners, I show you how to crochet a chain stitch. This process is extremely simple, and it is typically used to form a base for your crochet projects. Oftentimes in patterns, chain is referred to as “ch.”
If you have gotten the basics of crochet down and want to dive into some projects, check out my Beginner-Friendly Crochet Projects: https://www.youtube.com/playlist?list=PLUmcifMqZH5tJr9oh9bZx2QMs-Z4kol2X
Key Terms:
- Tail: this is the end of your crochet string. Often, it is referred to as the “tail” and is essentially useless in your project. Hide the tail when you are done with your project, or crochet over it while you are working.
- Working yarn: this is the part of the yarn string that you are working with. It is everything but your tail and what you’ve already crocheted.
Video Tutorial:
How to chain stitch in crochet:
- Attach yarn to hook. If you aren’t sure how to do this, check out my tutorial for how to attach yarn to a crochet hook here:
- Yarn over your working yarn. Using the hook, pull the yarn through the loop on your crochet hook. You should have only one loop on your hook and one chain stitch that was formed.
- To add additional chains, simply yarn over and pull the yarn through the loop on your crochet hook again. Repeat for the number of chains needed in your crochet project.
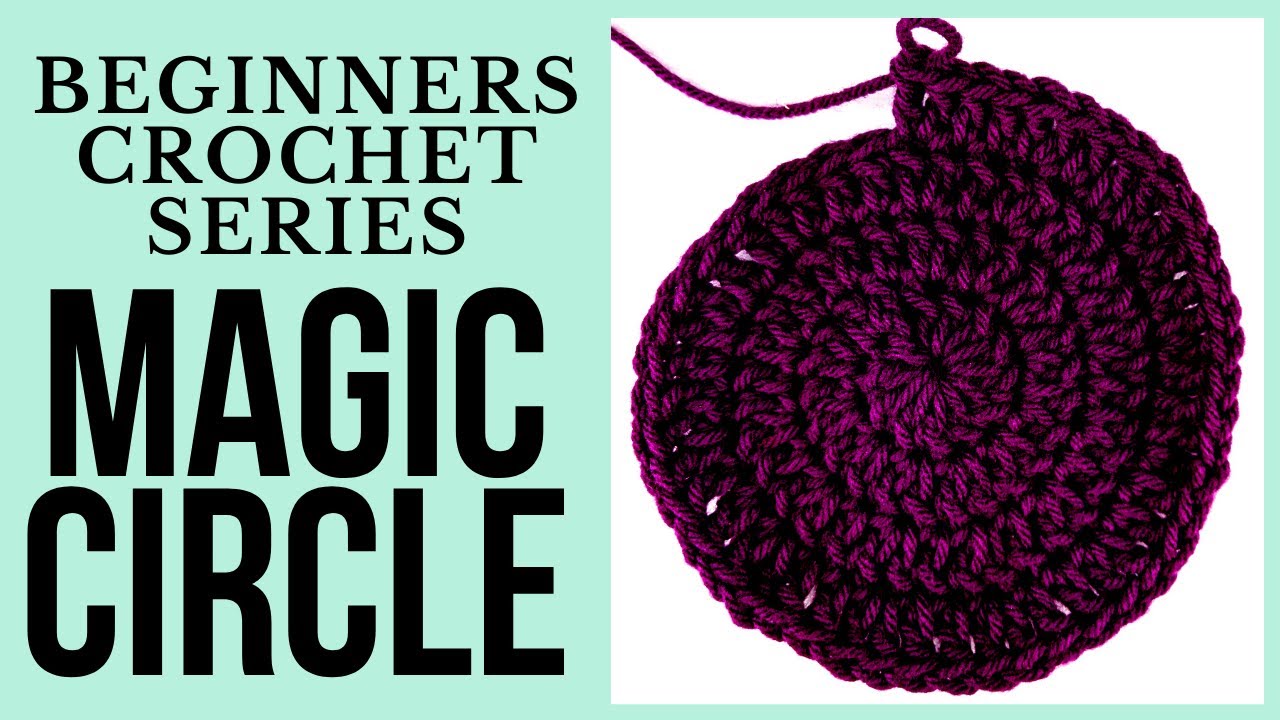
Check out my other Beginners Crochet Series videos here:
1
/
3
How to Crochet a Magic Circle (MC)
Attach Yarn to Crochet Hook Using a Slip Knot Tutorial
How to Crochet Chain Stitch - CH st
How to Crochet Slip Stitch
How to Crochet a Double Crochet Stitch - DC st
How to Crochet a Single Crochet Stitch - SC st
How to Crochet Half Double Crochet Stitch Tutorial - HDC st
How to Make Pom Pom Maker - DIY Pom Pom Maker
Crochet Flat Circle Using Single Crochet Stitch - Basket Base
How to Add More Yarn to ANY Crochet Project - The Easy Way
How to Crochet Over Tails
How to Crochet a Continuous Loop Circle Using SC st
How to Easily Pull Yarn Out of a Skein 🧶
How to Hold Yarn While Crocheting 🧶
Chainless Foundation Single Crochet Stitch Tutorial
1
/
3
Leave a Reply