
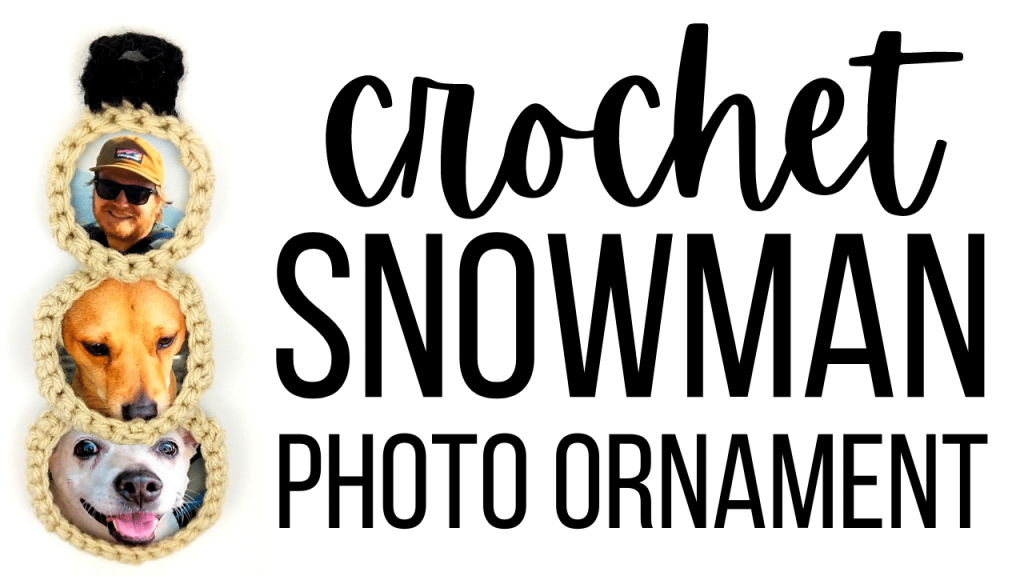
Crochet Photo Ornament – 15 Minutes or Less
How to crochet a photo ornament? In this beginner-friendly crochet tutorial, I show you how to take your photos and turn them into adorable Christmas tree ornaments! This crochet project takes 15 minutes or less and is an easy homemade Christmas decor item. This would also make a lovely Christmas gift!
Crochet Photo Ornament Tutorial:

Photo Ornament Pattern:
Crochet Hook: F / 5 / 3.75MM
Yarn: 4 Medium, Big Twist Value brand, Cream
Attach yarn to crochet hook using a Magic Circle (MC).
Row 1: Working over starting tail, place 13 DC inside MC. SL st into 2nd DC to join (12 total DC).
Row 2: CH 2, place 2 DC in each st in the row – including current st where you placed the SL st in the previous row. SL st into 1st DC st to join (24 total DC st).
Row 3: CH 2, *1 DC in st 1, 2 DC in st 2.* Repeat * around the row. SL st into 1st DC st to join (36 total DC st).
Row 4: CH 1, place 1 SC in the BLO of st 1 – 5, turn.
Row 5: CH 1, place 1 SC in each of the previous row’s 5 stitches, turn.
Row 6: CH 1, place 1 SC in st 1, CH 3, place 1 SC in the last st. SL st down the last 3 rows until you get to the next st (after first 5 st) in Row 4.
Row 7: CH 2, place 1 DC in next 2 st. *Skip the next st, place 1 DC in the next 2 st.* Repeat * around the row. Note: when you get to the SL st at the end of Row 3, work in the SL st for continuity of stitches. Work in the FLO when you get to the st in Row 4. SL st in the 1st Dc st to join.
Cut and tie off yarn.
This pattern is a part of my four skein Christmas challenge, where I see how many different projects I can crochet with only four skeins of yarn.
Check out the other projects in this skein challenge:


Leave a Reply