![How to Crochet a Beanie](https://crochetwithjulie.com/wp-content/uploads/2020/09/How-to-Crochet-a-Beanie-3-1024x576.png)
How to Crochet a Beanie – Day 3
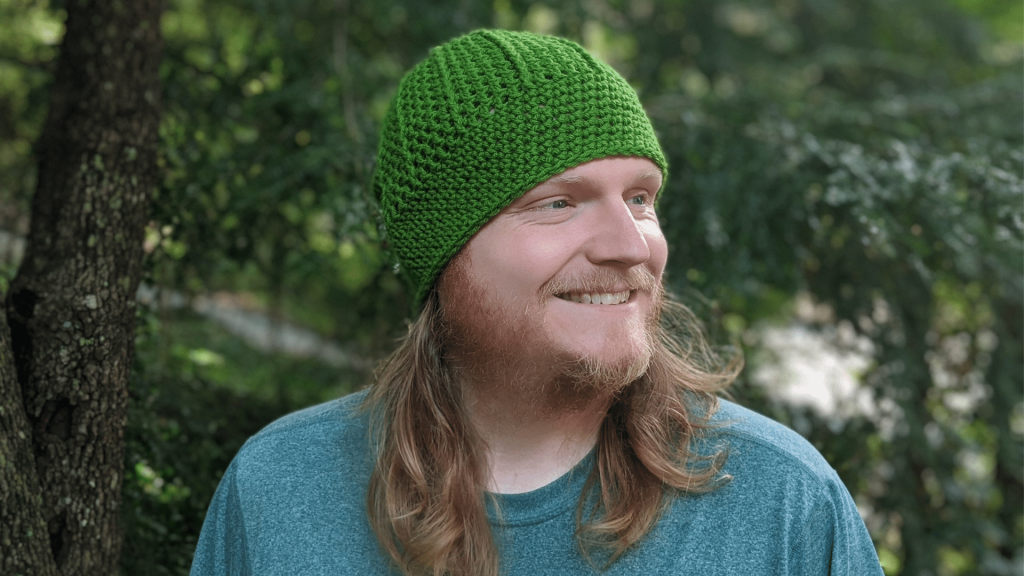
How to crochet a beanie? In this tutorial, I show you how to crochet a beanie using a pumpkin pattern that is extremely easy to follow. This beanie works quickly and shouldn’t take you more than 1 hour to complete. The colors used in this pattern can easily be exchanged to fit whatever color scheme you like.
Crochet Simple Pumpkin Beanie Video Tutorial:
![YouTube player](https://i.ytimg.com/vi/duKldOWVhu0/maxresdefault.jpg)
This beanie is part of a series of beanies that I am creating to donate to my local homeless shelter. The goal is to complete 100 beanies in 100 days, all using unique patterns that I am going to share with you each day.
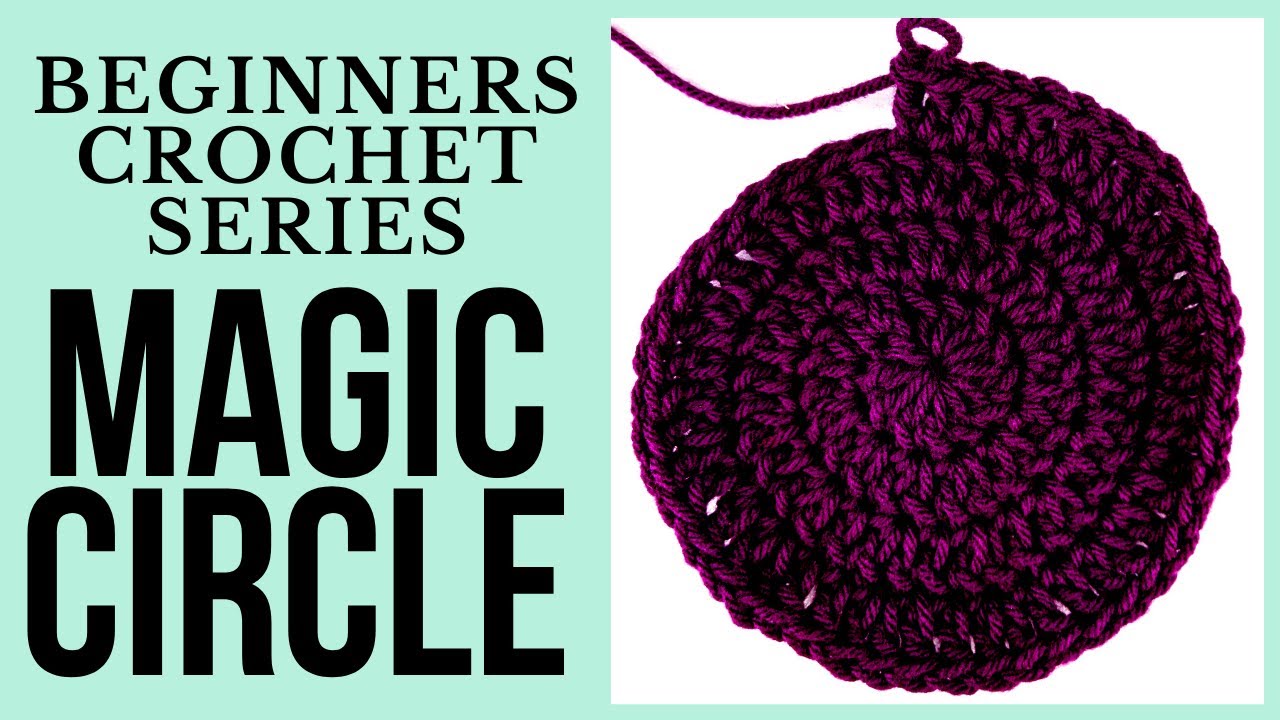
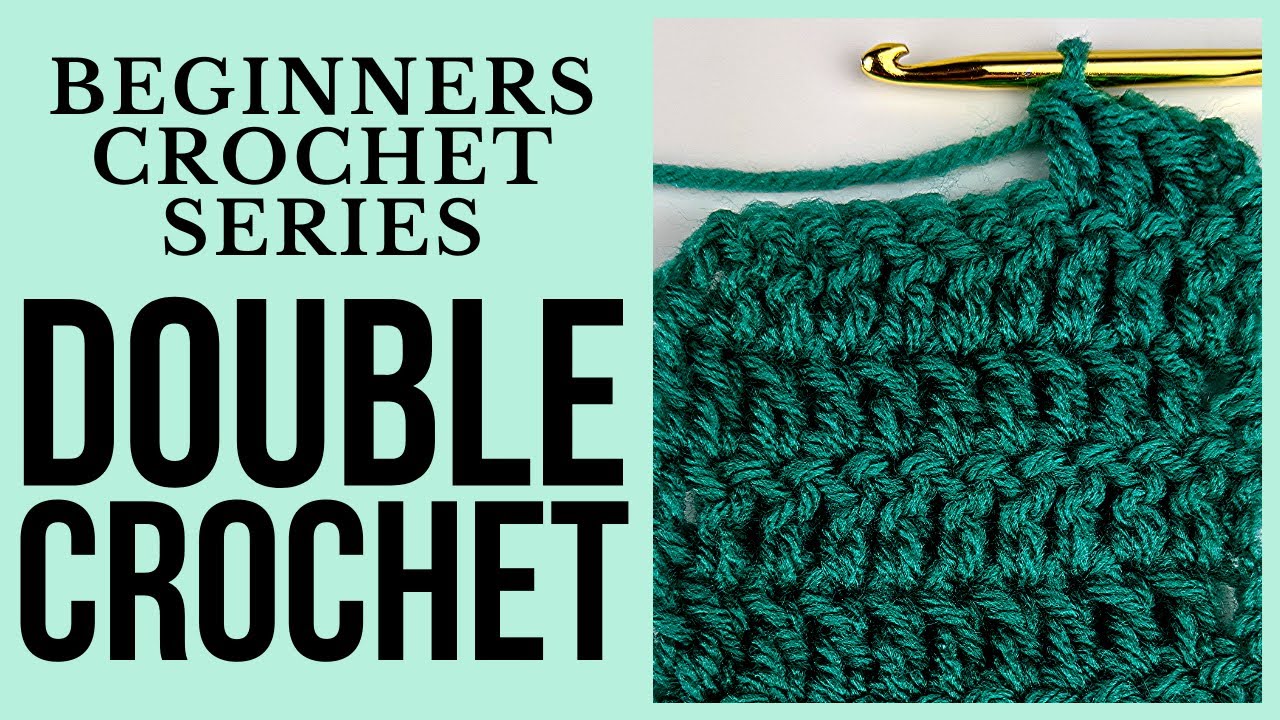
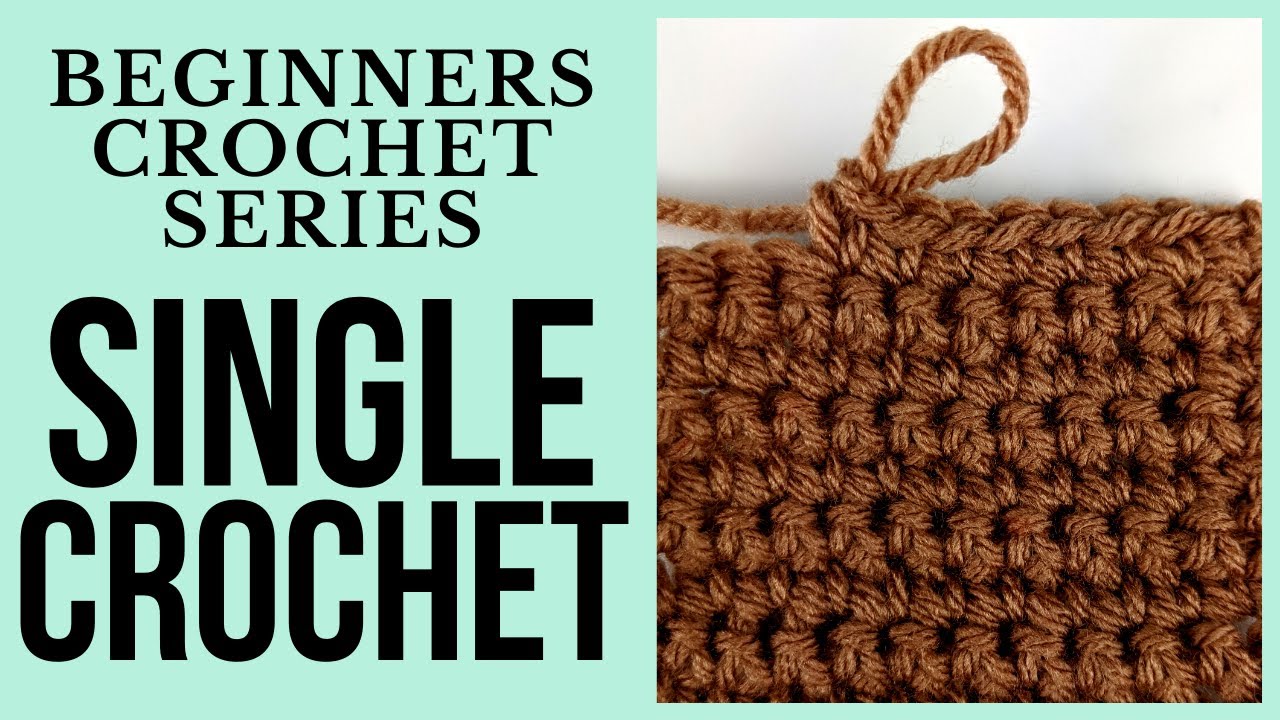
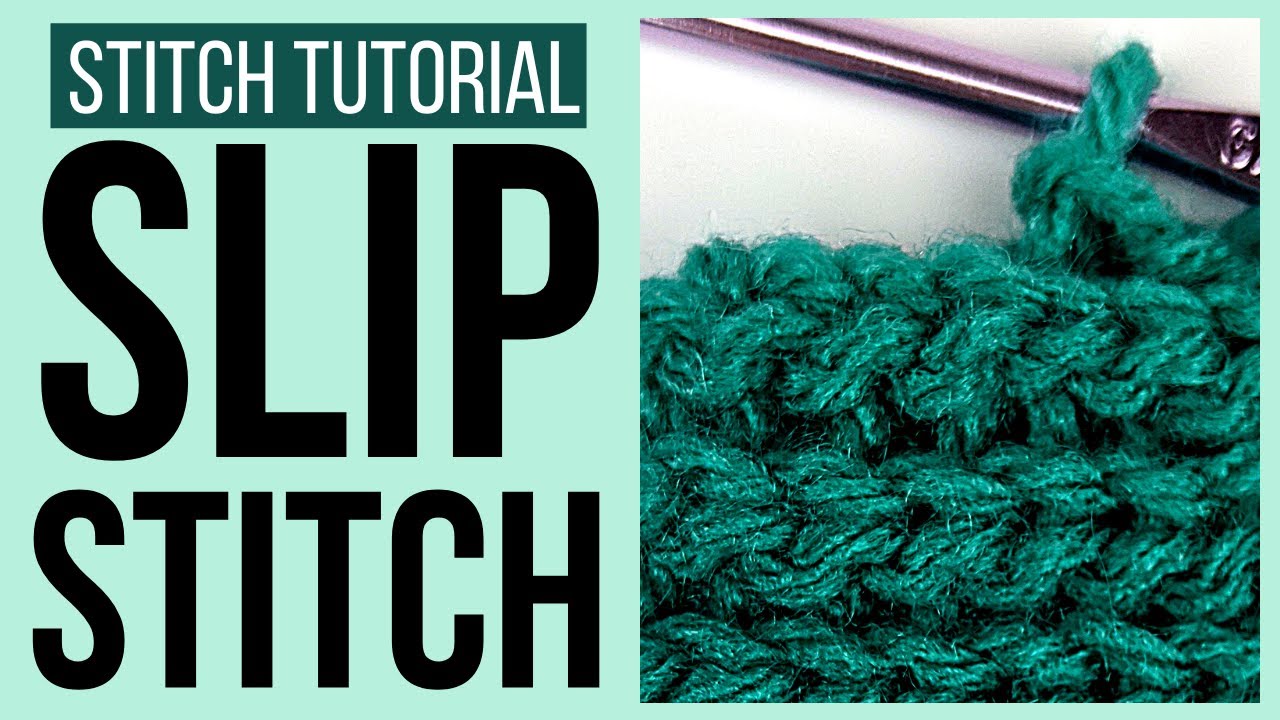
Stitches used in this pattern (and their corresponding tutorials):
![YouTube player](https://i.ytimg.com/vi/pTcHUJ8PDMQ/maxresdefault.jpg)
![YouTube player](https://i.ytimg.com/vi/bA7b2sOIfzM/maxresdefault.jpg)
![YouTube player](https://i.ytimg.com/vi/xppth_5GBzM/maxresdefault.jpg)
![YouTube player](https://i.ytimg.com/vi/cMNam0kuhpQ/maxresdefault.jpg)
Front Post Pumpkin Pattern:
Crochet Hook: F / 5 / 3.75MM
Yarn: 4 Medium ~ Big Twist Value brand
Magic Circle
Row 1: 12 DC inside MC.
Row 2: Following continuous loop pattern, *1 DC in 1st st, 1 FRONT POST st in 1st s.t* Repeat * around for each st in the row (24 total st at end of row).
Row 2: *2 DC in st 1, 1 FRONT POST st around previous row’s FRONT POST st.* Repeat * around the row (36 total st at end of row).
Row 3: *1 DC in st 1, 2 DC in st 2, 1 FRONT POST st around previous row’s FRONT POST st.* Repeat * around the row (48 total st at end of row).
Row 4: **1 DC in st 1 – 2, 2 DC in st 3, 1 FRONT POST st around previous row’s FRONT POST st.* Repeat * around the row (60 total st at end of row).
Rows 5 – 12: 1 DC in each of the previous row’s DC stitches. 1 FRONT POST st in each of the previous row’s FRONT POST stitches (60 st at the end of each row).
Rows 13 – 20: 1 SC in each st in the row (60 st at the end of each row).
Finish off my placing 1 SL in next 15 stitches, cut and tie off yarn, weaving the tail up the inside of the beanie to hide.
Attach a pouf ball (tutorial here): https://youtu.be/6ISz8AcMusk
Other beanie tutorials in my 100 day series:
![YouTube player](https://i.ytimg.com/vi/c-FJkTJutkg/maxresdefault.jpg)
![loading](https://crochetwithjulie.com/wp-content/plugins/youtube-embed-plus/images/gallery-page-loader.gif)
![play](https://crochetwithjulie.com/wp-content/plugins/youtube-embed-plus/images/playhover.png)
![loading](https://crochetwithjulie.com/wp-content/plugins/youtube-embed-plus/images/gallery-page-loader.gif)
Leave a Reply