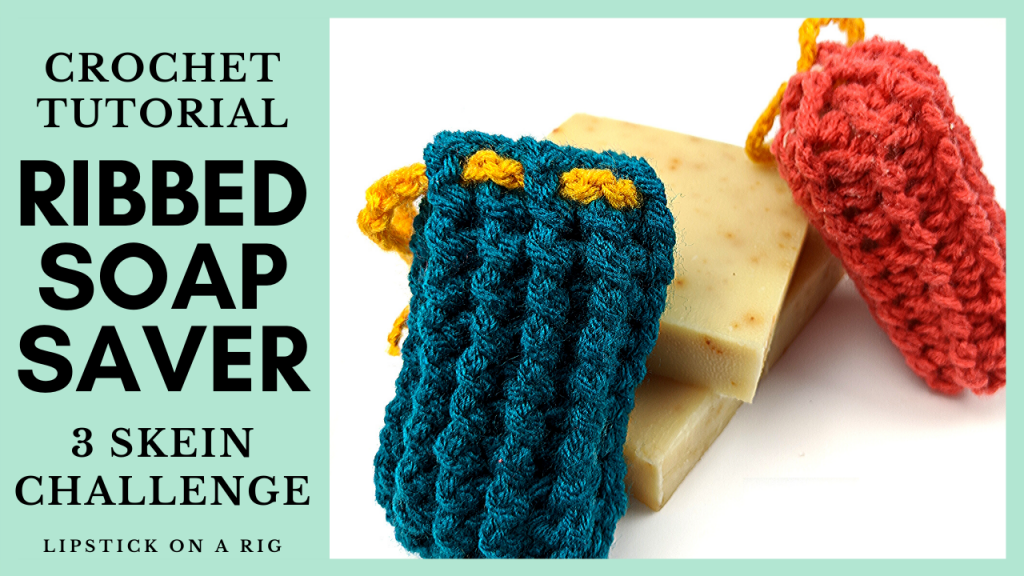
How to Crochet a Ribbed Soap Saver – 20 Minute Project – Three Skein Challenge
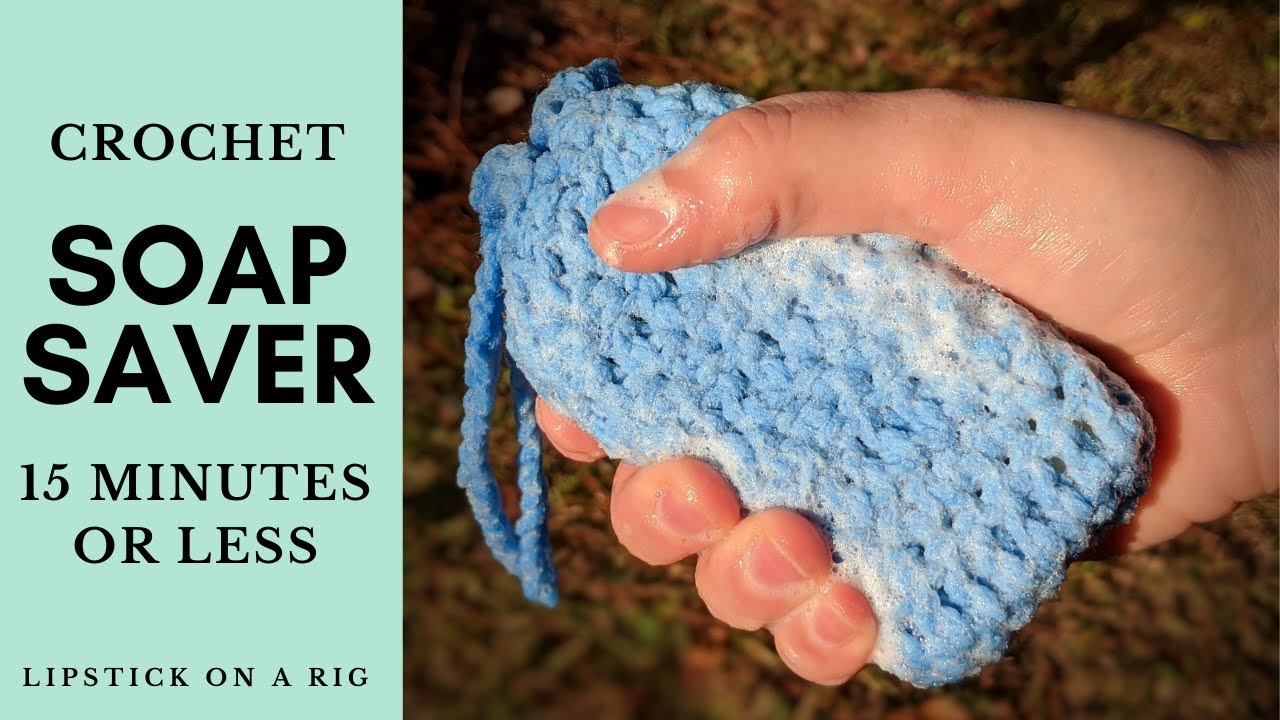
How to crochet a ribbed soap saver? In this tutorial, I show you how to create a soap saver with a ribbed texture to add extra exfoliation when you wash. It lathers perfectly and is a great replacement for your loofa. This pattern is very simple to make and can be done in about 20 minutes. It is an excellent compliment to any bar soap that you use and can be great if you are looking to reduce some of your plastic waste.
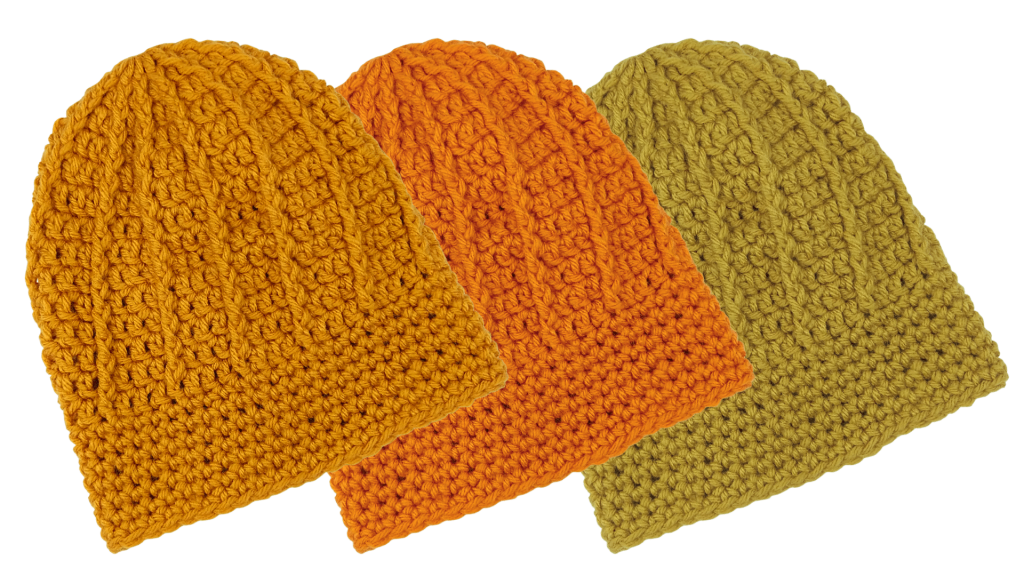
This soap saver pattern is one of many in my three skein challenge. This challenge is to see how many projects I can squeeze out of just three skeins. If you would like to join along beside me in this challenge, make sure that you have 3 skeins, all 7 oz, size 4 (medium), and that they are all the same brand.
Check out my three skein challenge tutorials here:
Video Tutorial:

If you aren’t familiar with some of these stitches, check out my Beginners’ Crochet Series here: https://www.youtube.com/playlist?list=PLUmcifMqZH5s3cLaL0U6V8qzPffPnsckA
Ribbed Soap Saver Crochet Pattern – Soap Sack
Crochet Hook Size: F / 5 / 3.75MM
Yarn: Size 4 Medium
Row 1: CH 11, turn.
Row 2: Place 1 SC in each of the back loops only of each st across. When you reach the end of the row, instead of turning your work, crochet down the front loops only until you get back to the 1st st of the row. (20 st total at end of row).
Row 3: Crocheting directly into the 1st st of Row 2, place 1 DC in each st across (20 st total at end of row).
Row 4: Alternate between crocheting 1 DC in the front post, then 1 DC in the back post until you reach the end of the row (20 st total at end of row).
Rows 5 – 13: Repeat Row 4.
Row 14: Beginning with a back post stitch, CH 1 and then place 1 DC into the next back post. Repeat until you get back to your 1st st and SL into the back post of it.
Tie off yarn and hide tails.
CH 50 and tie off tails. Weave chain into the holes created in Row 14.
Other Beginner-Friendly Crochet Tutorials:

Leave a Reply