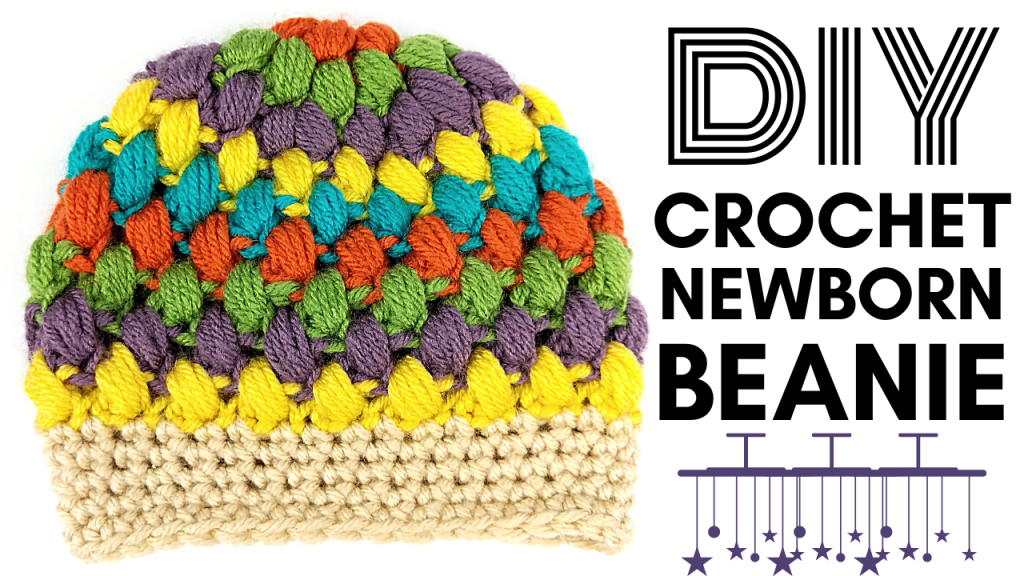
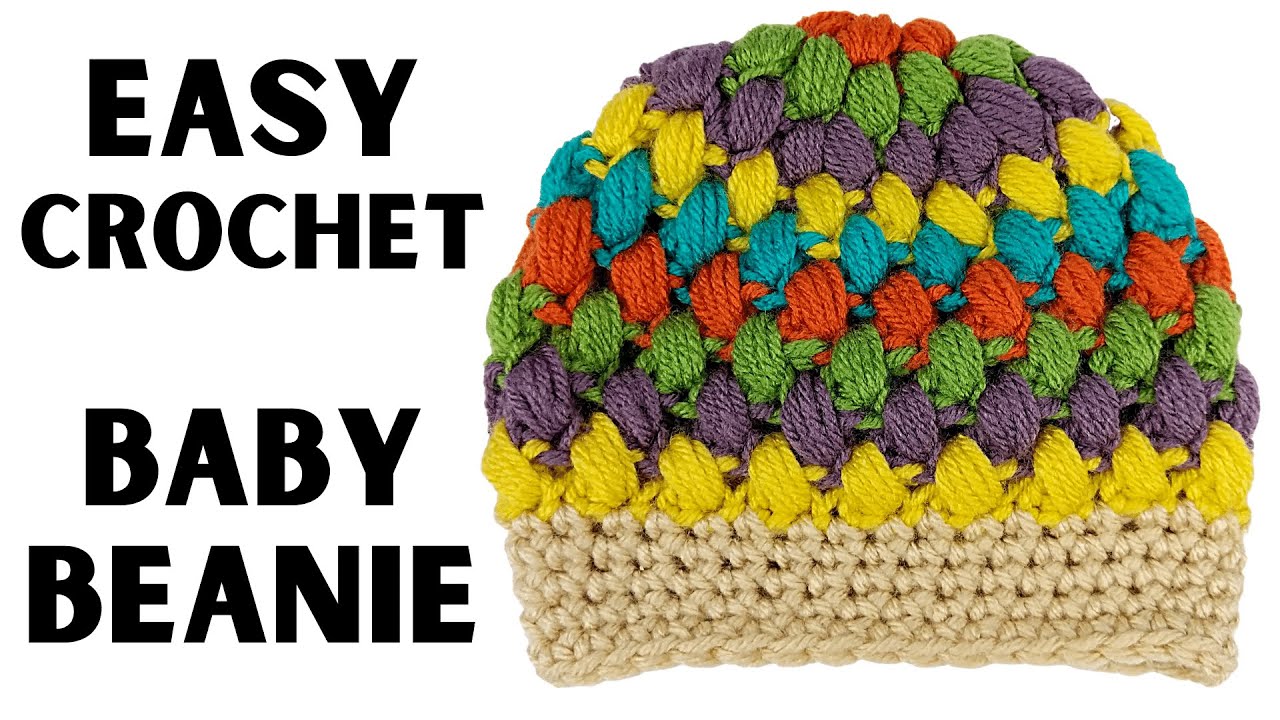
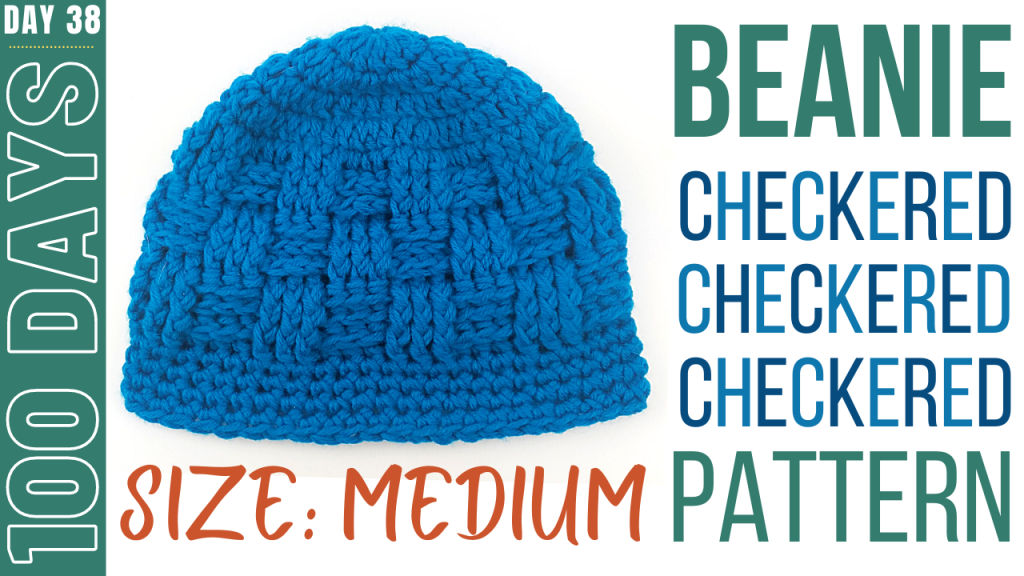
How to Crochet a Baby Beanie – DIY Newborn Baby Beanie
How to crochet a beanie for a baby? In this tutorial, I show you how to crochet a newborn baby beanie. This pattern is a little bit more complicated than my other tutorials, so follow closely and let me know in the comments if you experience any issues while you are making this, and I will do my best to help you out!
Newborn Beanie Video Tutorial:
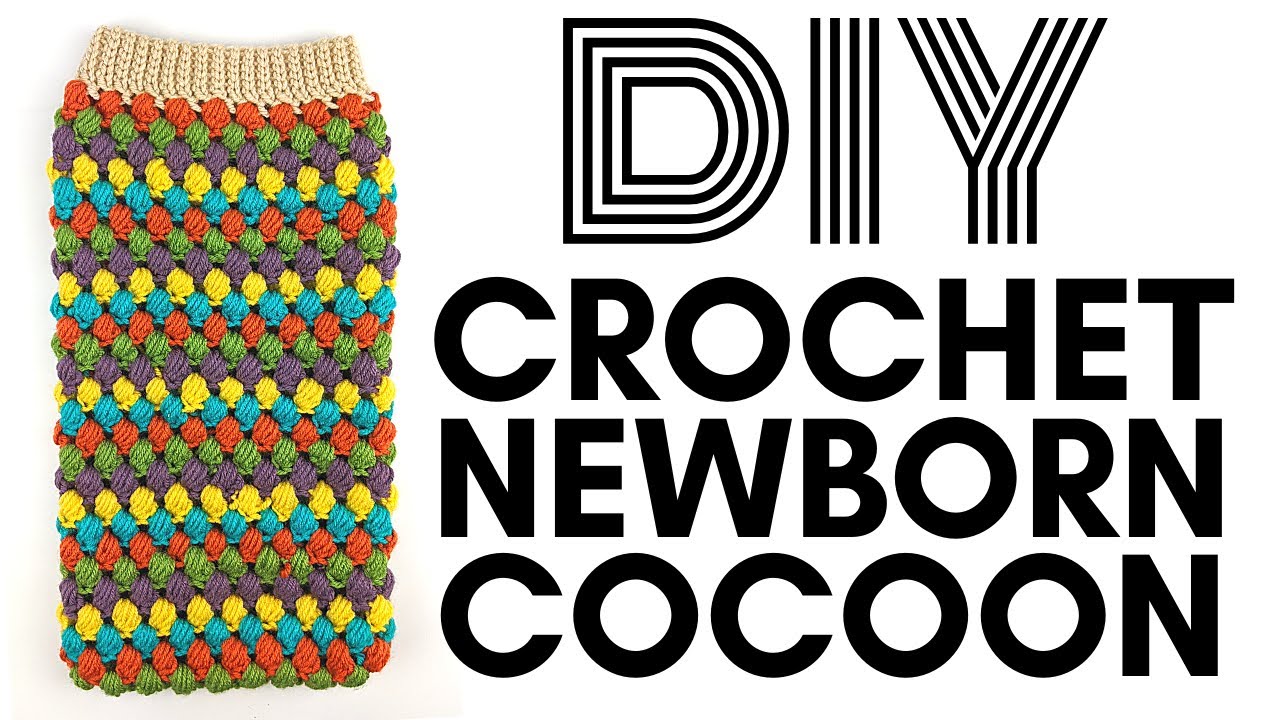
This beanie pairs with this baby cocoon pattern here:
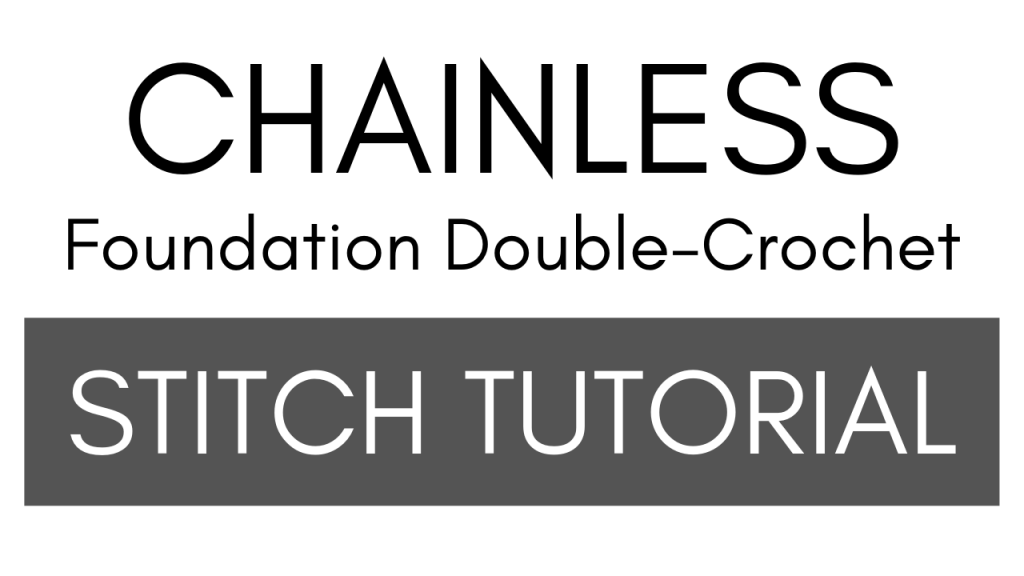
If you are unfamiliar with any of the stitches used in this pattern, please check out my stitch tutorials here:
Baby Beanie – Newborn Size Crochet Pattern:
Yarn: 4 Medium
Crochet Hook Size: F / 5 / 3.75 MM
MC
Row 1: Place 6 *bead st inside the MC (to make a bead st, yarn over and pull up a total of four times, then yarn over and pull through all the loops on your crochet hook and CH 1). SL in the top of your 1st bead st, yarning over with the next color.
Row 2: CH 2 and, moving backwards, place 1 bead st in between the first and last bead st of previous row. Place 1 DC in st directly in front of bead st, then place bead st in st where CH 2 is (there will be an overlap). Place 1 DC in top of 2nd bead st from previous row. Place bead st in between bead st 1 and 2 from previous row. Place 1 DC in st directly in front of current bead st. Place bead st in previous DC st (overlapping). Continue this pattern going all the way around your row, creating 2 bead stitches for every 1 bead st in previous row (12 total beads at end of row). SL in the top of 1st bead st, yarning over with next color.
Row 3: CH 2 and, moving backwards, place 1 bead st in between the first and last bead st of previous row. Place 1 DC in st directly in front of current bead st, then place bead st in st where CH 2 is (there will be an overlap) – this is how we are going to “increase” the beads. We won’t increase on the next bead, so simply place 1 DC in the top of the next bead, and then place your bead st in between beads 2 & 3 from previous row, place 1 DC in the top of the next bead st, and place a bead between beads 3 & 4, then we are going to increase again by placing 1 DC in the st directly in front of our current bead. Then place 1 bead st where our previous DC st exists for our last bead. Follow this pattern around your row, alternating between increasing 1 bead, then not increasing (18 total beads at the end of the row). SL in the top of 1st bead, yarning over with next color.
Row 4: CH 2, place 1 bead st in between first and last beads from previous row. Place 1 DC in the top of the next bead and place 1 bead st between 1st and 2nd beads from previous row. Continue that pattern going all the way around your row, placing DC in the top of each bead and then placing 1 bead st inbetween the previous row’s bead st (18 total beads at the end of the row). SL in the top of 1st bead st, yarning over with next color.
Rows 5 – 9: Repeat row 4.
Row 10: CH 1, place 2 SC for ever 1 bead st in previous row (36 total st at end of row). SL in CH 1 st.
Row 11: CH 1, place 1 SC in each st in row. SL in CH 1 st.
Rows 12 – 14: Repeat Row 11.
After SL in Row 11, tie off yarn and weave tails back through the stitches you just created, then weave up the beanie. Secure all tails by double knotting them and then cutting them down close to the knots. Turn beanie inside out and you are done!
Don’t forget to pair this with the matching baby cocoon pattern here:
Other crochet baby items:

Leave a Reply