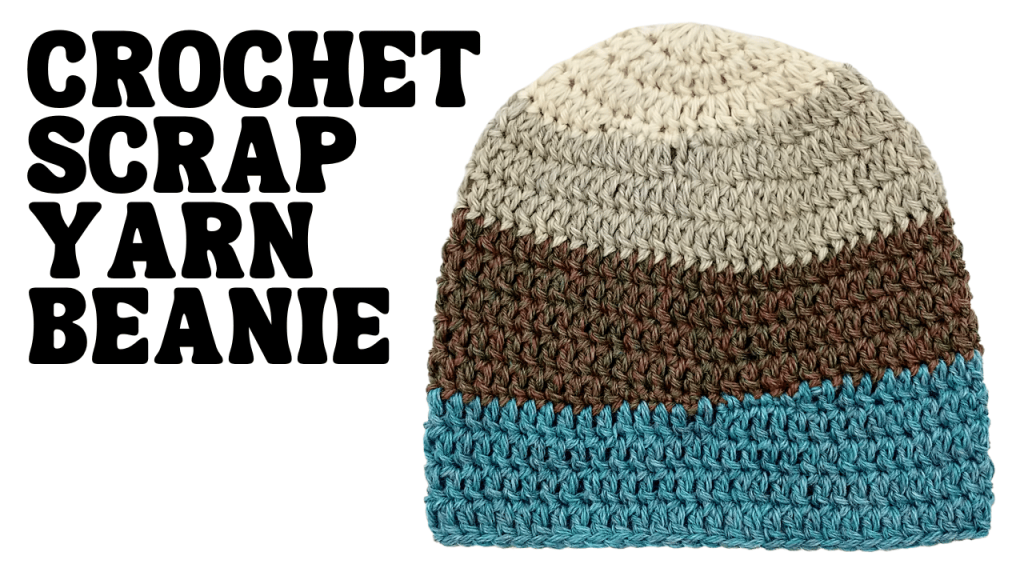
Crochet Asymmetrical Child Beanie with Scrap Yarn
This easy, no tails, scrap yarn beanie is surprisingly easy to make! Follow along as I show you step-by-step how to crochet this beanie.

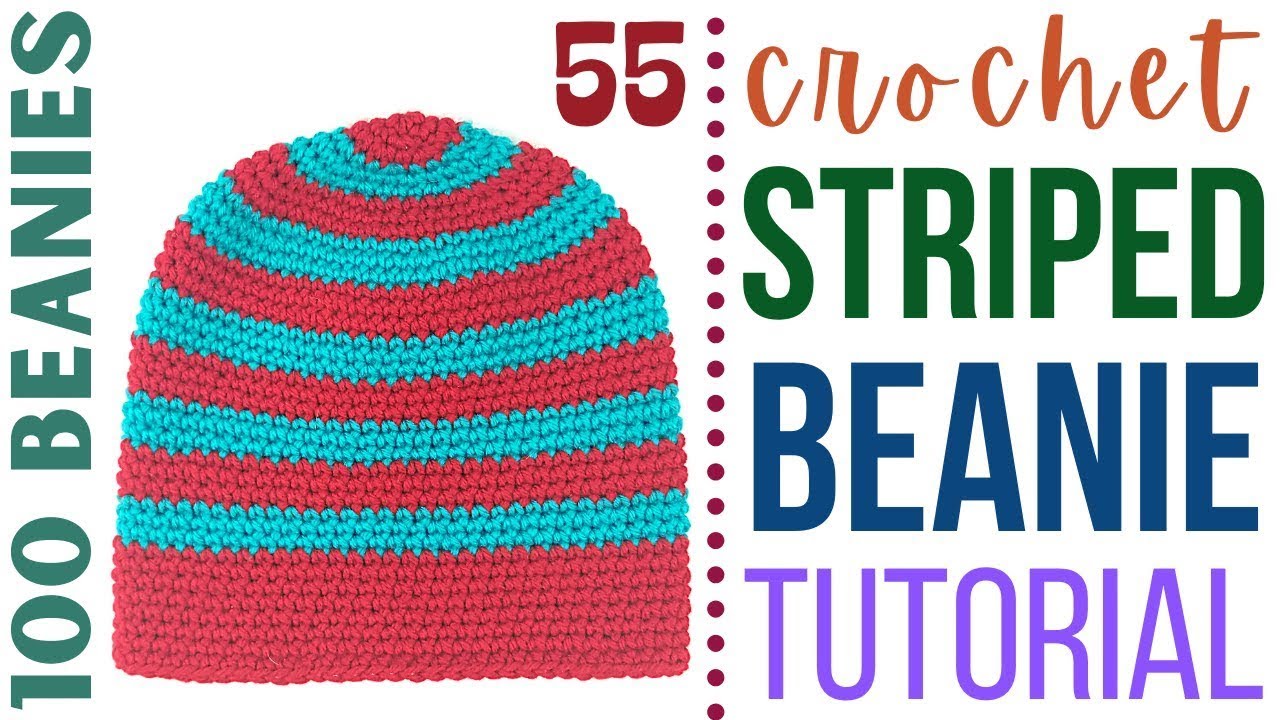
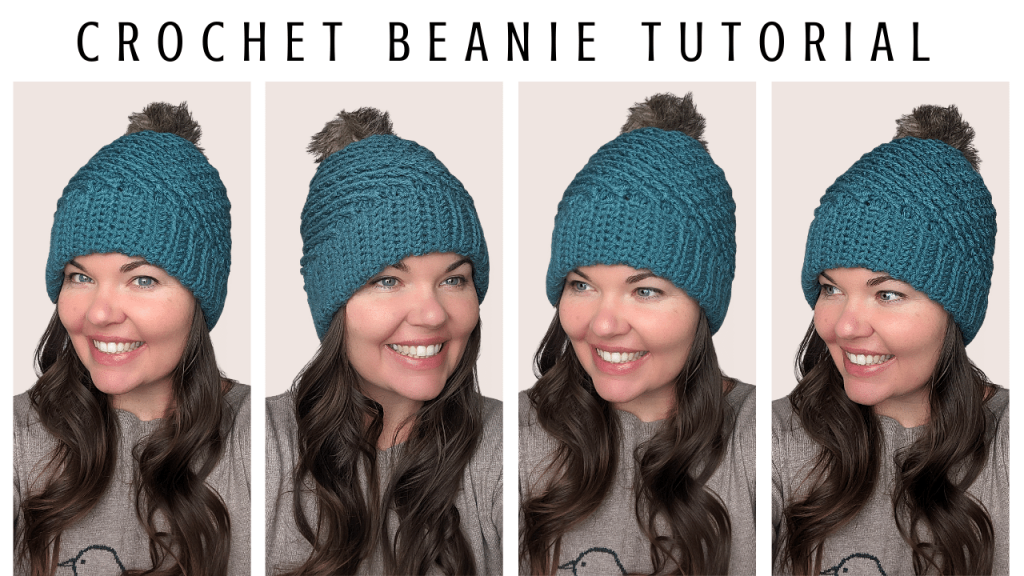
This pattern is a part of my cascade yarns 4 skein challenge. With this challenge, my goal is to create patterns that will allow you to use up EVERY INCH of your yarn without leaving any behind! This series features five beanies: 3 adult beanies, 1 child beanie, and 1 baby beanie. Don’t forget to check out my scrap yarn beanie if you have a bunch of small amounts of yarn lying around you need to use up!
Beanies in this Challenge

Beanie 1 (Current): https://youtu.be/9nI7jAlkUcc
Beanie 2: https://youtu.be/T5T3rCP9mDg
Beanie 3: https://youtu.be/tCL5mza4DKk
Beanie 4 (Baby): https://youtu.be/3QOxjCiH5tA
Beanie 5 (Child & Scrap Yarn): https://youtu.be/R08-PLbNoHI
Crochet Asymmetrical Child Beanie Pattern
Crochet Hook: H/8/5.00MM
Yarn: 4 Medium Wool (Scrap Yarn Balls), Cascade Yarns, Colors: Alpine, Natural, Sky & Copper
NOTE: each of us will be changing colors at varying times in this pattern. Please follow these instructions whenever you run out of yarn. Whenever you have about 1-foot of yarn remaining, take note of where you are currently in the pattern. From here, continue to follow the pattern, but trade out the DC st for SC (for the next 4 st of the pattern), then place 1 – 2 SL stitches (for the next 1 – 2 stitches of the pattern). Tie off current color. Then attach next color to your crochet hook using a slip knot, insert your crochet hook under the next st (unless you need to add an additional st to current st (this is only for the first 5 rows where we are increasing, depending on where you are in the pattern when it is time to change colors)). Pick up the pattern with the new color by placing the next 4 st (still following the pattern) using SC rather than DC st, then switch back to DC after the first 4 stitches are placed). This should round out the spiral pattern at the times when you need to change out for a new color.
Attach Color A to crochet hook using a Magic Circle (MC).
Row 1: CH 1, then place 12 DC inside the MC. Do not join at the end of the row, instead we want this pattern to act like a spiral.
Row 2: Working in the 1st DC st, place 2 DC in each st in the row. Mark the 1st DC st of this row with a safety pin or st marker (24 total DC st). The row ends when you get back to the st marker.
Row 3: Working in the 1st DC st, **Place 1 DC in st 1, 2 DC in st 2.** Repeat * around the row (36 total DC st).
Row 4: Working in the 1st DC st, **Place 1 DC in st 1 – 2, 2 DC in st 3.** Repeat * around the row (48 total DC st).
Row 5: Working in the 1st DC st, **Place 1 DC in st 1 – 3, 2 DC in st 4.** Repeat * around the row (60 total DC st).
Rows 6 – ?: Place 1 DC in each st in each row.
Once you’ve gotten the beanie to your desired length, we are going to place about 4 SC st and 2 SL st, then cut and tie off our yarn, and hide our tail up the inside of the beanie.
100+ Crohet Beanie Tutorials ▶

Leave a Reply