
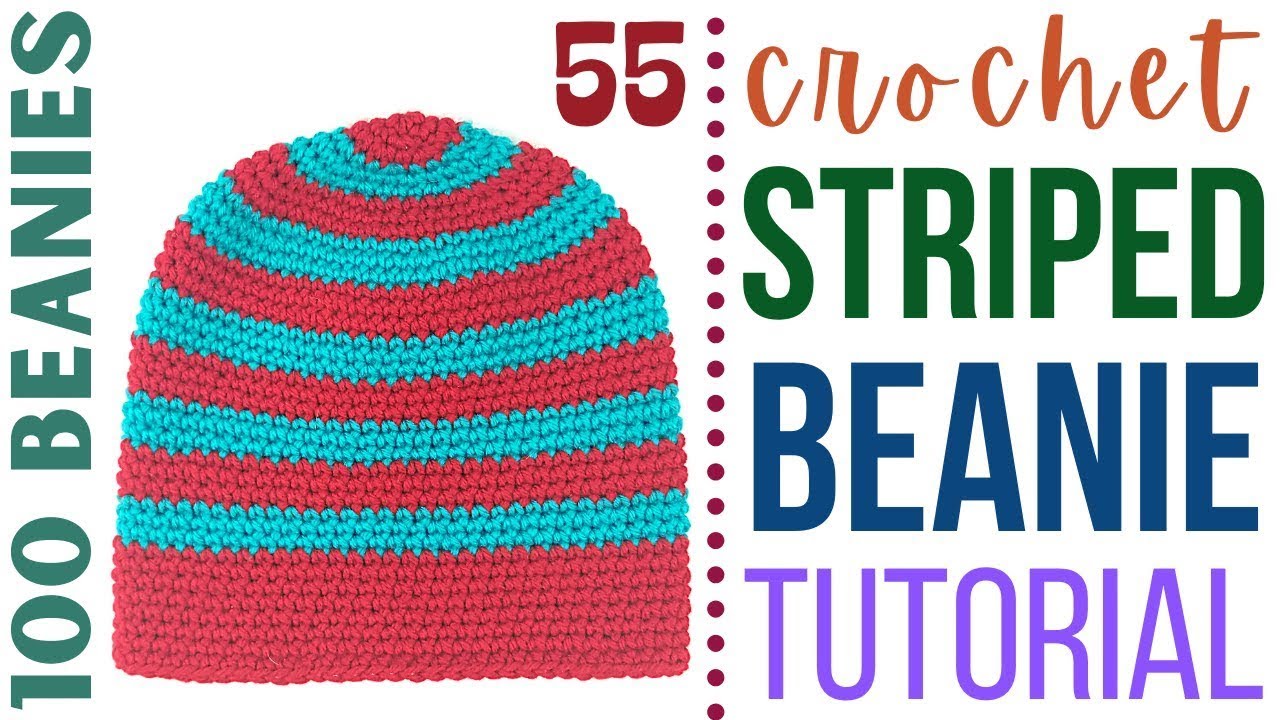
Easy Crochet Striped Beanie Using the Cable Stitch
Crochet STRIPED Beanie Tutorial and Pattern. In this easy crochet tutorial, I show you step-by-step how to crochet a striped beanie using the cable stitch and a half-double-crochet slip-stitch brim. This beanie is simple to complete and makes a stunning beanie!

Crochet Striped Cable Stitch Beanie Free Pattern:
Crochet Hook; G/6/4.25MM
Yarn: Size 4, Medium Weight Wool Yarn by Cascade Yarns (Aspen Heather & Sraw colors)
3 Stitch markers, safety pins, or scrap pieces of yarn
BRIM:
Attach Color A yarn to crochet hook using a slip knot.
Row 1: CH 16, turn.
Row 2: Working in the BACK BUMP of the 1st CH st, place 1 HDC SL st, then place 1 HDC SL st in the BACK BUMP (or 3rd loop) of each st in the row (16 total st). CH 1, turn.
Row 3: Skip the turning CH st, then place 1 HDC SL st in the BLO of each st in the row (16 total). CH 1, turn.
Row 4 – ?: Repeat Row 3 until the brim reaches your desired width (usually this is somewhere between 16 and 20 inches for me).
End the last row so that your crochet hook is on the opposite side from your starting CH st, and make sure you have added a CH 1 at the end of the last row, then fold the brim in half so that the 1st and last row are together.
SL st the two short edges together by inserting your crochet hook under the last st from the last row and the last st from the CH row, then yarning over and pulling through all the loops on your crochet hook. Repeat this process in the remaining 15 st of the row, working up the sides of the brim.
Once the brim is fully joined along the short edge, cut and tie off your yarn.
Fold the brim in half lengthwise, making sure the seam and tails from Color A are on the inside of the fold.
Section the brim off into four equal parts using stitch markers.
BODY:
Attach Color B to crochet hook using a slip knot.
Row 1: Insert your crochet hook (on both sides of the brim) in the available loops near your starting and ending tails from Color B. Place 1 DC here, then place 2 additional DC st in the available loops on both sides of the brim. Working backwards behind the 1st DC, place 1 DC, and make sure you pull your yarn up long to go across the 3 DC stitches. This will create 1 CABLE st. To place the additional CABLE stitches, place 3 DC st, then work backwards between the last CABLE st and the 1st of the 3 DC st, and place 1 DC in the gap, yarning over really big to create a band across the 3 DC stitches. Try to space your CABLE stitches evenly in the row, placing 6 CABLE stitches in each of the 4 sections for a total of 24 CABLE st (or 96 DC) at the end of the row. SL st into the 1st DC st from the 1st CABLE st to join. CH 2 and turn your work around so that you are working in the opposite direction from Row 1.
Row 2: Skip the CH 2, the SL st, and the next st, then place 1 DC in the following 3 st. Place 1 DC in the last skipped st, yarning over big to create your first CABLE st. From here, skip the next st, place 1 DC in the following 3 st, then work 1 DC back in the skipped st. This is how you will create the remaining CABLE stitches of this row. Repeat this around the row and you should have 24 CABLE stitches or 96 DC st at the end of the row. One way to know you are doing this correctly is that the CABLE stitches in this row and the previous row should stack on top of each other. SL st in the 1st DC from the 1st CABLE st and then cut and tie off your yarn.
Row 3: Attach Color A to crochet hook using a slip knot. Make sure you have turned your work around so that you are working in the opposite direction from Row 2. Skip the 1st DC st, then place 1 DC in the following 3 st. Working backwards in the skipped st, place 1 DC to create the 1st CABLE st of this row. Work CABLE stitches around the rest of the row by skipping the next st, placing 1 DC in the following 3 st, then working 1 DC back in the skipped st. The CABLE stitches for this row should align with the previous row. Place 1 SL st in the 1st DC to join (24 total CABLE st).
Row 4: CH 2 and turn your work around. Skip the CH 2, SL st, and the 1st DC, then place 1 DC in the following 3 st. Working backwards in the skipped DC st, place 1 DC to create the 1st CABLE st of the row. Work regular CABLE stitches until you reach the end of the row (24 total CABLE st). Skip the CH 2 and place 1 SL st in the 1st DC to join. Cut and tie off yarn.
Rows 5 & 6: Repeat Rows 3 & 4 with Color B yarn.
Row 7: Attach Color A yarn to crochet hook using a slip knot. Turn work in opposite direction from Row 6, skip the 1st DC, then place 1 DC in the next st. DC 2together in the next 2 st, then place 1 DC in the following st. Working backwards in the skipped st, place 1 DC to create the 1st DECREASING CABLE st. For the next 3 CABLE st, we are going to place the following DECREASING CABLE stitch: **Skip the next st, then place 1 DC in the following st. DC 2together in the next 2 st, then place 1 DC in the next st. Working backwards in the skipped st, place 1 DC.** After placing the 1st 4 CABLE st of the row, place 1 REGULAR CABLE st like we were doing in the previous rows. The pattern from here is to place 4 DECREASING CABLE stitches, then 1 REGULAR CABLE st, repeating this going around the row for a total of 20 CABLE st.
Row 8: CH 2, turn work. Skip the CH 2, SL st, and 1st DC st. Place 1 DC in the next 3 st, then work backwards in the skipped st and place 1 DC. From here, place REGULAR CABLE st around the row. The CABLE stitches in this row should align with the previous row for a total of 20 CABLE st. Place 1 SL st in the 1st DC to join. Cut and tie off yarn.
Row 9: Attach Color B yarn to crochet hook using a slip knot. Turn your work around so that you are working in the opposite direction and skip the 1st st. Place 1 DC in the next st, then DC 2together in the next 2 st. Place 1 DC in the next st, then working backwards in the skipped st, place 1 DC. For the rest of the row, work DECREASING CABLE stitches. The CABLE stitches in this row won’t align with the previous row. At the end of the row, you should have a total of 16 CABLE st. Place 1 SL st in the 1st DC to join.
Row 10: CH 2, turn work. Skip the CH 2, SL st, and 1st DC st. Place 1 DC in the next 3 st, then work backwards in the skipped st and place 1 DC. From here, place REGULAR CABLE st around the row. The CABLE stitches in this row should align with the previous row for a total of 16 CABLE st. Place 1 SL st in the 1st DC to join. Cut and tie off yarn.
Row 11: Attach Color A yarn to your crochet hook using a slip knot. Turn work in the opposite direction and skip the 1st st. Place 1 DC in the next st, DC 2together in the following st, then place 1 DC in the next st. Working backwards in the skipped st, place 1 DC. This will count as the first DECREASING CABLE st. For the next DECREASING CABLE st: Skip the next st, place 1 DC in the following st, DC 2together in the next 2 st, then place 1 DC in the following st. Working backwards in the skipped st, place 1 DC. Next, we are going to place a DIFFERENT DECREASING CABLE st as follows: Skip the next st and place 1 DC in the following st. DC 2together in the next 2 st, then DC 2together in the next st. Working backwards in the skipped st, place 1 DC. The pattern for this row is to place 2 of our DECREASING CABLE st, then 1 DIFFERENT DECREASING CABLE st. Repeat this around the row for a total of 12 CABLE st. SL st in the 1st DC to join.
Row 12: CH 2, turn work. Skip the CH 2, SL st, and 1st DC st. Place 1 DC in the next 3 st, then work backwards in the skipped st and place 1 DC. From here, place REGULAR CABLE st around the row. The CABLE stitches in this row should align with the previous row for a total of 12 CABLE st. Place 1 SL st in the 1st DC to join. Cut and tie off yarn.
Row 13: Attach Color A yarn to your crochet hook using a slip knot. Turn work in the opposite direction and skip the 1st st. Place 1 DC in the next st, DC 2together in the following st, then DC 2together in the next 2 st. Working backwards in the skipped st, place 1 DC. This will count as the first DIFFERENT DECREASING CABLE st. From here, work the DIFFERENT CABLE stitches around your row for a total of 8 CABLE st. SL st in the 1st DC to join.
Row 14: CH 2, turn work. Skip the CH 2, SL st, and 1st DC st. Place 1 DC in the next 3 st, then work backwards in the skipped st and place 1 DC. From here, place REGULAR CABLE st around the row. The CABLE stitches in this row should align with the previous row for a total of 8 CABLE st. Place 1 SL st in the 1st DC to join. Cut and tie off yarn, BUT LEAVE A LONG TAIL.
Weave the tail in and out of the last row of st. Pull on the tail to cinch the top of the beanie and tie off the cinch with a few knots. Draw ending tail to the inside of the beanie and attach a pompom to the top to give it a completed look.
Julie’s EASY Yarn Pompon tutorial

Julie’s Faux Fur Pompon tutorial

100+ Crochet Beanie Tutorials & Patterns


Leave a Reply