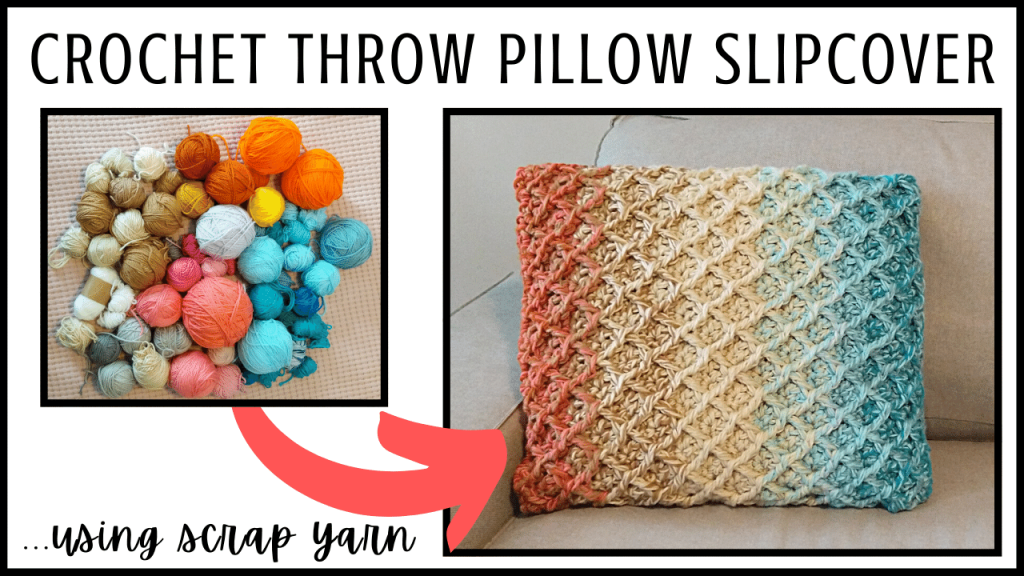
Crochet Throw Pillow Slipcover
How to crochet a throw pillow? In this crochet tutorial, I show you how to crochet a throw pillow using scrap yarn. This is a great yarn buster and perfect if you have a lot of small balls of yarn you need to use up! This mermaid crochet pattern works surprisingly quick!
Crochet Throw Pillow Part One:

Crochet Throw Pillow Part Two:

Stitches used in this pattern:
Attach Yarn to Crochet Hook: https://youtu.be/IsOvsrvJhN8
Chain (CH): https://youtu.be/jLP-o-RnqqQ
Single Crochet (SC): https://youtu.be/xppth_5GBzM
Slip stitch (SL st): https://youtu.be/cMNam0kuhpQ
Double Crochet (DC): https://youtu.be/bA7b2sOIfzM
Triple (Treble) Crochet (TR): tutorial in video
Crochet Bulky Throw Pillow Slipcover Using Scrap Yarn Pattern:
Materials:
Crochet Hook: N/15/10MM
Yarn: ANY, but you will need at least 3 strands
20’’ throw pillow insert
*NOTE: crochet 3 strands of yarn simultaneously like they are one strand for the entire pattern.
Row 1: Using all three strands of yarn, CH 39 and turn.
Row 2: Starting with the 2nd CH from crochet hook, place 1 SC in the BLO of each st in the row (38 total SC st). Turn work toward the starting tail so you can work in the FLO from Row 1, then place 1 SC in the FLO of each st in the row (76 total SC st in the round). SL st into the top of the 1st SC to join.
Row 3: CH 2, then place 1 DC in the BLO of each st in the row – starting with the next st and ending with the SL st at the end of the row. SL st in 1st DC to join (76 total DC st). SL st in 1st DC to join.
Row 4: For this row, we will be working the top portion of our DC stitches from Row 3 as well as the FLO we created while placing the DC in Row 3. Locate the 1st FLO (this will be directly below the 1st DC where you placed the SL st to join in the previous row). Skip the 1st FLO and then place 1 TR in the following FLO. Working in the top portion of the row, place 1 SC in the next 3 st. *Place 1 TR back in the same FLO that you just worked, leaving 2 loops on your crochet hook. Then yarn over once and insert the crochet hook in the 4th FLO from the current FLO (skipping 3 FLO st). Over over and pull up through the FLO, then yarn over and drop 2 loops, then yarn over and drop the remaining 3 loops. Working back up in the top portion of the row, place 1 SC in the 3 stitches directly above the current FLO you just worked (I usually try to place 1 SC in the st behind, directly above, and after the current FLO st).* Keep in mind that the SC stitches do not need to be perfect for the pattern to look beautiful! Repeat * for the rest of the row. At the end of the row, place the TR in the last FLO you just worked, leaving 2 loops on the crochet hook, then yarn over once and insert the crochet hook under the POST that forms the 1st TR from the row. Then yarn over and drop all loops on your crochet hook for a SL st. Then place 1 SL st in the top portion of the st, in the loop directly above this last peak.
Row 5: CH 2, then place 1 DC in each st in the row – starting in the following st and ending in the SL st at the end of the row. SL st in 1st DC to join (76 total DC st).
Row 6: *Yarn over twice and insert crochet hook under the TWO POSTS that form the peak directly below crochet hook. Yarn over and pull up through the two posts, then yarn over and drop 2 loops at a time until you have 2 loops remaining on your crochet hook. Yarn over once and insert your crochet hook under the next TWO POSTS that form the following peak. Yarn over and pull up through the posts, yarn over and drop 2 loops, then yarn over and drop 3 loops. Working in the top of the DC st, place 1 SC in each of the 3 stitches above the current peak.* Repeat * around the row. Join the last and 1st peak together using the same method. End the row by placing 1 SL st in the following st (this isn’t necessary if you are directly on top of the 1st peak of the row).
Rows 7 – 34: Repeat Rows 5 & 6 to build the body of the throw pillow.
Row 35: Lay throw pillow down flat and place 1 SL st in each of the stitches between where your crochet hook is and the next natural fold. When you get to the fold, CH 2 and place 1 DC back in the current st, then place 1 DC in each of the stitches between the natural folds (you should have somewhere around 38 DC st). CH 2, turn work.
Row 36: Place 1 DC in each st in the row (you should have around 38 DC st). CH 2, turn work.
Rows 37 – ?: Repeat Row 36 to build the body of the flap.
Cut and tie off yarn.
Insert throw pillow slipcover.
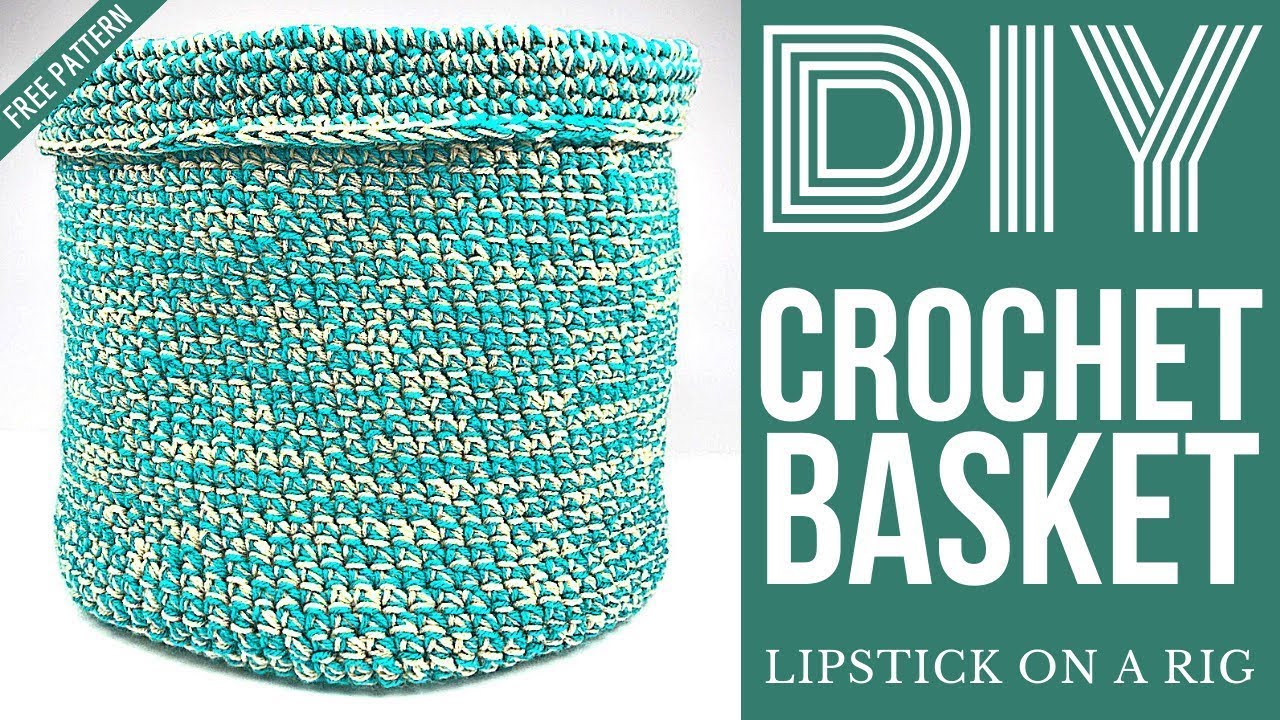
Crochet Basket Tutorials:
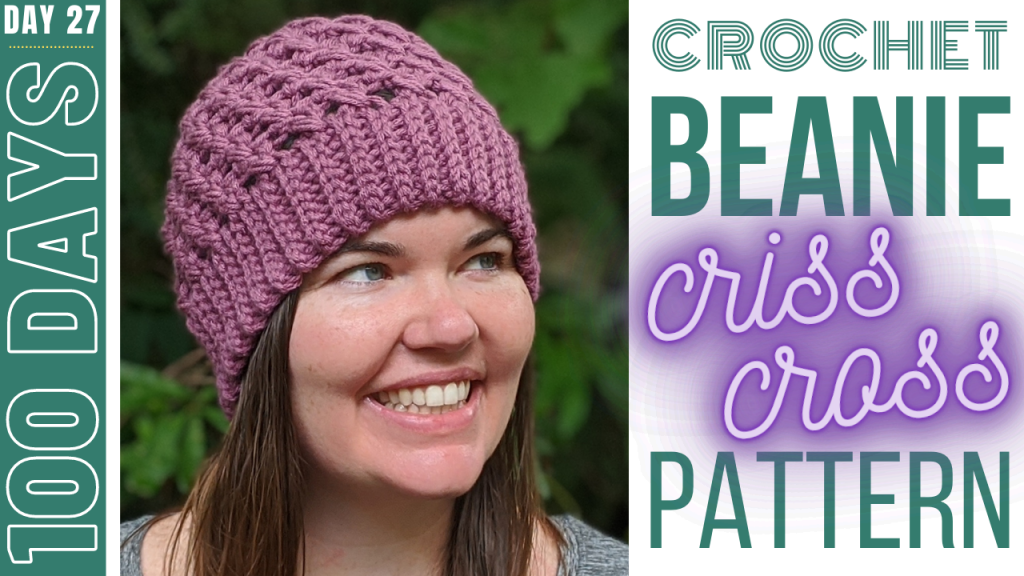
Crochet Household Items Tutorials:
DIY Chunky Yarn Tutorials:

Leave a Reply