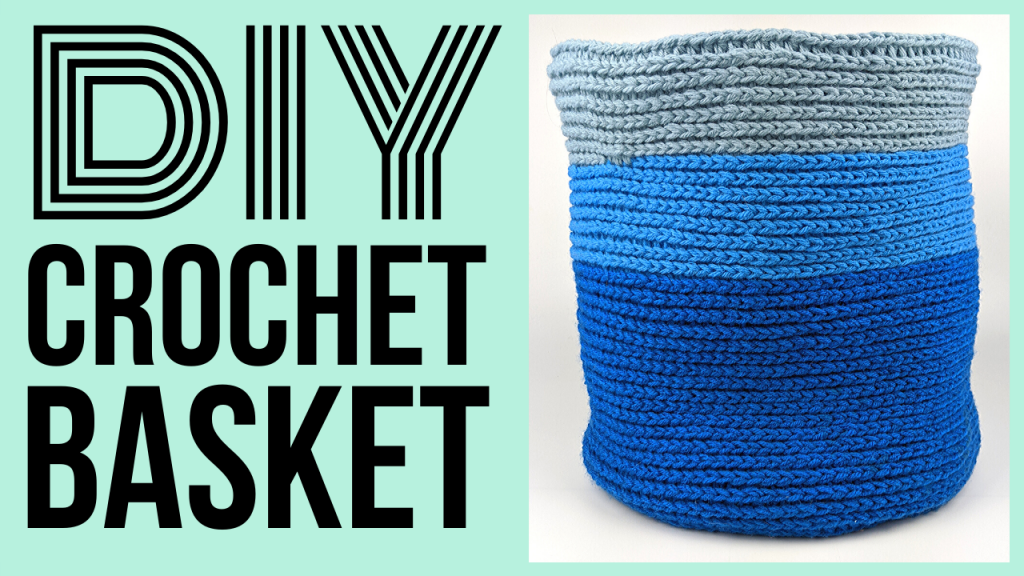
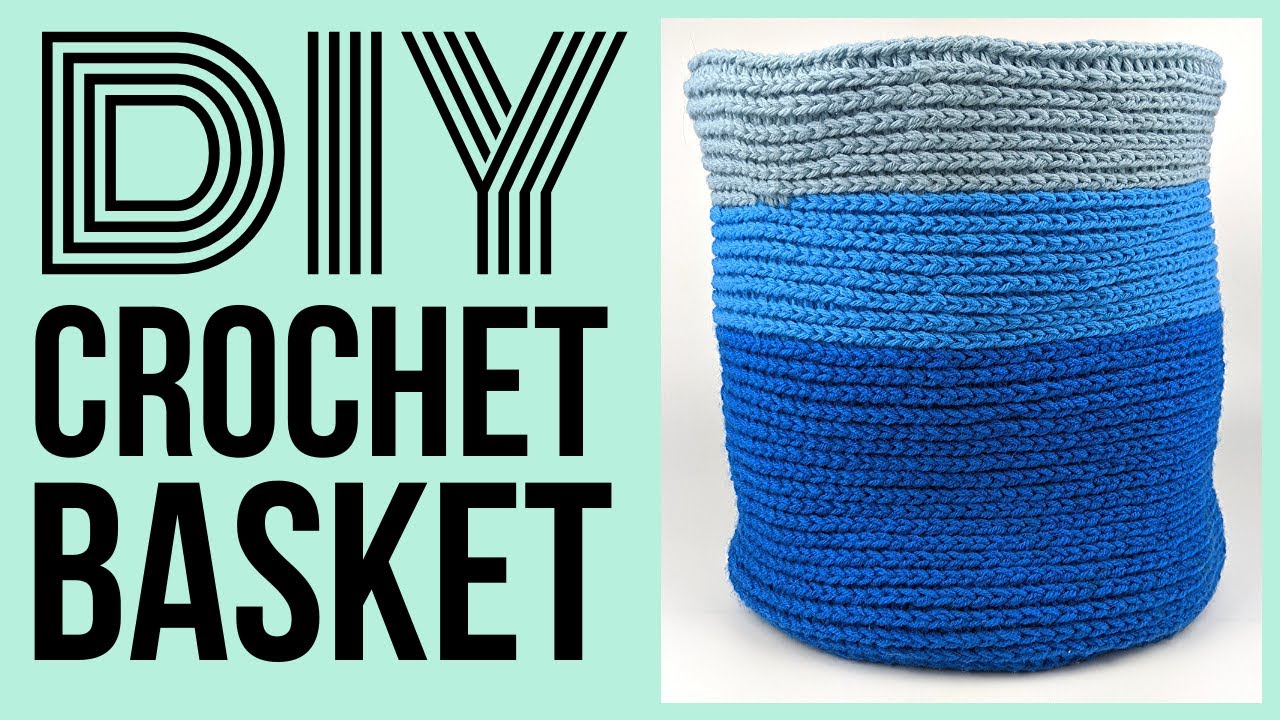
How to Crochet a Basket – DIY Basket Tutorial
How to crochet a large basket? In this tutorial, I show you how to crochet a basket that is soft and sturdy. This basket is great for storage in a baby room, child’s playroom, or bookshelf. It would also make a great give holder for a birthday party, housewarming, baby shower, or other special event.
If you like the variegated look, then use two different colored strands of yarn. If you want it to look like this, then divide one skein of yarn per color (in this pattern I ended up using 4 small skeins – two for the bottom color and one for each of the top colors).
How to Crochet a Basket Video Tutorial:
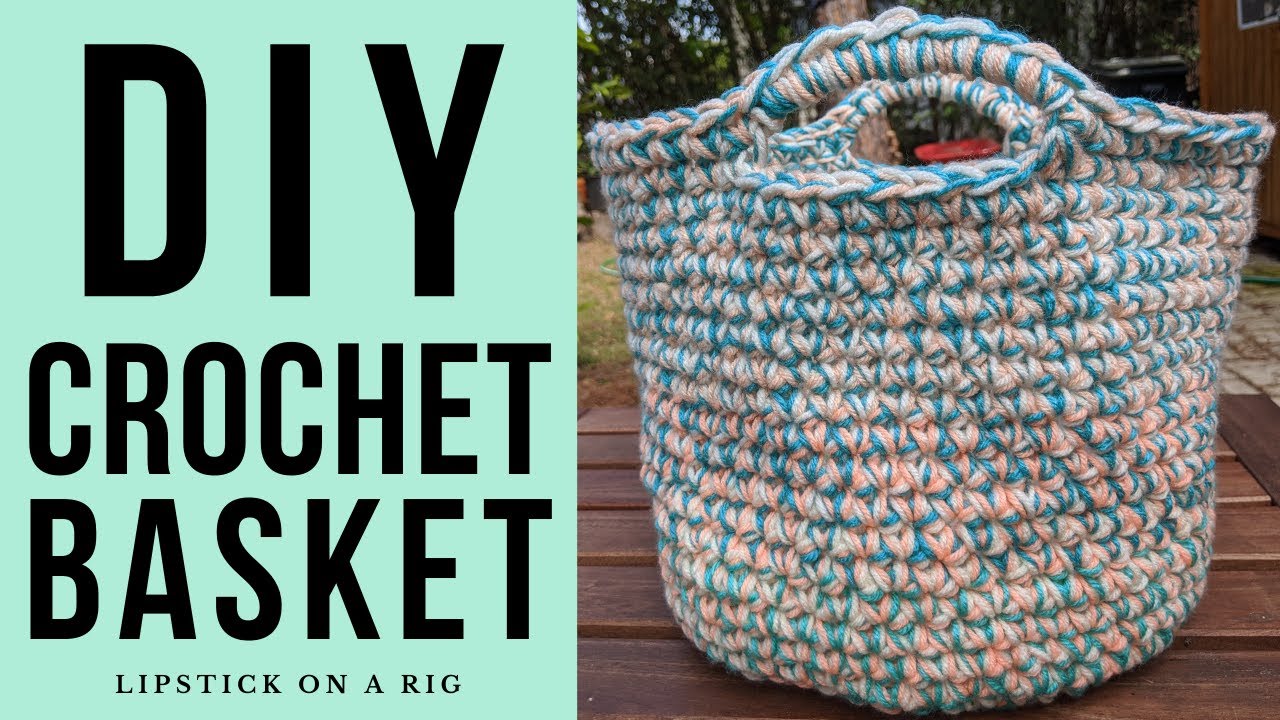
Basket with handles tutorial:
If you are unfamiliar with any of the stitches used in this pattern, check out my stitch tutorials below.
Beginner’s Crochet Series playlist link here:
- MC = Magic Circle – https://youtu.be/pTcHUJ8PDMQ
- HDC = Half Double Crochet – https://youtu.be/D7cU2KpGHOw
- SC = Single Crochet – https://youtu.be/xppth_5GBzM
- SL = Slip Stitch – https://youtu.be/cMNam0kuhpQ
- St = Stitch
How to Crochet a Basket Pattern:
Yarn: 2 Strands of any yarn
Crochet Hook Size: J / 10 / 5.75 MM
MC (crocheting the two strands simultaneously as one)
Row 1: 10 HDC inside MC
Row 2: 2 HDC in each st across (20 total HDC st at end of row).
Row 3: *1 HDC in 1st st, 2 HDC in 2nd st * Repeat * around the row (30 total st at end of row).
Row 4: *1 HDC in 1st & 2nd st, 2 HDC in 3rd st * Repeat * around the row (40 total st at end of row).
Row 5: *1 HDC in st 1 – 3, 2 HDC in 4th st * Repeat * around the row (50 total st at end of row).
Row 6: *1 HDC in st 1 – 4, 2 HDC in 5th st * Repeat * around the row (60 total st at end of row).
Row 7: *1 HDC in st 1 – 5, 2 HDC in 6th st * Repeat * around the row (70 total st at end of row).
Row 8: *1 HDC in st 1 – 6, 2 HDC in 7th st * Repeat * around the row (80 total st at end of row).
Row 9: *1 HDC in st 1 – 7, 2 HDC in 8th st * Repeat * around the row (90 total st at end of row).
Row 10: *1 HDC in st 1 – 8, 2 HDC in 9th st * Repeat * around the row (100 total st at end of row).
Row 11: *1 HDC in st 1 – 9, 2 HDC in 10th st * Repeat * around the row (110 total st at end of row).
Row 12: 1 HDC in the back loop only of each st.
Rows 13 – desired height: 1 HDC in the back bump (back stitch created) of each st across. Repeat until the basket reaches your desired height.
To finish off your basket, you can either place 1 row of SL in the back loops to give it a cohesive finish, or you can place a few SC st in the back loops of your last stitches, and then place a few SL in the back loops. Then, you can cut and tie off your yarn. Make sure you tie off any other tails in your pattern and tuck them away.
How to change out both strands of yarn at the same time (change colors if using the same color for both):
Place 1 SL in the back bumps of the next 2 st. In 3rd st, place SL, but yarn over with your new color. Place 1 HDC in the back bumps of each of the rest of the stitches in the row. When you get back to the SL stitches, place 1 HDC in the top (regular) part of the stitch for those stitches. When you reach your 1st HDC st from the previous row, continue placing HDC stitches in the back bumps like before. From here, continue placing HDC stitches in each of the back bumps until the basket reaches your desired height or you want to change colors again.
More Household Items Tutorials here:

Leave a Reply