
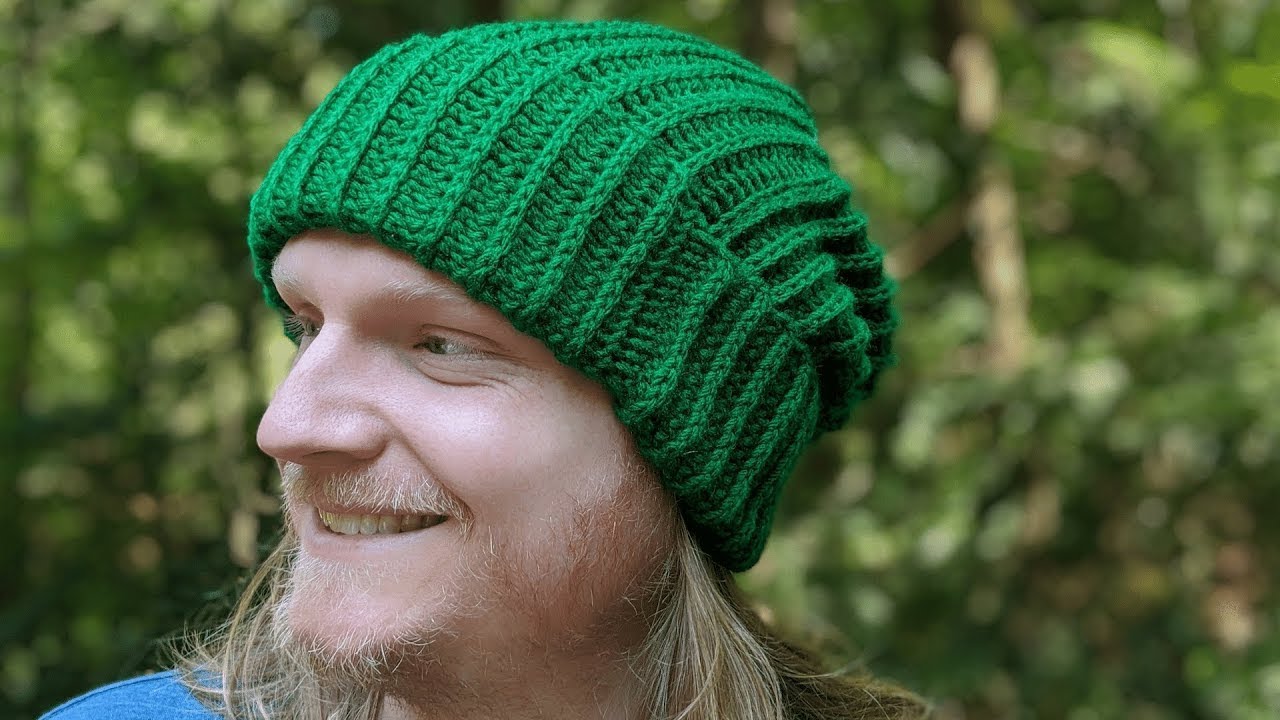
How to Crochet a Beanie – Ribbed Beanie
How to crochet a beanie? In this tutorial, I show you how to crochet a ribbed beanie using the HDC st that is extremely easy to follow. This beanie is more time-consuming than it might seem, but it is great practice if you’re new to working with the half-double crochet stitch. The colors used in this pattern can easily be exchanged to fit whatever color scheme you like.
Ribbed Beanie Video Tutorial:
This beanie is part of a series of beanies that I am creating to donate to my local homeless shelter. The goal is to complete 100 beanies in 100 days, all using unique patterns that I am going to share with you each day.
Stitches used in this pattern (and their corresponding tutorials):
Attach Yarn to Crochet Hook: https://youtu.be/IsOvsrvJhN8
Chain (CH): https://youtu.be/jLP-o-RnqqQ
Half Double Crochet (HDC): https://youtu.be/D7cU2KpGHOw
Ribbed Beanie Crochet Pattern:
Crochet Hook: F / 5 / 3.75MM
Yarn: 4 Medium ~ Big Twist Value brand
Attach yarn to crochet hook with a slip knot.
Row 1: CH 55, turn.
Row 2: 1 HDC in the BACK BUMP of each st in the row, CH 1, turn.
Row 3: 1 HDC in the FRONT st of each st in the row, CH 1, turn.
Repeat Row 4 until this beanie reaches your desired width. Make sure that you end on a side where your crochet hook is on the opposite side of the starting tail.
- Crochet two short edges together using SL stitches to connect them.
- Cut and tie off yarn.
- Cut a strand of yarn roughly 1 foot long and weave it around the top of the beanie (this is where all of your tails are).
- Cinch the two tails of the strand of yarn and tie them together tightly (this should close the gap in the top of your beanie).
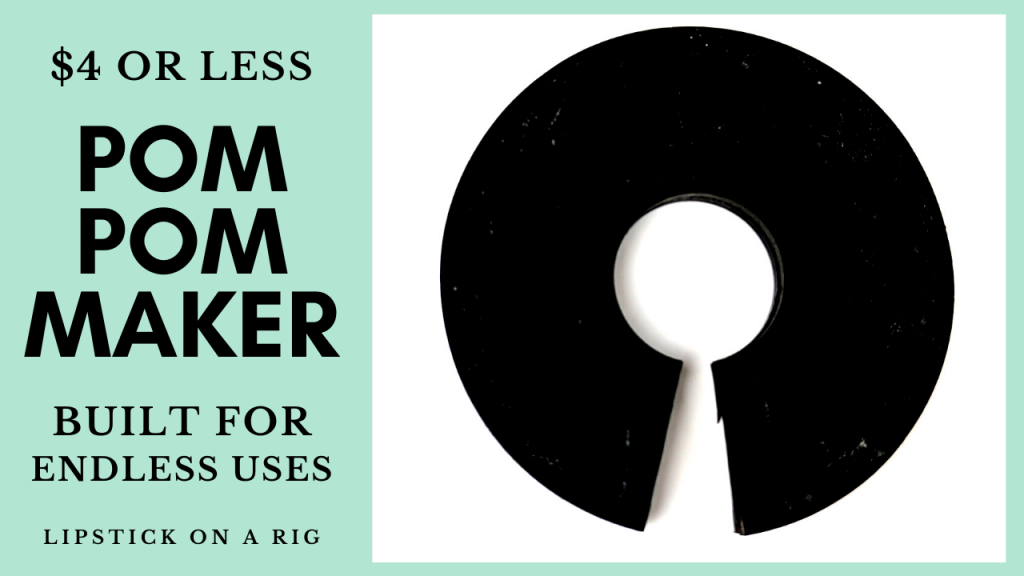
- Attach a pom pom: https://youtu.be/6ISz8AcMusk
Other beanie tutorials in my 100 day series:

![]()
![]()
![]()
![]()
![]()
![]()
![]()
![]()
![]()
![]()
![]()
![]()
![]()
![]()
![]()
![]()
![]()

Leave a Reply