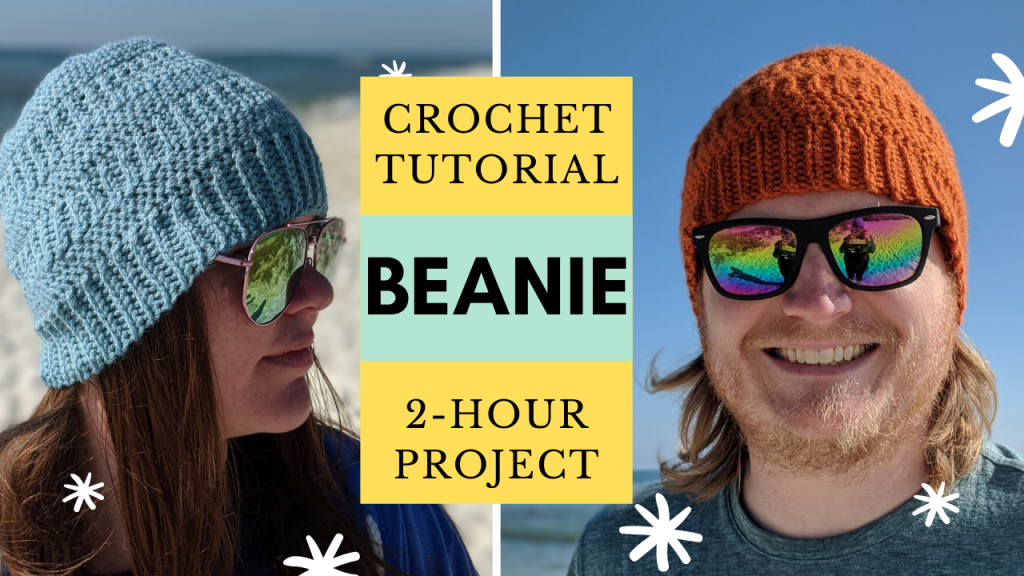
Knit Like Crochet Beanie Tutorial – FREE Crochet Beanie Pattern
How to crochet a knit-like beanie? In this tutorial, I show you how to create this slightly-slouchy beanie. It is very warm and works as a women’s beanie or men’s beanie. Consider adding a pouf ball or faux fur pouf to accent this crochet beanie!
If you aren’t familiar with some of these stitches, check out my Beginner’s Crochet Series here: https://www.youtube.com/playlist?list=PLUmcifMqZH5s3cLaL0U6V8qzPffPnsckA
Stitches used in this pattern:
Attach yarn to crochet hook: https://youtu.be/IsOvsrvJhN8
Chain Stitch (CH): https://youtu.be/jLP-o-RnqqQ
Slip Stitch (SL): https://youtu.be/cMNam0kuhpQ
Single-Crochet Stitch (SC): https://youtu.be/xppth_5GBzM
If you are crocheting this for someone with a small head, I suggest trying a smaller crochet hook if this pattern doesn’t fit properly.
Video Tutorial:

How to Crochet this Knit-Like Beanie:
BRIM:
Row 1: CH 9
Row 2: Turn the hook toward your CH st. SL in the BACK BUMP (this is the stitch behind the stitch that forms a “V.” You might have to twist your work a little bit to be able to see the back bump properly) of each of your 9 CH. Don’t skip the 1st CH. CH 1 at the end of the row and turn your work.
Rows 3 – ?: 1 SL into the Back Loop Only (BLO) of each of the 9 st in this row. CH 1 and turn your work. Repeat until the brim reaches desired length. I usually stop at 15 inches.
Join the ends together by SL st the two edges together, aligning the 9 st with each other. Make sure that you are placing the SL under both stitches.
BODY:
Row 1: Once the brim is connected, CH 1 and place stitch markers (I use scrap yarn pieces) on four points on the edge of the brim (they should be evenly spaced apart). Place 21 SC between your stitch markers. Since there aren’t true stitches on the side of the brim, you just have to find loops you can place the SC in. You should have 84 st at the end of this row.
Row 2: Inserting your hook in the BLO of the 1st SC of the previous row, place 1 SL. Repeat for all stitches in Row 2. You should have 84 st at the end of this row.
Row 3 – 5: Repeat Row 2.
Row 6: CH 4 off of the last st of Row 5. Crocheting in the BACK BUMPS, place 1 SL in each of the 4 CH st. SL in the original st (the last BLO SL of Row 5). SL in the BLO of the next st (2nd st).
*Turn your work, skip 2 st, and place 1 SL in the BLO of the next 4 st. CH 1, turn your work, and place 1 SL into the BLO of the next 4 st. Connect with the base by placing 1 SL in the BLO of the next st (this should be connecting back with Row 5). Place 1 SL in the BLO of the next st.*
Repeat * around the hat until the two edges are next to each other.
At the end of the row, when you are at the top of placing 1 SL in the BLO of the 4 st, line the first edge and the current edge beside each other. Place 1 SL in both st of the two edges. Repeat of the remaining 3 st. Turn your work and place SL back up the 4 st to the edge of the hat.
Row 7: CH 1 and place stitch markers (I use scrap yarn pieces) on four points on the edge of the brim (they should be evenly spaced apart). Place 21 SC st between your stitch markers. Since there aren’t true stitches on the side of the brim, you just have to find loops you can place the SC in. You should have 84 st at the end of this row.
Rows 8 – 13: Repeat Rows 2 – 7.
Rows 14 – 17: Repeat Rows 2 – 5.
Row 18: Decrease by 12 by placing *1 SC in the next 4 st. SC 2 together in the 5th & 6th st.* Repeat * around the row.
Row 19: Decrease by 12 by placing *1 SC in the next 3 st. SC 2 together in the 4th & 5th st.* Repeat * around the row.
Row 20: Decrease by 12 by placing *1 SC in the next 2 st. SC 2 together in the 3rd & 4th st.* Repeat * around the row.
Row 21: Decrease by 12 by placing *1 SC in the next 1 st. SC 2 together in the 2nd & 3rd st.* Repeat * around the row.
Row 22: Decrease by 12 by *SC 2 together in the next 2 st.* Repeat * around the row.
Row 23: Decrease by 6 by *SC 2 together in the next 2 st.* Repeat * around the row.
SL in the st directly opposite your current st within the small circle that forms in the top to join it together. Place more SL in the other st around the small circle if necessary.
Tie off your work and hide the tails. Turn the hat inside out and you are done!
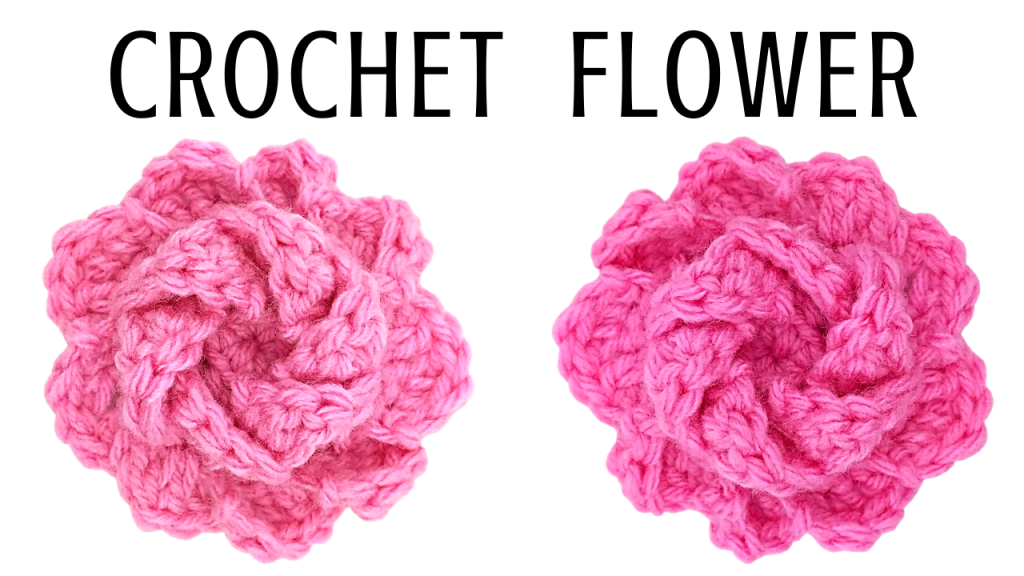
Consider adding a pouf ball on top!!!

Other Beanie and Headband Crochet Tutorials:


Leave a Reply