Crochet Beanie – Gift Bundle
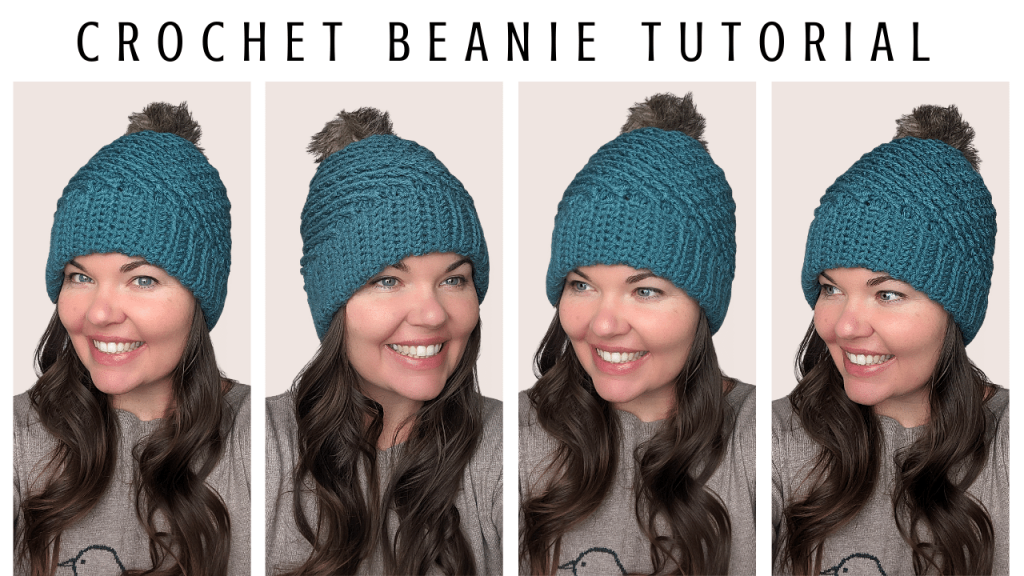
How to crochet a beanie? In this crochet tutorial, I show you how to crochet a beanie that is a great gift or perfect to add to your own collection. This beanie is very simple to make and works relatively quickly for such an intricate pattern.
Crochet Beanie Video Tutorial:

Create a gift bundle with the rest of your skein of yarn! This beanie is part of a one-skein gift bundle challenge, where you can easily create a bundle of gifts using only one skein of yarn. For this skein challenge, I am working with the Big Twist Value brand, size 4 medium weight yarn in Dark Teal. This skein is roughly 380 yards.
Projects in this gift bundle:
Sunglasses case: Coming soon!
Beanie: https://youtu.be/DeYtzEgCz0E
Personalized can koozie: Coming soon!
DIY Faux Fur Pom Pom Tutorial:

Terms:
CH = Chain
HDC = Half Double Crochet
st = Stitch
HDC SL st = Half Double Crochet Slip Stitch
FLO = Front Loop Only
SL st = Slip Stitch
DC = Double Crochet
TR = Triple Crochet
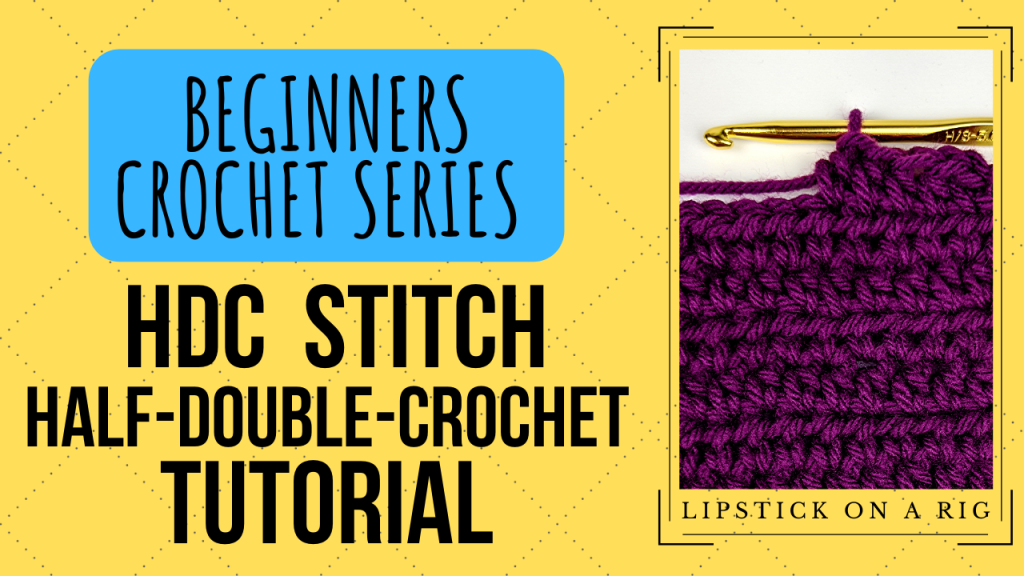
Crochet Stitch Tutorials:
Crochet Beanie FREE Pattern:
Crochet Hook: H/8/5.00MM
Yarn: 4 Medium, Big Twist Value brand, Color: Dark Teal
Attach yarn to crochet hook using a slip knot.
Row 1: CH 17, turn.
Row 2: Skip turning chain, place 1 HDC in each st in the row (16 total HDC st). CH 1, turn.
Row 3: Skip turning chain, and place 1 HDC SL st in the FLO (this will look like the middle loop of the stitch), in each st in the row (16 HDC SL st). CH 1, turn.
Rows 4 – ?: Repeat Row 2 & Row 3 until the brim reaches your desired length (this was about 20 inches for me).
Fold the brim in half to align the 1st and last row. Join the two edges of the brim by inserting crochet hook under the full st in the last row and the available loop from the 1st row (aligning the corresponding stitches), then yarn over and drop all loops on the crochet hook for a SL st. Repeat this process for each st to join the brim edges.
Fold brim in half again, ensuring the “ugly” side is tucked in and the “pretty” side is facing out. SL st into one of the loops on the other side of the brim to join. Use st markers to divide the brim into 4 equal parts.
Row 1: CH 2, place 92 DC st around the row (23 DC in each of the four sections). CH 2 counts as the first DC st. SL st in 1st DC to join.
Row 2: CH 1, place 1 FRONT POST st around the 1st 3 DC st of this row. Then, working backwards, place 1 TR POST st around the CH 2 from Row 1. *Working forwards, skip the next unworked DC st, then place 1 FRONT POST st around the next 3 DC st. Working backwards, place 1 TR POST st around the skipped DC.* Repeat * around the row – 92 total st. SL st in 1st FRONT POST st to join.
Row 3: CH 1, place 1 FRONT POST st around the 1st 3 FRONT POST st from the previous row, then place 1 TR POST st around the last TR POST st you created in the previous row. Working forwards, place 1 FRONT POST st around the next 3 FRONT POST stitches, then working backwards, place 1 TR POST st around the 1st TR POST st from the previous row (this should be directly under the last TR post st that you just worked in this row.* Repeat * around the row. SL st in the 1st FRONT POST st to join.
Rows 4 – 17: Repeat Row 3.
Row 18: CH 1, place 1 FRONT POST st around the 1st 2 FRONT POST st from the previous row, skipping the last FRONT POST st, then place 1 TR POST st around the last TR POST st you created in the previous row. Working forwards, place 1 FRONT POST st around the next 2 FRONT POST stitches, skipping the last FRONT POST st, then working backwards, place 1 TR POST st around the 1st TR POST st from the previous row (this should be directly under the last TR post st that you just worked in this row.* Repeat * around the row. SL st in the 1st FRONT POST st to join – 69 total POST stitches.
Row 19: CH 1, place 1 FRONT POST st around the 1st FRONT POST st from the previous row, skipping the next FRONT POST st, then place 1 TR POST st around the last TR POST st you created in the previous row. Working forwards, place 1 FRONT POST st around the1st FRONT POST stitch, skipping the last FRONT POST st, then working backwards, place 1 TR POST st around the 1st TR POST st from the previous row (this should be directly under the last TR post st that you just worked in this row.* Repeat * around the row. SL st in the 1st FRONT POST st to join – 46 total POST stitches.
Row 20: CH 1, place 1 FRONT POST st around each of the previous row’s TR POST stitches. The 1st FRONT POST st should be worked backwards in the last TR POST st – 23 total FRONT POST stitches. SL st in the 1st FRONT POST st.
Cut and tie off yarn, leaving a tail of about 1 foot in length.
Weave the tail between the FRONT POST stitches to create a cinch, then pull the tail as tightly as you can and tie it in place. This should close the gap at the top of the beanie.
Attach a faux fur pom pom: https://youtu.be/ZpBXP2Mxa-Q
Other Crochet Beanies and Headbands:


Leave a Reply