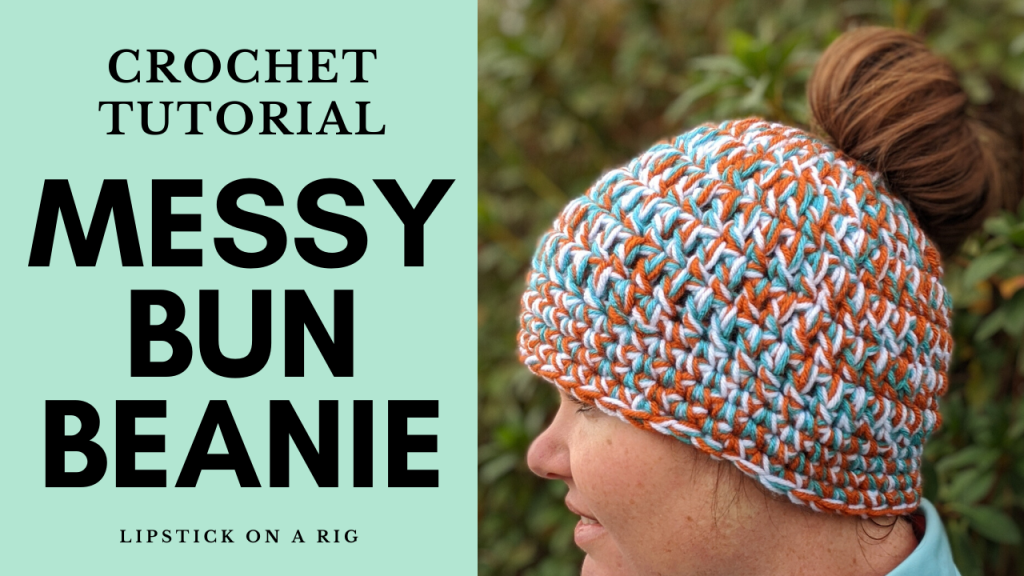
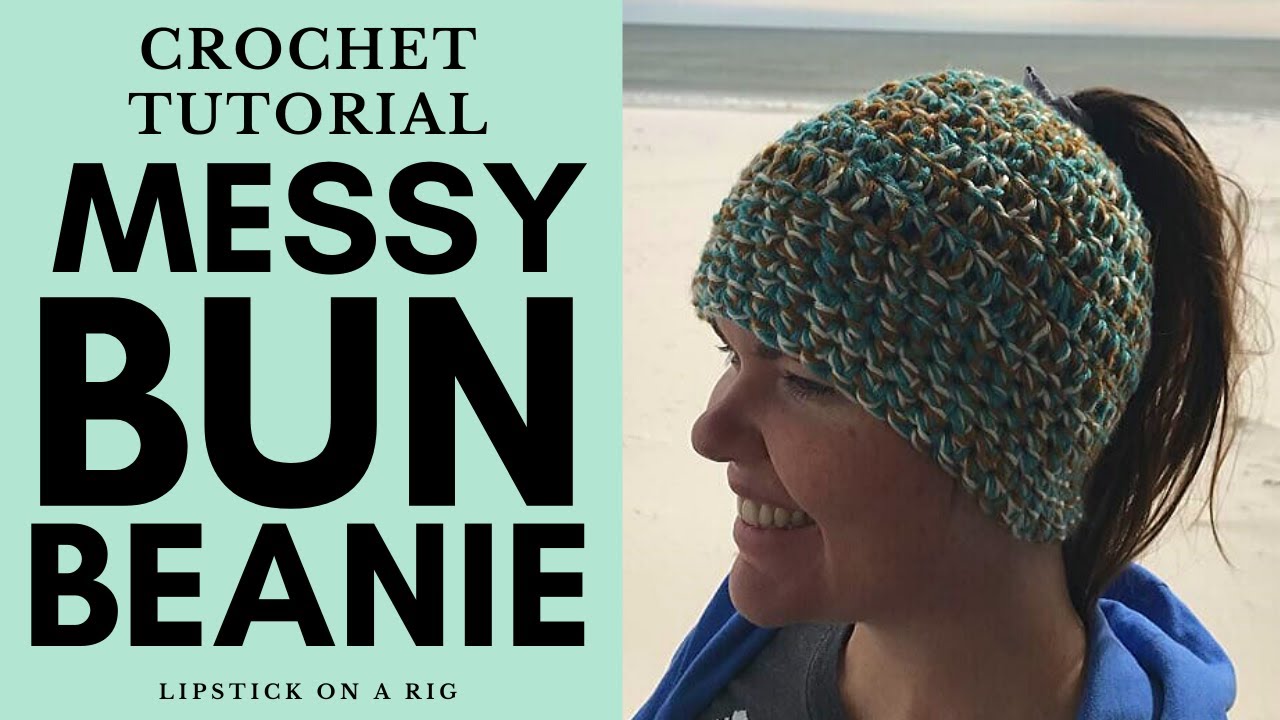
How to Crochet a Messy Bun Beanie – 30 Minute Project
How to crochet a beanie with a hole for a messy bun or pony tail? In this tutorial, I show you how to create a very easy and cozy messy bun beanie. This is perfect if you are outdoorsy and need a beanie that will keep you warm as well as allow you to pull your hair up. I use this beanie when I’m hiking, running, and sometimes around camp.
This tutorial uses three strands of yarn to give the look of chunky yarn without the price tag. The yarn can be different sizes and weights, as long as they aren’t vastly different, then this pattern will work for almost any three types of yarn. I love to use chunky patterns when I am using thrift store yarn, as I don’t always know the size or type.
If you aren’t familiar with some of these stitches, I recommend trying out my Beginners’ crochet series. This will help you with any tricky stitches or quick overviews you might need: https://www.youtube.com/playlist?list=PLUmcifMqZH5s3cLaL0U6V8qzPffPnsckA
Other Beginner-Friendly Crochet Projects here: https://www.youtube.com/playlist?list=PLUmcifMqZH5tJr9oh9bZx2QMs-Z4kol
Stitches used:
Attach yarn to crochet hook: https://youtu.be/IsOvsrvJhN8
Single Crochet (SC): https://youtu.be/xppth_5GBzM
Double Crochet (DC): https://youtu.be/bA7b2sOIfzM
Slip Stitch (SL): https://youtu.be/cMNam0kuhpQ
Video Tutorial:
How to crochet a chunky messy bun beanie with three strands of yarn:
Crochet Hook Size: K
Yarn Sizes: Any variation of medium weight yarn
Materials: Hair Tie
Row 1: Place 1 SC inside the hair tie. Then Place 19 DC inside the hair tie.
Row 2: Crocheting over the tail, place *1 DC in the 1st st, 2 DC in the 2nd st.* Repeat * around the row (total 30 st at the end of the row).
Row 3: Crocheting in the round (don’t start and stop your rows), place *1 DC in the 1st and 2nd st, 2 DC in the 3rd st.* Repeat * around the row.
Row 4: Place 1 DC in each st around.
Rows 5 – 8: Repeat Row 4.
Row 9: Place 1 SC in each st around.
Rows 10 – 13 (or 14, depending on the length you want): Repeat Row 9.
Finish off your beanie by placing 1 SL in the next 3 st. Tie off and hide your tail. For this project, I turned the beanie inside out.
Other Beanie and Headband Tutorials here:

Leave a Reply