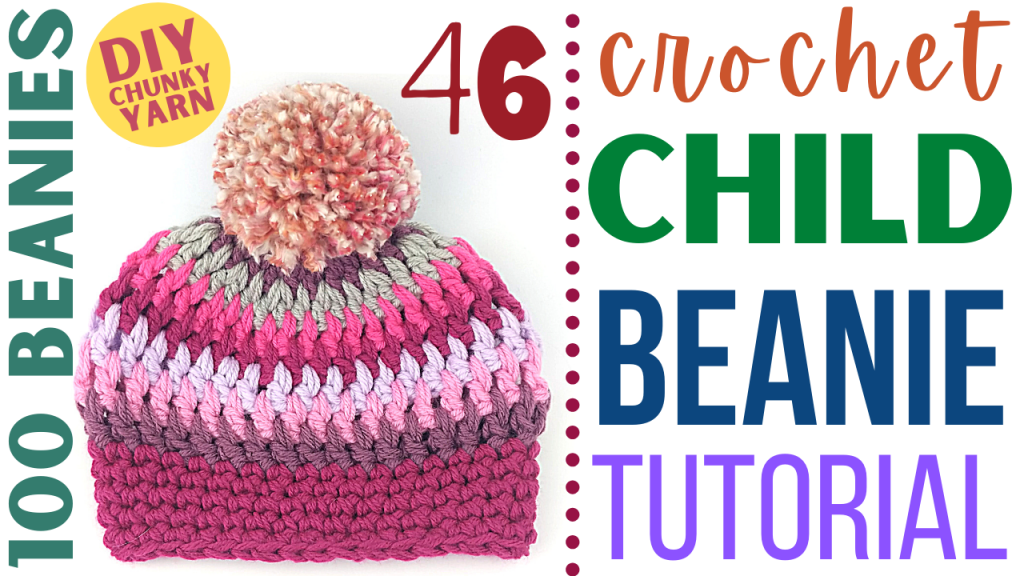
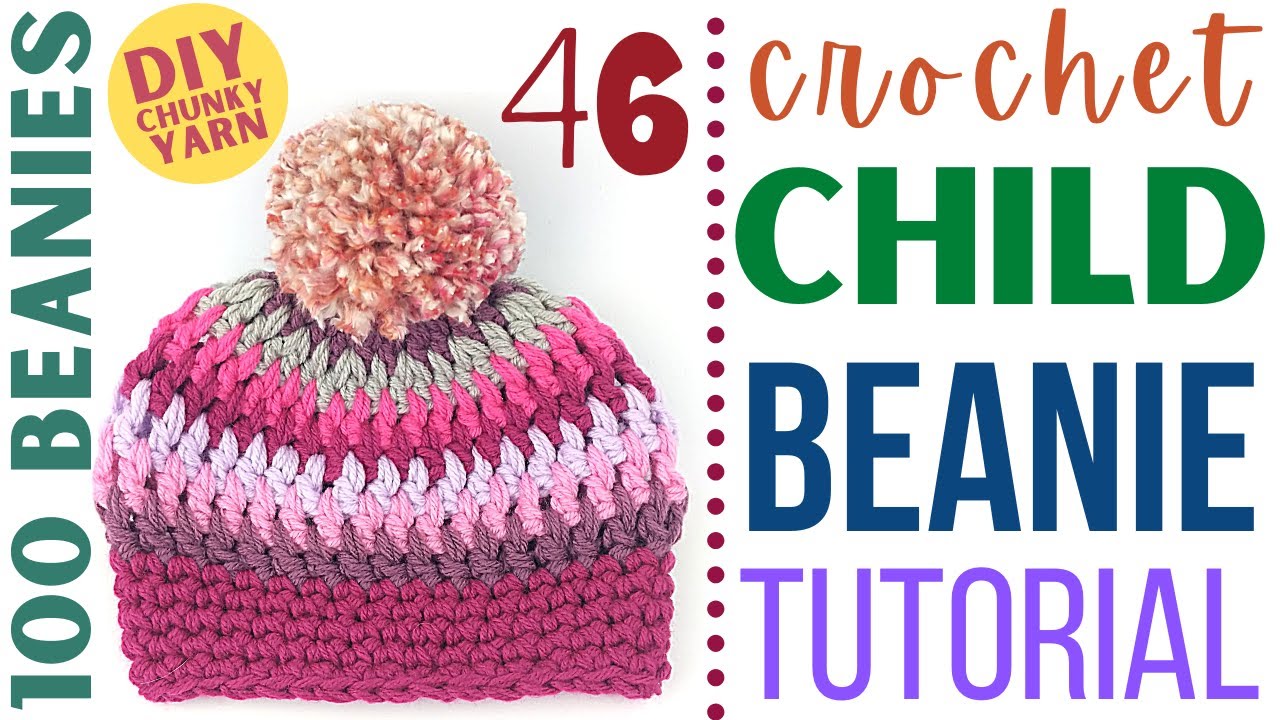
DIY Crochet Beanie – Day 46 – Chunky Child-Sized Beanie
How to crochet a beanie? In this tutorial, I show you how to crochet a child beanie that is extra warm and comfy, using two strands of yarn at the same time. This beanie works quickly and shouldn’t take you more than 30 minutes to complete. The colors used in this pattern can easily be exchanged to fit whatever color scheme you like. You can also have a variegated yarn look by using two different colored strands of yarn, or grabbing multiple colors and changing them out at random.
Pom Pom (Pompon) Maker: https://youtu.be/6ISz8AcMusk
Crochet Child Beanie Video Tutorial:
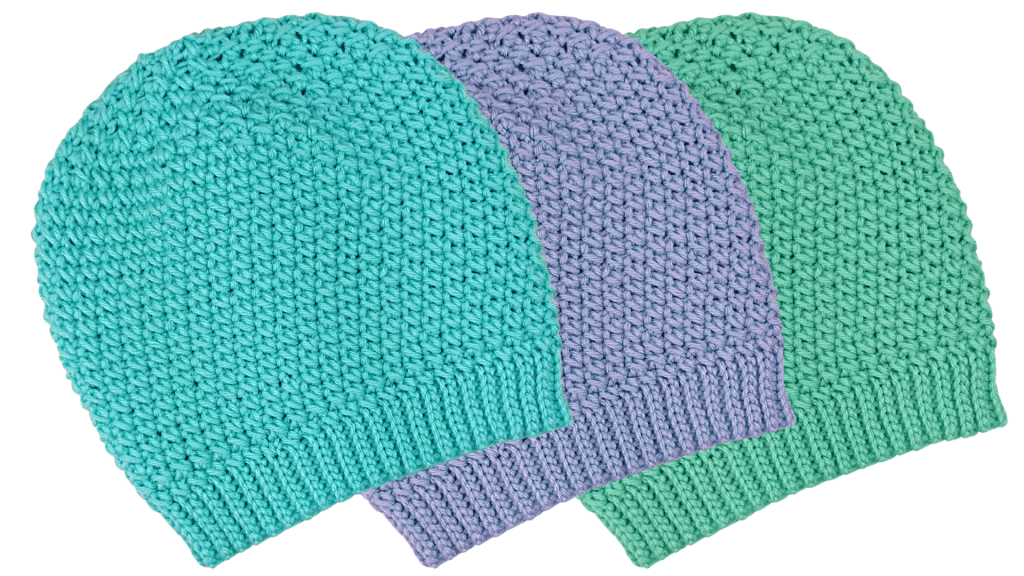
This beanie is part of a series of beanies that I am creating to donate to my local homeless shelter. The goal is to complete 100 beanies in 100 days, all using unique patterns that I am going to share with you each day.
Stitches used in this pattern (and their corresponding tutorials):
Magic Circle (MC): https://youtu.be/pTcHUJ8PDMQ
Double Crochet (DC): https://youtu.be/bA7b2sOIfzM
Single Crochet (SC): https://youtu.be/xppth_5GBzM
Slip stitch (SL st): https://youtu.be/cMNam0kuhpQ
Child Multi-Colored Beanie Chunky Crochet Beanie Pattern:
Crochet Hook: K / 10.5 / 6.5 MM
Yarn: 4 Medium ~ 2 Strands ~ Big Twist Value brand (any yarn will work for this pattern)
*Note: for this entire pattern, we will be treating the two strands of yarn like they are one, crocheting them simultaneously.
Magic Circle
Row 1: 12 DC inside MC. SL st into top of 1st DC st, yarning over with next color.
Row 2: 2 DC in between each of the previous row’s stitches. The last 2 DC st should go between the last DC of the previous row and the 1st DC of this row – under the SL st (24 total st at end of row). SL st into top of 1st DC st, yarning over with next color.
Row 3: *1 DC between st 1 & 2, 2 DC between st 2 & 3.* Repeat * around the row (36 total st at end of row). SL st into top of 1st DC st, yarning over with next color.
Rows 4 – 8: 1 DC between each st in the row. SL st into top of 1st DC st, yarning over with next color.
Row 9: Place 1 SC in each st in the row. Skip SL st and place 1 SC in 1st st of this row.
Rows 10 – 14: Following a continuous loop pattern, place 1 SC in each st in each row to form the brim of the beanie.
Place 1 SL st in the next 10 st, cut and tie off yarn. Secure like-colored tails together working from the bottom up to secure the areas where you switched colors.
Turn beanie inside out.
Add a pom pom (pompon): https://youtu.be/6ISz8AcMusk
Attach a pom pom: https://youtu.be/6ISz8AcMusk
Other beanie tutorials in my 100 day series:

![]()
![]()
![]()
![]()
![]()
![]()
![]()
![]()
![]()
![]()
![]()
![]()
![]()
![]()
![]()
![]()
![]()
Leave a Reply