
Slip Stitch Crochet Tutorial – How to SL ST
How to crochet a slip stitch? In this tutorial, I show you how to create a SL st using a crochet hook and some yarn. This is a very easy tutorial, and should only take a minute to learn.
If you are already familiar with how to crochet, check out my Beginner-Friendly Crochet Projects here: https://www.youtube.com/playlist?list=PLUmcifMqZH5tJr9oh9bZx2QMs-Z4kol2X
Video Tutorial:
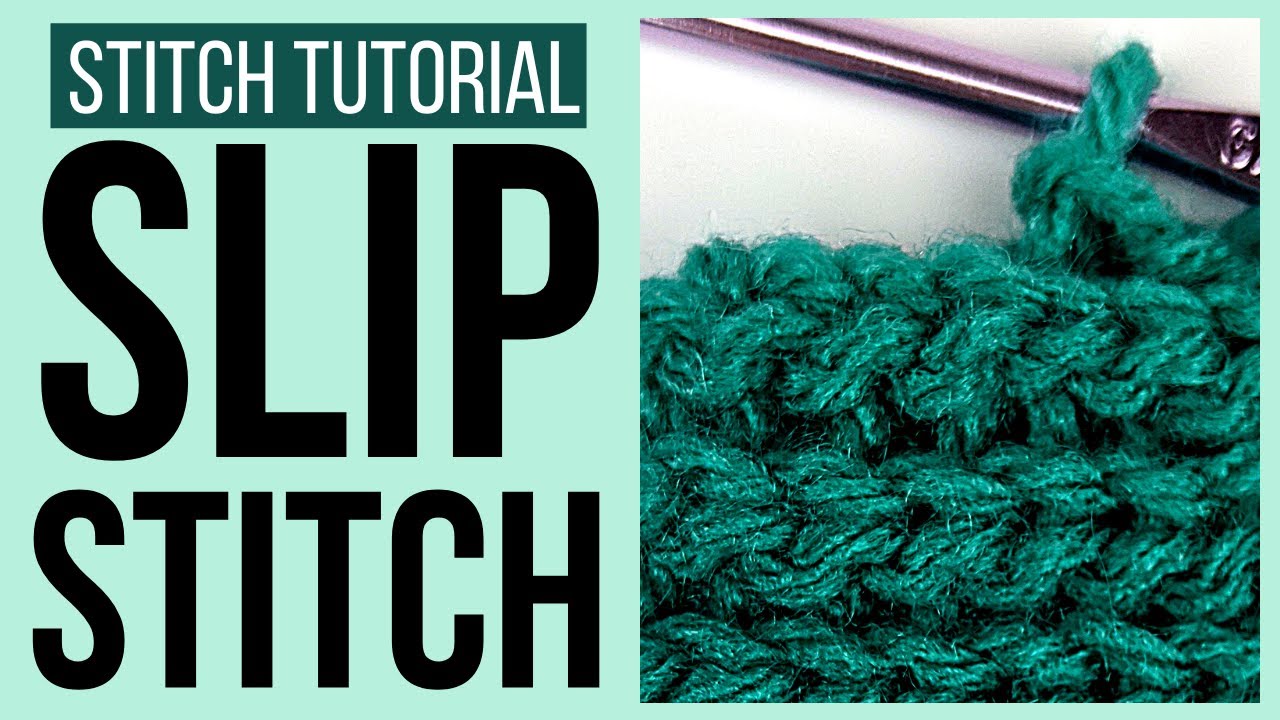
How to crochet a slip stitch:
- Create a few chains to practice with. Once you have atleast 5 chains, turn your work. To turn your work, you simply want to change the orientation of your crochet hook to face left.
- Insert your crochet hook inside the 2nd stitch from your hook. The stitch will look like a “V”. Make sure you insert your hook between the two V loops and the back loop.
- Once your hook is through the stitch, you should have 3 loops on your crochet hook. Yarn over and pull your working yarn through all loops on your hook. You should now have 1 loop on your crochet hook.
- You have now created a slip stitch! Simply insert your hook into the next chain stitch and yarn over and pull your working yarn through all loops on your hook to create another slip stitch. Repeat as many times as necessary to grasp the basics of this stitch.
Other Beginner Crochet Series Tutorials:
1
/
3
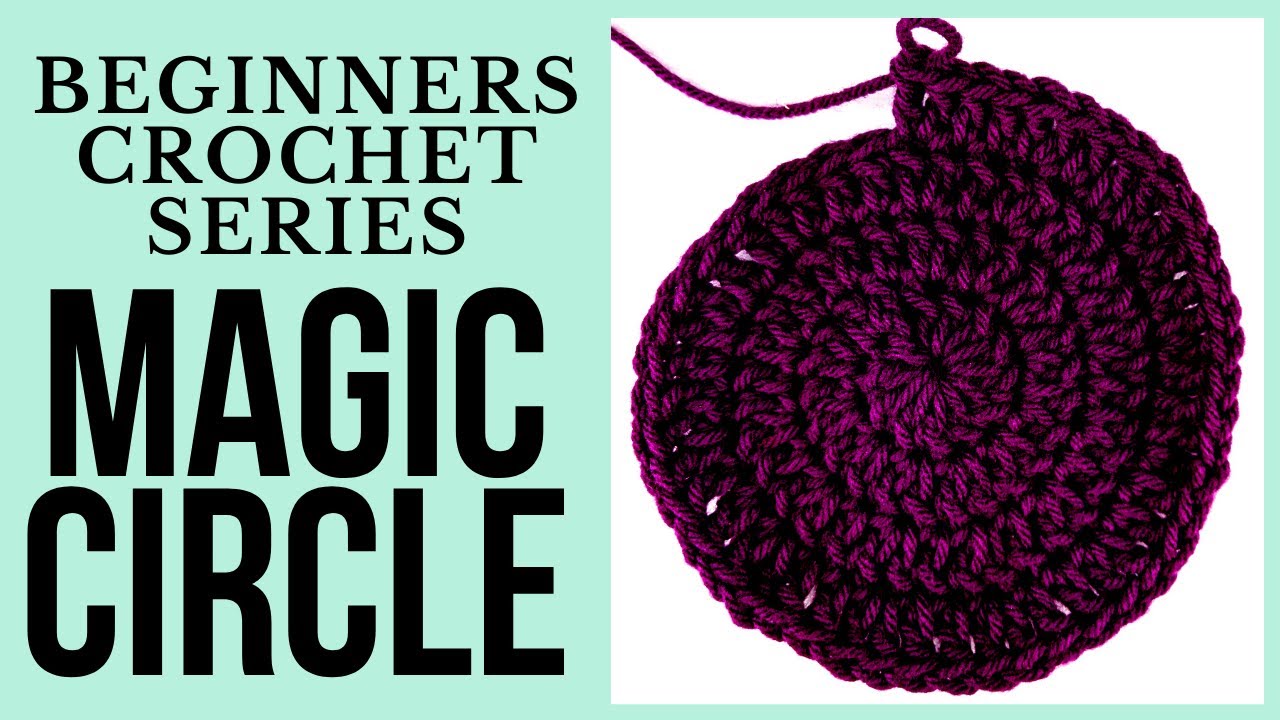
How to Crochet a Magic Circle (MC)
Attach Yarn to Crochet Hook Using a Slip Knot Tutorial
How to Crochet Chain Stitch - CH st
How to Crochet Slip Stitch
How to Crochet a Double Crochet Stitch - DC st
How to Crochet a Single Crochet Stitch - SC st
How to Crochet Half Double Crochet Stitch Tutorial - HDC st
How to Make Pom Pom Maker - DIY Pom Pom Maker
Crochet Flat Circle Using Single Crochet Stitch - Basket Base
How to Add More Yarn to ANY Crochet Project - The Easy Way
How to Crochet Over Tails
How to Crochet a Continuous Loop Circle Using SC st
How to Easily Pull Yarn Out of a Skein 🧶
How to Hold Yarn While Crocheting 🧶
Chainless Foundation Single Crochet Stitch Tutorial
1
/
3


Leave a Reply